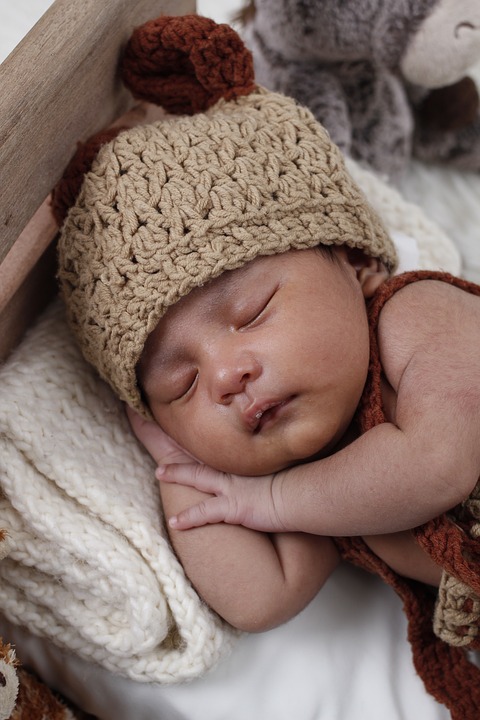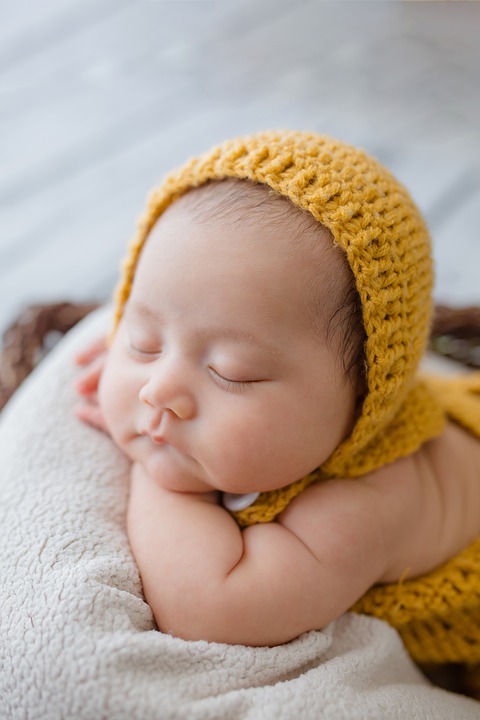
Hey there, fellow crafters! If you’re a knitting enthusiast and have a soft spot for crafting adorable baby items, you’re in for a treat. Today, we’re diving headfirst into the charming world of baby bonnets. There’s something truly special about creating a handmade bonnet for a little one, and we’re here to guide you through the process. So, grab your knitting needles and yarn, and let’s explore some tips and tricks to craft an outstanding baby bonnet that’s sure to steal hearts.
Choosing the Right Yarn: Softness is Key
When it comes to knitting for babies, the yarn you select is of utmost importance. Opt for a soft, baby-friendly yarn that’s gentle on their delicate skin. Materials like cotton, bamboo, or a soft acrylic blend work wonders. Ensure it’s easy to care for and can withstand gentle machine washing – because we all know babies can be a bit messy!
Picking the Perfect Pattern: Simple or Elaborate?
Baby bonnets come in all shapes and styles. The pattern you choose depends on your skill level and the look you’re aiming for. If you’re a beginner, start with a simple, straightforward pattern. If you’re more experienced, feel free to venture into more elaborate designs with lacework or intricate stitches. There are plenty of free patterns available online, so you’re bound to find one that suits your style.
Gauge Matters: Always Swatch First
Before you dive into your bonnet project, take a little detour with a gauge swatch. This small sample of knitting helps you determine the correct tension and ensures your bonnet turns out the right size. Gauge can vary greatly from person to person, so don’t skip this step if you want your bonnet to fit perfectly.
Size Considerations: From Newborn to Toddler
Babies grow quickly, and a well-fitting bonnet is a must. Determine the size you’re knitting for, whether it’s a newborn, an infant, or a toddler. Be sure to follow the pattern’s instructions for measurements and sizing to make a bonnet that fits snugly and comfortably.
Color Choices: Pastels, Neutrals, or Brights?
One of the most enjoyable aspects of baby bonnet knitting is selecting the color palette. Soft pastels, calming neutrals, or vibrant, cheerful shades – the choice is yours. Keep in mind the baby’s gender, personal preferences, or even the season when deciding on the perfect color scheme.
Embellishments and Details: Bows, Ribbons, and Buttons
Adding charming embellishments can take your baby bonnet to the next level. Tiny bows, ribbons, or small buttons can enhance the bonnet’s aesthetics. Just remember to use secure stitching for any embellishments, as they can be a choking hazard for little ones.
Stitching with Love: Maintain a Steady Pace

Knitting a baby bonnet is an act of love, so be sure to infuse every stitch with warmth. Knit steadily, but don’t rush. Maintaining a consistent tension and a steady pace ensures your bonnet turns out beautifully. Remember to count your stitches – especially when working on intricate patterns.
Finishing Touches: Blocking and Weaving Ends
Once you’ve knitted the last stitch, your baby bonnet isn’t quite ready yet. Blocking is the magical process of shaping your knitting, ensuring it’s the right size and shape. It’s essential for achieving that professional, polished look. Additionally, weave in all the loose ends neatly, so your bonnet is safe for the baby to wear.
Gift-Worthy Packaging: A Special Presentation
If you’re crafting a baby bonnet as a gift, consider the presentation. A delicate box or a pretty, reusable bag can make your handcrafted creation even more special. It’s all in the details, after all.
Knitting Love Stitch by Stitch
Knitting a baby bonnet is not just a craft; it’s a heartfelt gesture. Each stitch is an expression of love and care, and the result is a unique, one-of-a-kind creation that will keep a precious baby snug and stylish. So, grab your yarn, choose your pattern, and start knitting. Whether it’s for your own little one or as a thoughtful gift, a hand-knit baby bonnet is a true labor of love. Happy crafting, fellow craftspersons!


