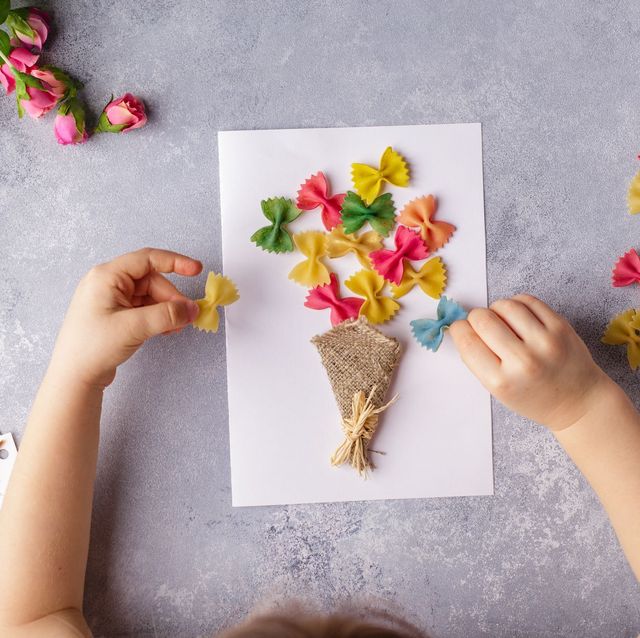
It’s an undeniable fact that some people have way more photos that they can keep – just like me!! And, if you are running out of ideas of what to do with them, have a look at these interesting DIY photo displays.
DIY Photo Quilt
 Materials you’ll need for this craft:
- 48 by 9-inch squares of several fabrics (it also includes the ones for the photo blocks, so make sure you remove the number of photo blocks from the sum total to find out the quantity you will need altogether.)
- Printable fusible fabric
- White fabrics
- Batting, thread and binding
- Two yards of 60″ wide fabric for backing ( you can use a soft fabric such as Minke or Snuggles)
Instructions to make the DIY photo quilt:
Step 1:
The first phase includes making the photo blocks. So, start by cutting the squares of your fabric.
Special Note: The quilt I used was 9×9 (that’s before I finished). Because the printable fabric is not 9′′ broad, I had to print the photo on the fabric and connect it to another piece of fabric in order for it to fit in the quilt. If you want, you can also choose 8×8 pieces of fabric. If that’s what you opt for, I recommend that you buy non-fusible printable fabric.
Step 2:
Now, it’s time to print the photos on the fabric. So, print your black-and-white photographs onto your printable fabric. If you want your photographs to be printed at 8′′x8′′, you’ll need some basic photo editing software (like photoshop elements or iPhoto).
Note: Printable fabric can be obtained at any craft store at affordable prices.
Step 3:
Cut your photo down to 8×8 (it prints on 8.5′′ x 11′′ cloth). Then, proceed to iron the picture onto the white fabric. Press firmly to heat set the ink- cut this piece to 9′′x9′′.
Note: To put the ink on the fabric, follow the instructions on the package of printable fabric. Each manufacturer is unique. If the ink is not set, it may bleed when the quilt is washed.
Step 4:
This is the last phase. So, when you’ve completed all your photo blocks, you need to sew all your squares together. Row 1: Sew 6 blocks together, then continue for rows 2-8. When you’re done, sew the rows together. Quit as you want. But, if you want to learn more about making a lap quilt, click here.
Once you are done, make sure you wash and dry the quilt – keep in mind to use a gentle detergent.
Note: I found this a bit late actually – when you’ll wash the quilt, the ink may bleed out a little bit, which will give that kind of “vintage” look to the photos on your quilt and honestly, it will still look, in fact, much better.
But, if you want, you can also choose to pre-wash it before stitching the blocks on the quilt.
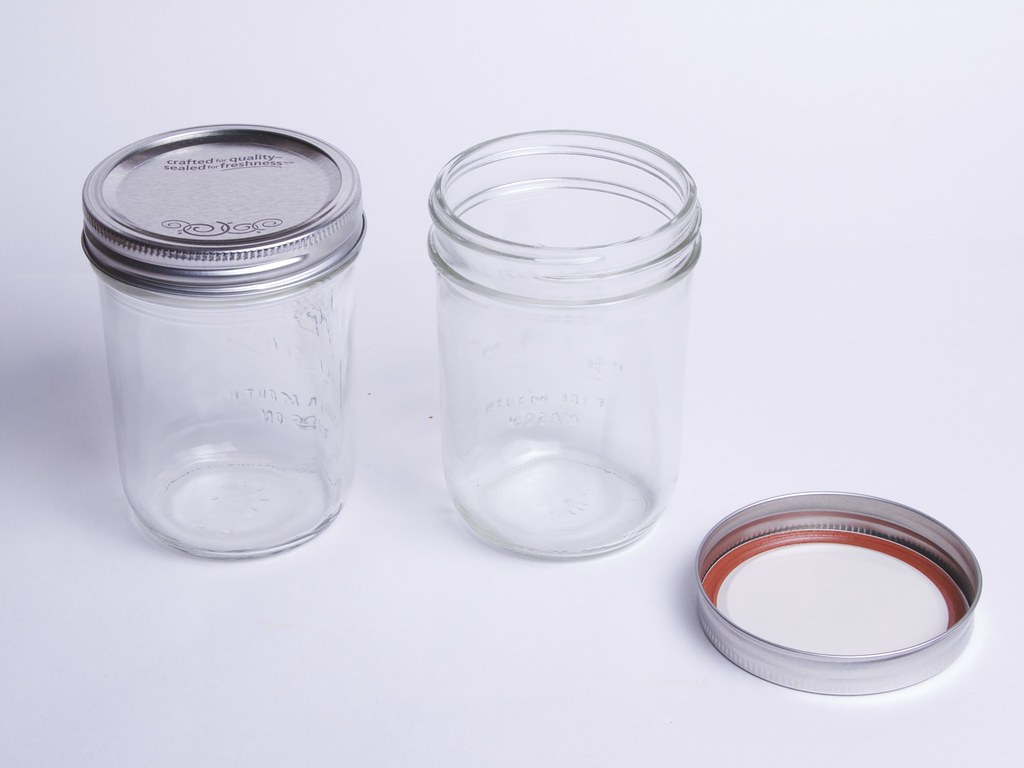
DIY Upcycled Mason Jar Photo Lid Magnets
 Materials you’ll need for this craft:
- Some magnets
- A pair of scissors
- Pictures for the tracing and cutting
- Hot glue sticks
- Hot glue gun
- Mason jar lids (or any other jar lids you have)
Instructions to make the DIY Upcycled Mason Jar Photo Lid Magnets:
Step 1:
You start by taking the lid insert and tracing a circle onto the photo you have. Then, take the scissors and cut them out.
Step 2:
Attach the insert to the inside of the lid ring using the glue.
Note: Please, be very careful – the adhesive will cause the metal to get HOT, so make sure you don’t burn your fingers!
Step 3:
With the glue, stick the photo to the inside of the lid using glue. If you want your photo to stand out even more, trace and cut out a piece of thick cardboard to glue behind it. I tried it, but I liked it better with the photo a little further within the lid to give more of a frame effect. But it’s entirely up to you!
Step 4:
The last phase includes gluing the magnet to the back of the frame.