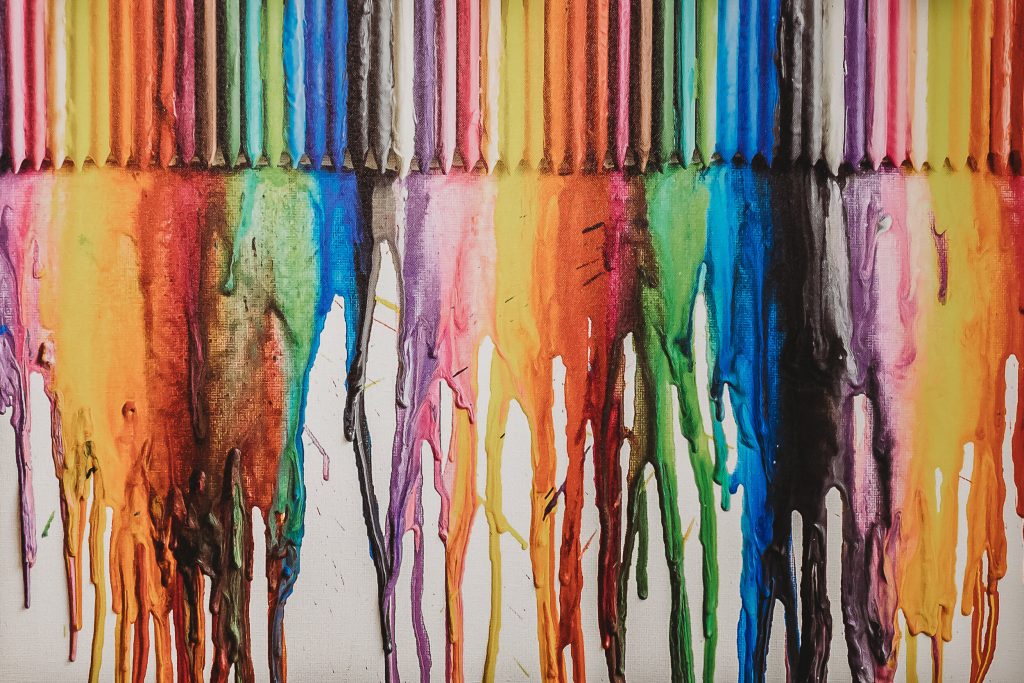
Broken crayons are no longer thrown away; instead, they are used to make things like colorful crayon ornaments, letter name crayons or melted crayon art – the new fun and creative thing to do for all those who enjoy art. Want to learn how to make melted crayon art? Have a look below.
The Blow Dryer Method:
Gather Your Materials
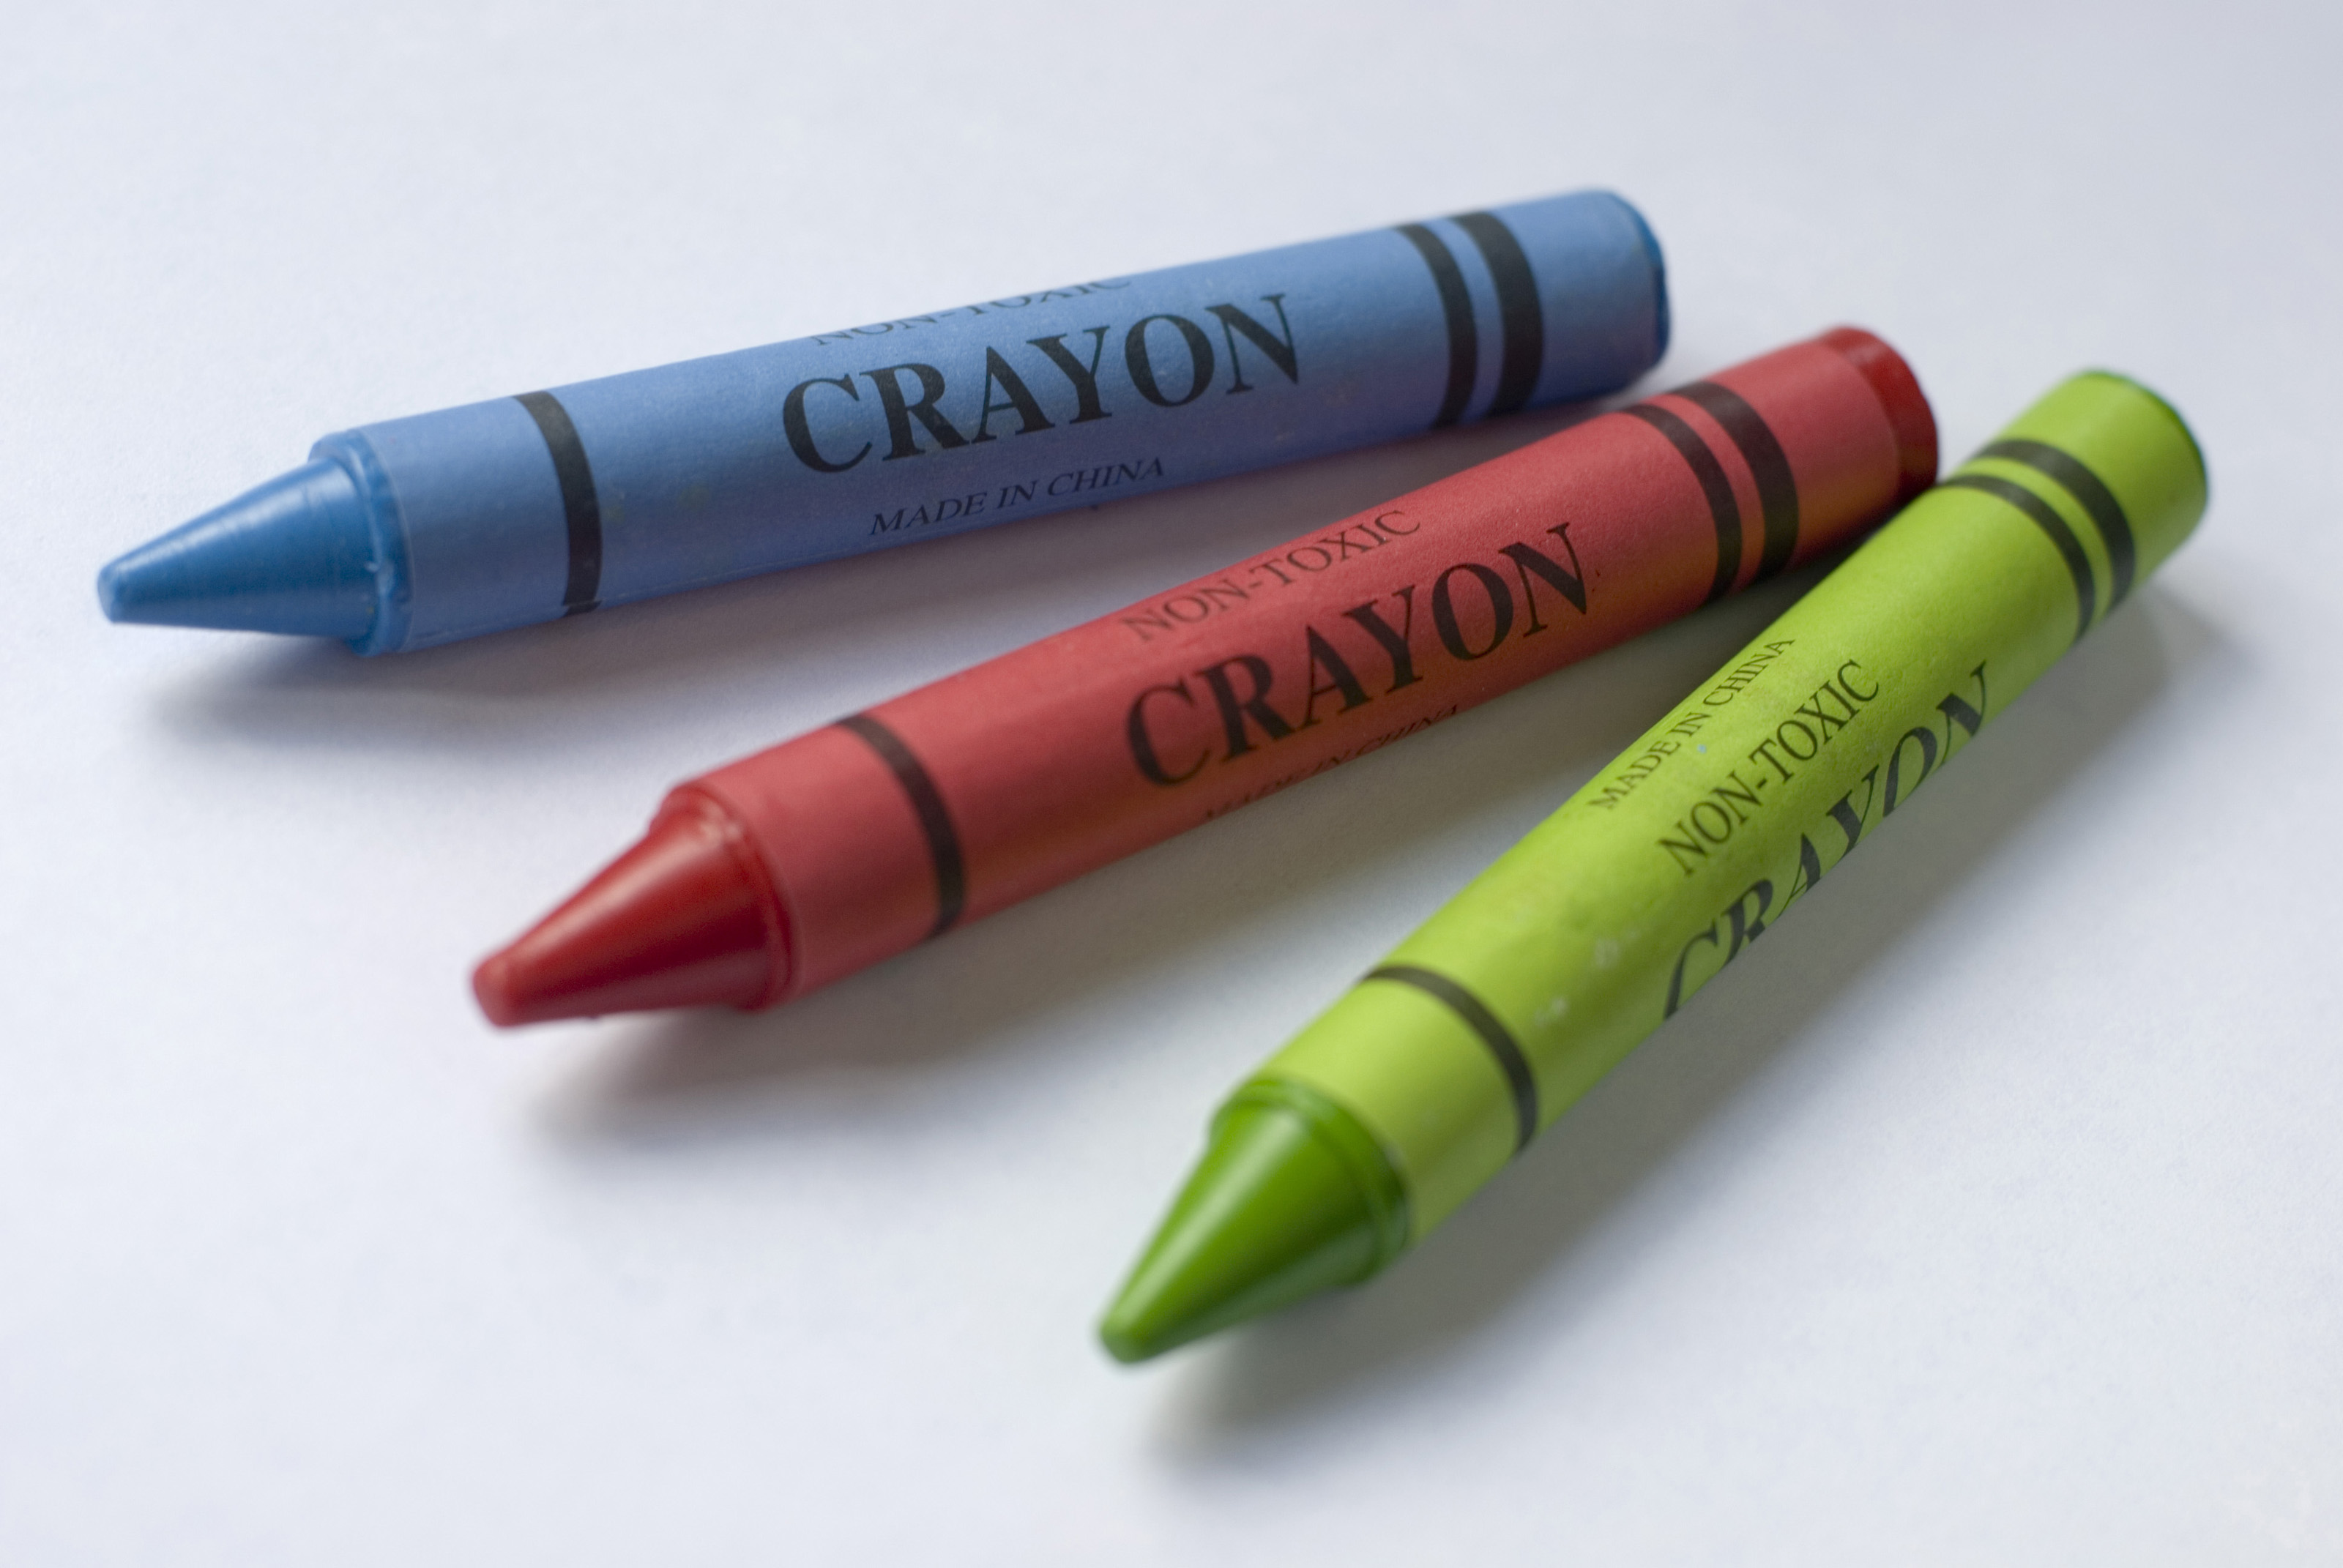
Here’s what you will need: A canvas (your choice of size), crayons (your choice depending on the size of the canvas), a hot glue gun, and a hair/blow dryer You should probably put newspaper, an old t-shirt, or a blanket under the canvas in case the wax splatters.
Cover up a little more on each side of any area you suspect will get messy. Remember to cover yourself as well! This project should not include hot-colored wax on your skin or nice clothes.
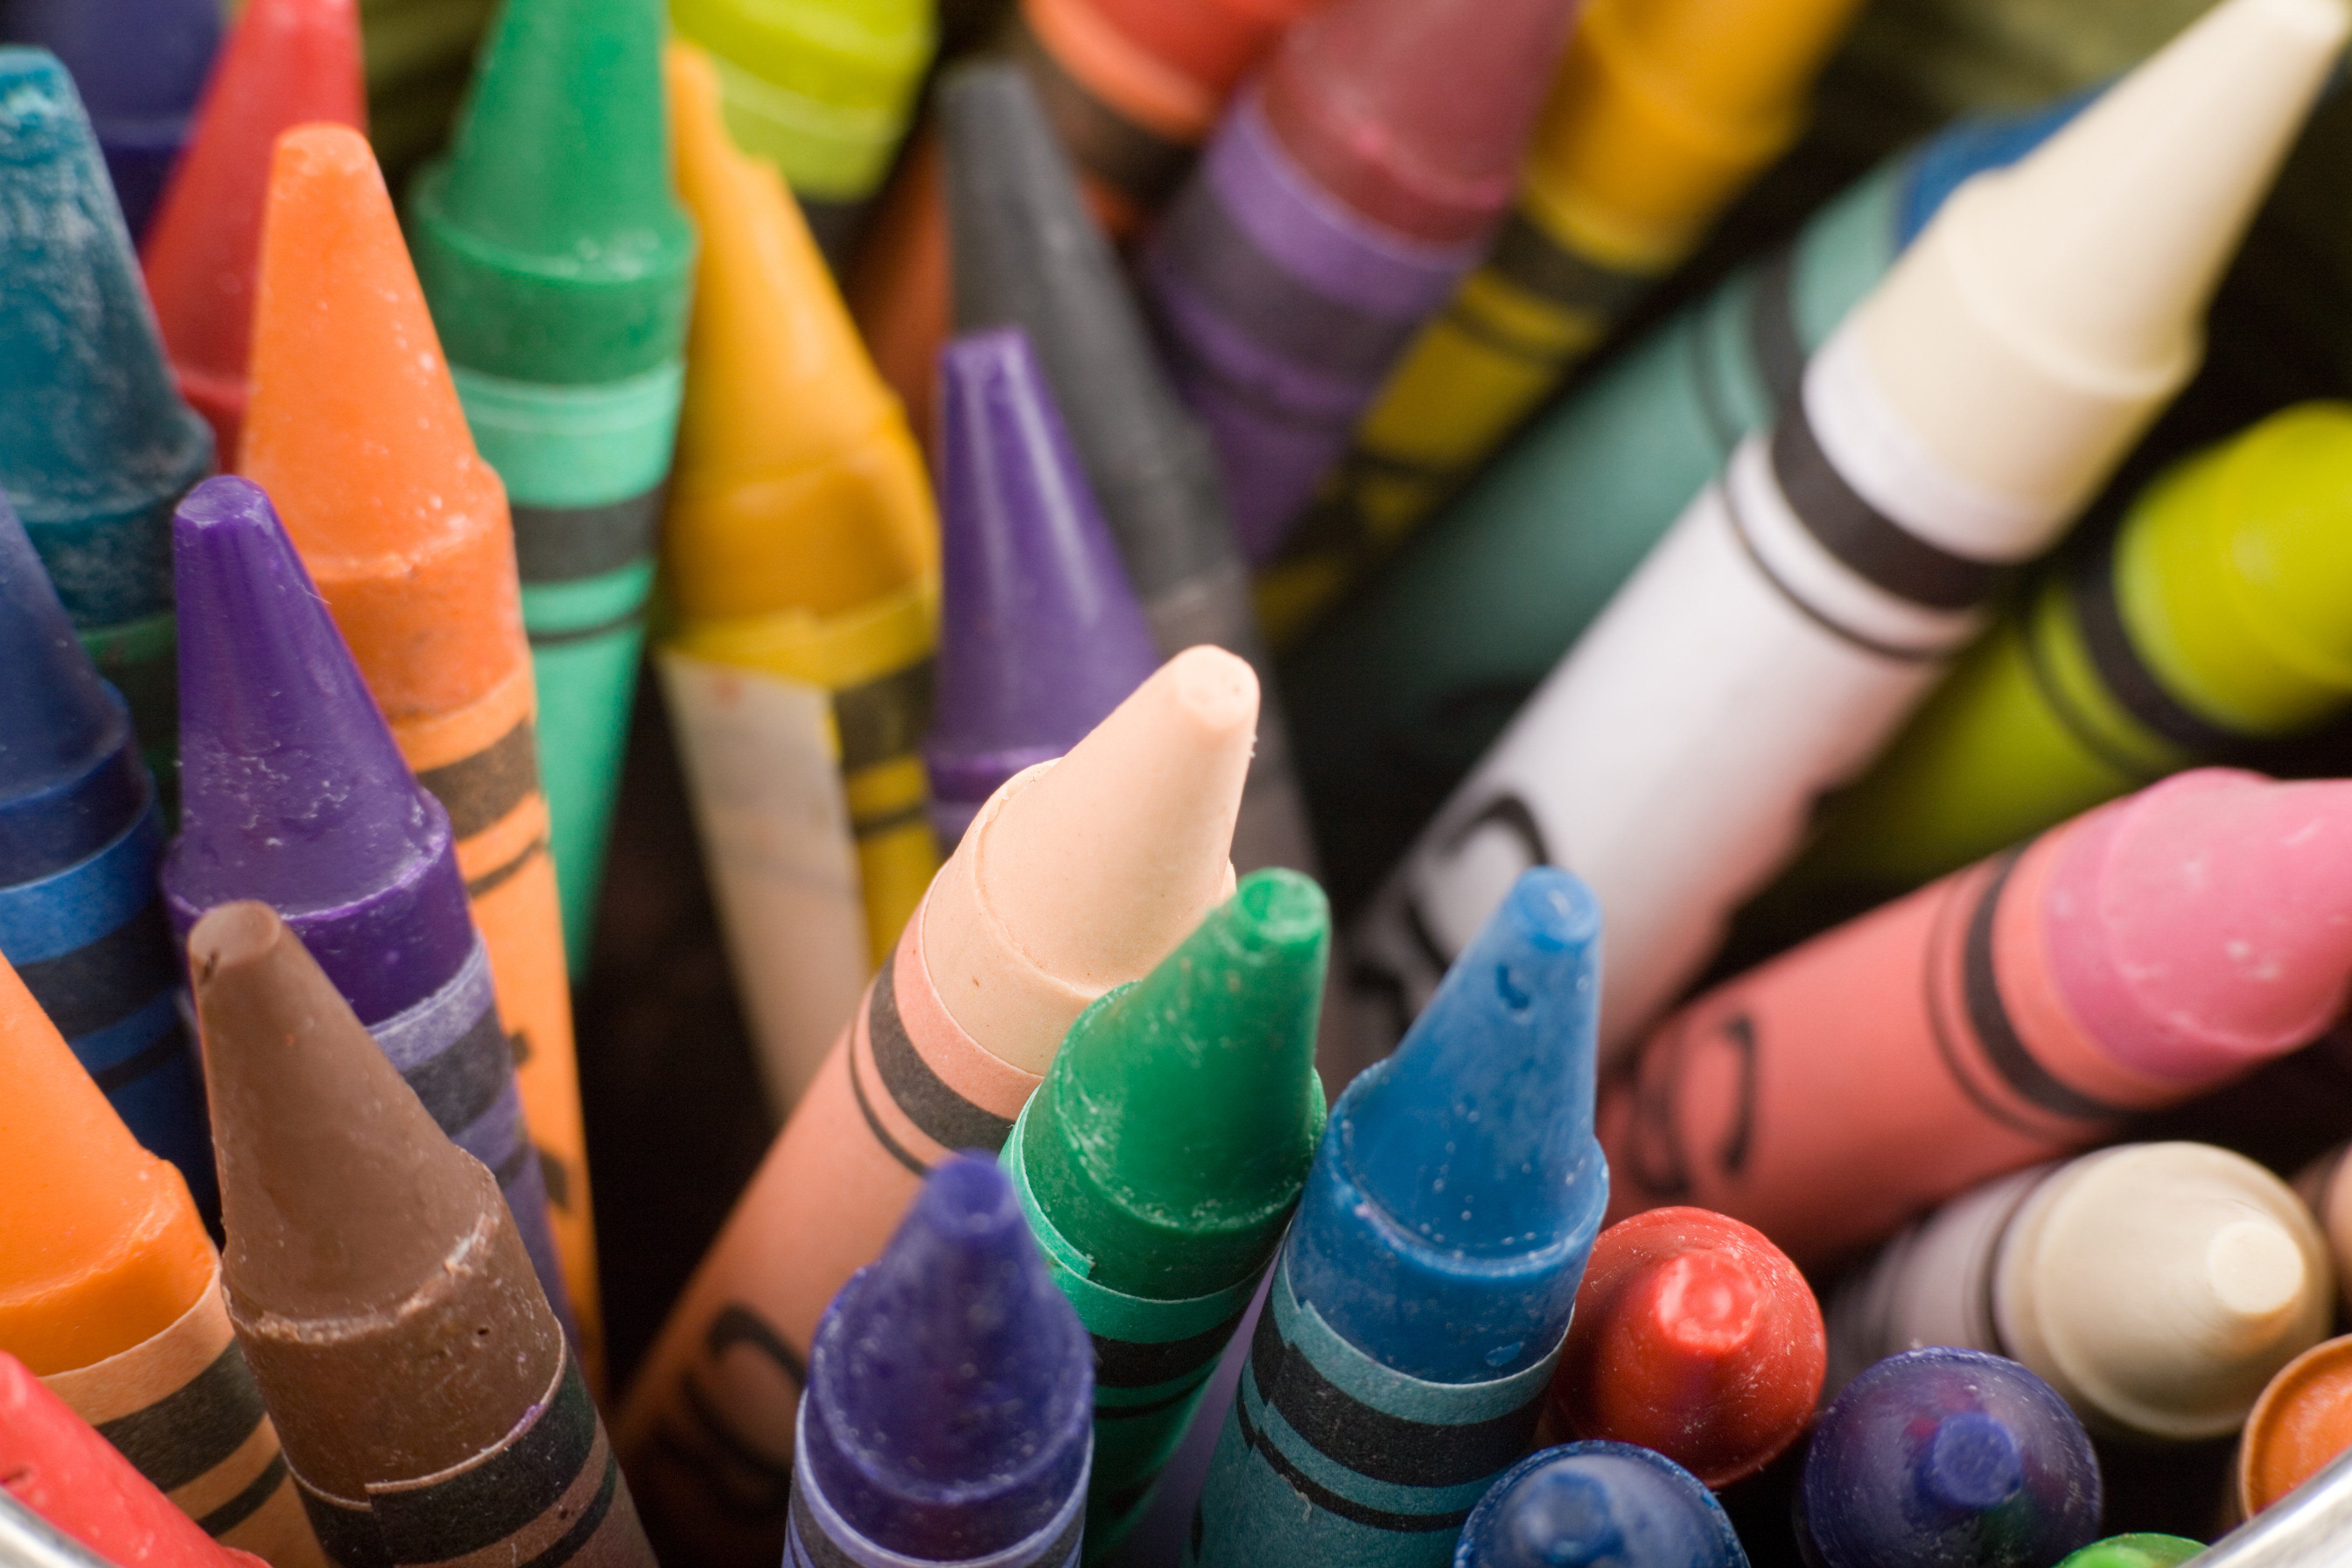
Sort Through the Crayons
Sort according to your preferences. If you choose a rainbow design, arrange the crayons in the order of the rainbow. Some people arrange their crayons from lightest to darkest, while others use various shades of the same color. You have complete control over the arrangement.
Ensure that there is enough to cover the entire top of the canvas. Color repetition is equally appealing.
Use Hot Glue
Hot glue each crayon to the top of your canvas in the order listed. Some people leave the wrappers on, while others remove them, but either method works.
You have the option of unwrapping the crayons and cutting them in half. This gives it a more natural appearance and prevents the top three inches of your canvas from being clearly lined with crayons.
Slant the Canvas to Allow the Wax to Drip
One popular method is to lean it against a wall. If you do decide to lean it against a wall, tape newspaper to the wall to prevent accidents.
Blow the Crayons With Your Blow Dryer
It’s best to direct the blow dryer downwards so the wax drips. Take note that this is going to get messy! It doesn’t really matter how sloppy it gets as long as your newspapers are properly laid out.
For faster melting, use birthday candles. It’s a little more dangerous, and the candle wax drips all over the place. If you’d rather be messy than rushed, a candle might be a better option.
Note: A heat gun is also a faster option and is available at most craft supply stores.
The Drying Phase
Keep aside and let it dry.
You Should Tidy Up Your Work
Remove the crayons and collect any dried wax that has seeped onto less-than-desirable areas. If desired, color in whatever you want.
Now, you can show off your work! Hang it on the wall, share it on Facebook or Tumblr, or invite a family member over. Show the world your creativity; they’ll love it! The kids will as well!
The Hot Glue Gun Method:
Take Out Your Canvas
Place it against a wall or a towel-lined chair. Someplace where you don’t mind getting messy. Choose a canvas size that you believe you can cover with the number of crayons you have.
Fill the glue gun with a crayon. Unwrap your preferred crayons, shave them down to size (to fit), and insert one into the glue gun.
If you want to use multiple colors, after you’ve inserted the first crayon, push in the second, then the third, and so on – this will force the crayon in front of it out.
Fill In Your Canvas
You have complete color control with this method; it will go wherever you want it to. You could stick with the standard drip look or experiment with shapes and designs. Draw with the gun tip close to the canvas!
When there is nothing left to push in, add another crayon. As the next crayon prepares to take the spotlight, the color coming out of the tip will gradually lighten or darken.
Allow to Dry
That was a lot faster than blow drying, wasn’t it? If you believe your glue gun can be saved, insert a regular glue stick and work it through until the output is clear and gluey rather than colored and waxy.
If you are unhappy with a section of your painting, you can easily redo (or add to) it using this method