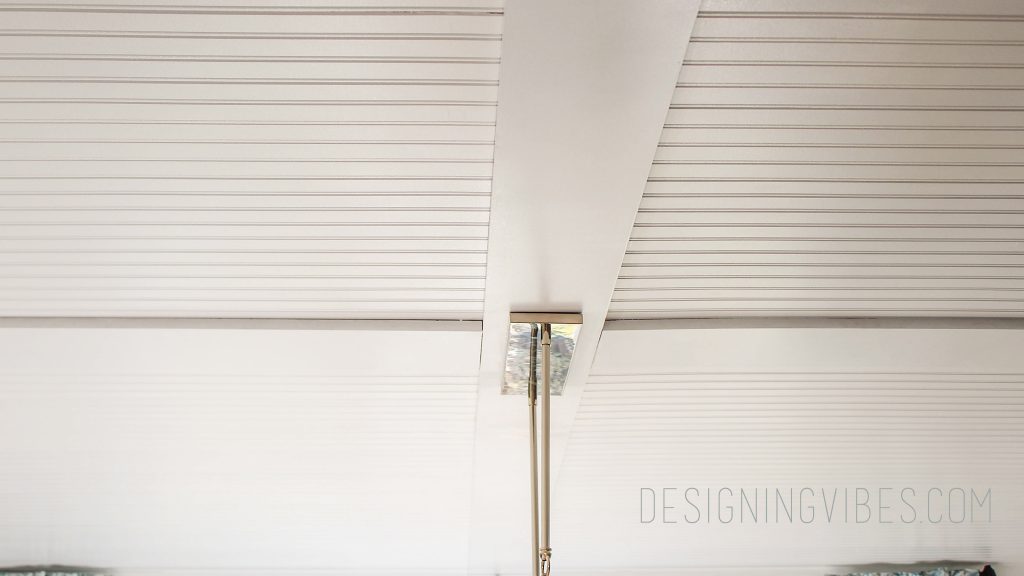
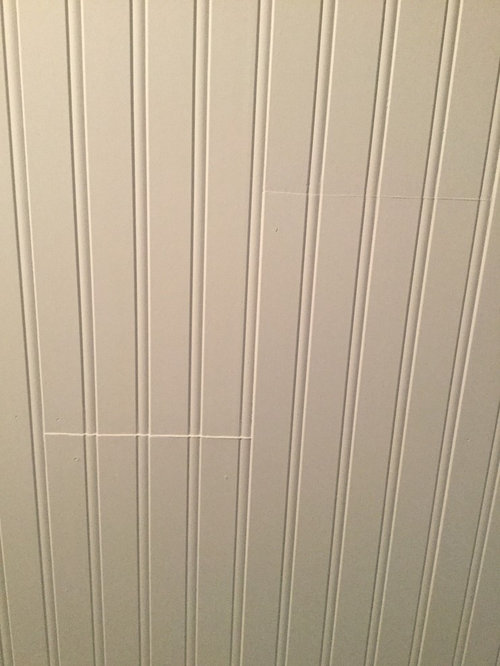
The most cost-effective beadboard material you can find is 4X8 paneling sheets found at most home improvement stores. If 8′ isn’t tall enough, you have to install multiple pieces and the seam is pretty apparent. Generally, you can hide the seam with a trim but there are occasions when you just want a seamless beadboard. It requires a bit of work to hide the seam but it is possible.
Make Sure Beads and Grooves Line Up
When installing multiple pieces of beadboard vertically, the most important thing is that the grooves and beads line up as perfectly as possible. There can be a difference from one sheet to another, so take some time to select beadboard panels that match.
Attach Beadboard Firmly to Surface
When attaching beadboard to the cabinet, wall or another surface, in addition to nails, use caulk as adhesive. It may not be necessary to use adhesive on the entire panel but apply it to the area where the seam is being created. The objective is to prevent future movement and to crack in the wood putty and reveal the seam.
Make sure the beads and grooves line up as perfectly as you can get them and drive nails wherever you need them to pull the panel flat against the surface.
Apply Wood Putty
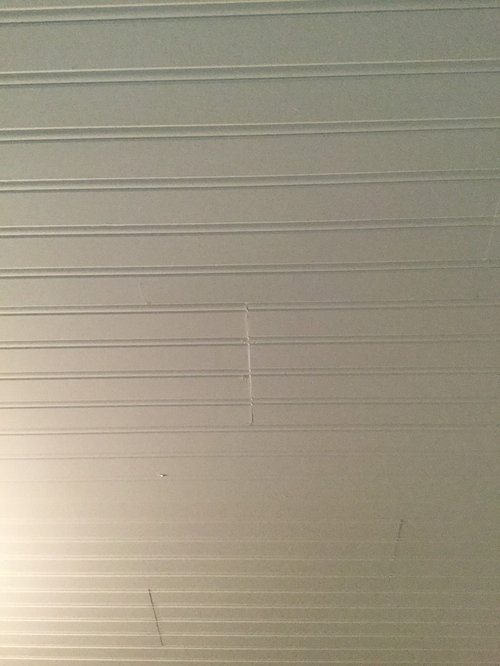
Apply your favorite wood putty generously, making sure to press it into the grooves. To build up a strong patch over the seam, spread on an ample supply of wood putty. Then use a wide putty knife to feather it out, spreading a portion of putty both above and below the seam. Feathering it out and applying the wood putty over a larger area will help hide the seam.
Clean Wood Putty Out of Grooves
Use the corner of a putty knife to scrape the putty out of the grooves. In some areas, you may find that this action reveals the seam. If this happens, reapply putty in that area and take less out when scraping the groove. You may have to use your fingers to shape and round the wood putty over the beads.
Sand Face and Grooves
Face
Wait for the putty to be completely dry before sanding. The flat face of the beadboard can be sanded with a fine grit sanding block or using an orbital sander. Either way, use gentle pressure and only take off a little at a time, so you don’t remove too much putty and reveal the seam.
Beads and Grooves
To create a thin, stiff, and flat sanding block, you can wrap a putty knife in sandpaper. (Start with 120 grit sandpaper followed by 220 grit.) Using a gentle up and down motion, sand all the beads and grooves. You’ll probably have to reposition the sandpaper frequently because there is such a small area of sandpaper surface being used.
Decide if You Can Move Forward or Need to Repeat a Few Steps
Once the whole seam is sanded smooth, look at it with a critical eye from multiple directions. Decide if it looks good or needs another coat of wood putty. If it needs another coat, go back and repeat.
Prime
If it looks great, prime it. The primer will accentuate any and all imperfections. If any flaws are revealed that you don’t want to live with, repeat the necessary steps to hide the seam to standards you can live with.
Paint
Once you decide the hidden seam looks great, go ahead and paint the beadboard.
Tip: If you see a visible hairline crack after painting, scraping the paint with a one-sided razor blade might do the trick. Hold the blade at close to a 90-degree angle and gently rub across the crack/seam. If the first pass doesn’t do anything, try again with a little more pressure. This trick only works with very small seams.
Let us know in the comments below if you have ever tried to hide seams in beadboard.