Are you a major nail polish fan? And, like me, do you have hundreds of eyeshadow palettes full of colors you’ve never used (and definitely won’t in the near future)? If so, why not attempt this simple DIY nail polish tutorial?
What Materials Will You Need?
With some perseverance and some luck, you can find the following materials. Wait, what the hell am I talking about? These are very easy-to-get materials, which can be found in your bedroom itself.
So, here’s what you will need:
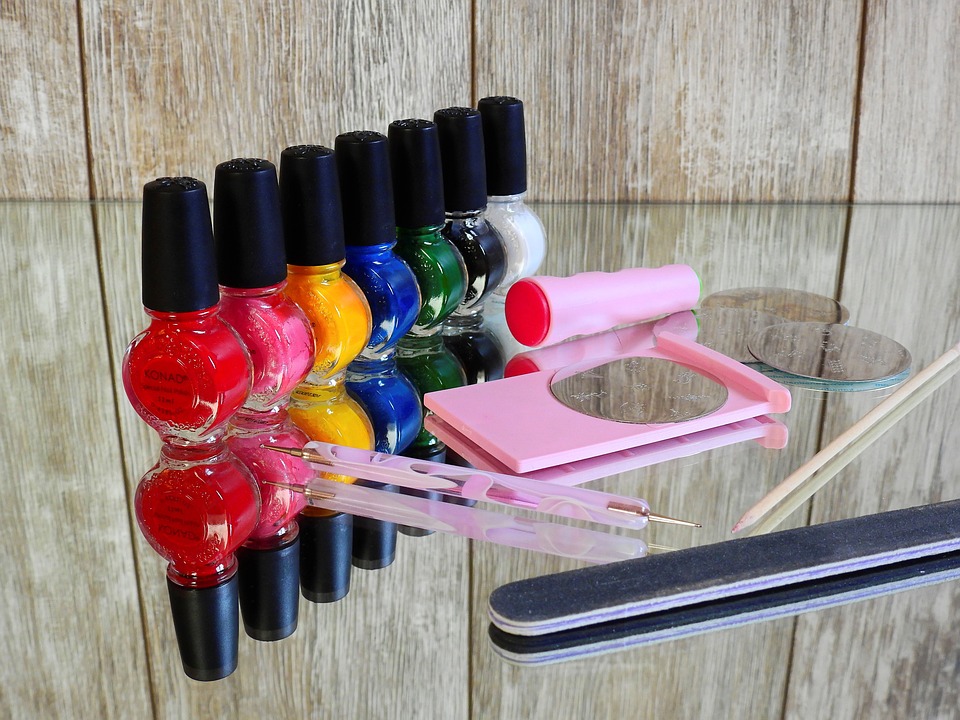
- Clear Nail Polish
- Eyeshadow (base coat or top coat)
- Paper funnel (optional)
- Cuticle pusher
Steps Involved In Making DIY Nail Polish

Step 1 – Squeeze out some clear polish: To apply the eyeshadow, you’ll need some additional space in the bottle. As a result, if you’re using a brand new bottle of clear nail paint, you’ll need to empty out at least 1/6 of it. However, if it has been used a few times and there is some space at the top, you do not need to follow this step.
Step 2 – Crush up some eyeshadow: Choose an eyeshadow that you don’t intend to use again. It is entirely up to you which color eyeshadow you want to use to create your nail paint. Let me tell you that you can even mix a few eyeshadow colors together to build your own bespoke shade (although if you’re like me and can’t trust yourself to make the proper color selections, I recommend you don’t do it since it may result in a jumble of colors).
Once you’ve decided on an eyeshadow color, I recommend using a cuticle pusher to softly crush the eyeshadow powder. There is no need to use considerable force since they will readily separate. Remember to crush the eyeshadow until it produces a fine powder, removing any huge lumps.
Step 3 – Pour the crushed eyeshadow powder into your clear nail paint: Once you’ve crushed and powdered your eyeshadow, it’s time to pour it into the nail polish. So, to complete this step, you may either use the same cuticle pusher you used previously, or you can build a little paper funnel.
Here’s how to construct a paper funnel if you’re worried about making a mess:
- To begin, fold a rectangle of printer-size paper in half and then again, creating creases in the center both vertically and horizontally.
- Keep the paper folded this way and cut off the corners in a curved motion from corner to corner.
- Then, open up the oval you have created and cut off 1/4 of it along the creased lines.
- Try overlapping the two straight edges you just produced and pulling the outside edge toward you until you have the desired cone form.
- Apply tape to the exterior of the cone to attach it securely, and then snip off the tip.
And there you have it: a paper funnel.
When it comes to how much nail shadow to apply to the paint, it’s entirely up to you whether you want a light or deep and dark hue.
Step 4 – Shake the bottle to mix: As you add the powder to your clean nail paint, you’ll see it settles towards the bottom of the jar. After you’ve added the desired amount of eyeshadow powder, tighten the cap and thoroughly mix it up. Your recipe will be ready in a matter of minutes, and you will have your own DIY nail polish ready to use.
Will you try your hand at manufacturing your own nail polish? Oh and please don’t blame me if things don’t go as I’ve predicted. But, you can still share what went wrong (just go with decent and civilized words in the comment section below).