4 Steps to Craft Your Makeup Wipes
Summary
– Step 1: Choose the fabric for your washable makeup remover pads
– Step 2: Choose the size of your washable makeup remover wipes
– Step 3: Make your washable makeup remover wipes
– Step 4: Store your washable makeup remover squares
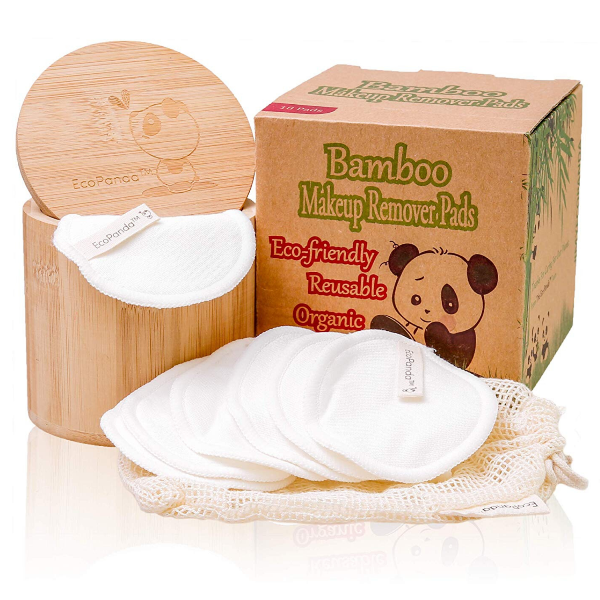
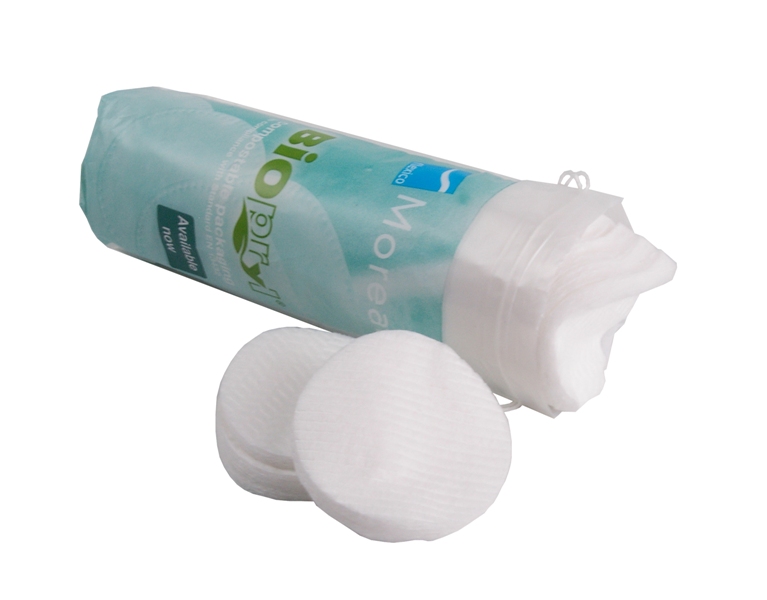
Why continue to waste when it’s so easy to make washable makeup remover wipes? Commercial cotton pads are expensive and not environmentally friendly. On the other hand, a washable makeup remover is economical, saves the planet, and pampers the skin… This post will tell you how to make washable makeup remover wipes easily and quickly.
1. Choose the fabric for your washable makeup remover pads
A washable makeup remover pad has two sides. You can opt for two sides in the same fabric or bi-material wipes with one fabric per side: they often combine cotton and bamboo, combining a cleansing side and a soothing side.
In all cases, choose soft, natural, and absorbent fabrics more suitable for removing makeup from sensitive areas such as the face and eyes. Vegetable fibers are ideal, preferably organic, certified STANDARD 100 by OEKO-TEX® or GOTS.
Several fabrics are suitable for making your wipes:
– Bamboo micro-sponge is the softest fabric chosen for fragile, sensitive, or reactive skin.
– Tencel is a soft and supple eucalyptus viscose, ideal for normal to sensitive skin.
– Cotton micro-sponge is one of the classics; it is less expensive and suits normal skin. It may not be gentle enough for hypersensitive skin but may offer a micro-peeling effect to others.
Tip: If you want to make natural washable makeup removal pads, choose unbleached fabrics without bleaching or chemical dyes.
Be sure to choose quality fabrics and follow the care recommendations.
– Check the washing instructions when you buy a piece of fabric, and prefer resistant materials that you can wash at high temperatures.
– Be aware of fabric material; some can be fluffy and continue to shed lint after several washes.
– Remember to wash fabrics before sewing to avoid shrinkage in the wash, reduce lint as much as possible and remove any primers.
2. Choose the size of your washable makeup remover wipes
The pattern of your makeup remover wipes can be adapted to your desires.
– If you want to keep your habits, you can simply imitate your usual disposable cotton pads: put a cotton pad on a sheet of paper and draw the outline to make a pattern. You can then pin it on the fabric of your choice.
– No square for you, but round washable makeup remover wipes like the classic discs? Draw circles of about 6 to 7 cm.
Note: the rounded format may be less manageable when sewing.
– If you prefer to keep it simple, use 10 x 10 cm squares: you’ll avoid stitching on a curve or a small size.
– If you like large cotton pads to remove your face makeup, cut 15 x 15 cm squares.
3. Make your own washable makeup remover wipes
There are two ways to sew your washable wipes: with a simple overlock, done by machine or serger, or straight stitching, turning the wipes inside out before overlocking them. The first method is much easier and faster.
Make washable makeup remover wipes with overlocking.
On the sewing machine:
– Set the machine to an overlock stitch, a very tight zigzag, or an overlock. Be careful; the latter will not work on fabrics that lint or fray too much. You can also choose a buttonhole stitch if it is not automatic.
– Place the two pieces of fabric together, the wrong side together.
– Stitch all the way around the washable makeup remover square.
– Cut the threads.
Overlocking:
– Set the overlock stitch to match your fabric.
– Place the two pieces of fabric together, wrong sides together.
– Stitch all the way around the washable makeup square.
– Tuck the chain under the seam and cut the tiny threads.
Tip: If you have a serger that cuts fabric, avoid using rounded washable makeup remover wipes unless you are very good at handling them. It’s hard to get nice circles without practice. Instead, opt for squares, rounding off the corners as you overcast, so you don’t have to lift the presser foot.
Tip: Play with the color of the overlock or topstitch to add color to unbleached fabrics.
Make washable makeup remover wipes without overlocking.
– Set the sewing machine to a standard straight stitch.
– Stitch all around the washable makeup remover to within a few millimeters of the edge, leaving a 2 cm opening.
– Gently turn it over.
– Tuck the edges of the opening inward and pin.
– Stitch all around, a few inches from the edge.
4. Store your washable makeup remover squares
Once you’re done with your wipes:
– make a cloth bag or box to store them in;
– Use a net to store dirty wipes and wash them in the net to preserve them.
Tip: Think big when making your washable wipes. It’s best to sew enough washable makeup remover squares to last until the next wash!
Materials needed to make washable makeup remover wipes.
Dressmaker’s scissors
Sewing thread
Sewing machine
Fabric