
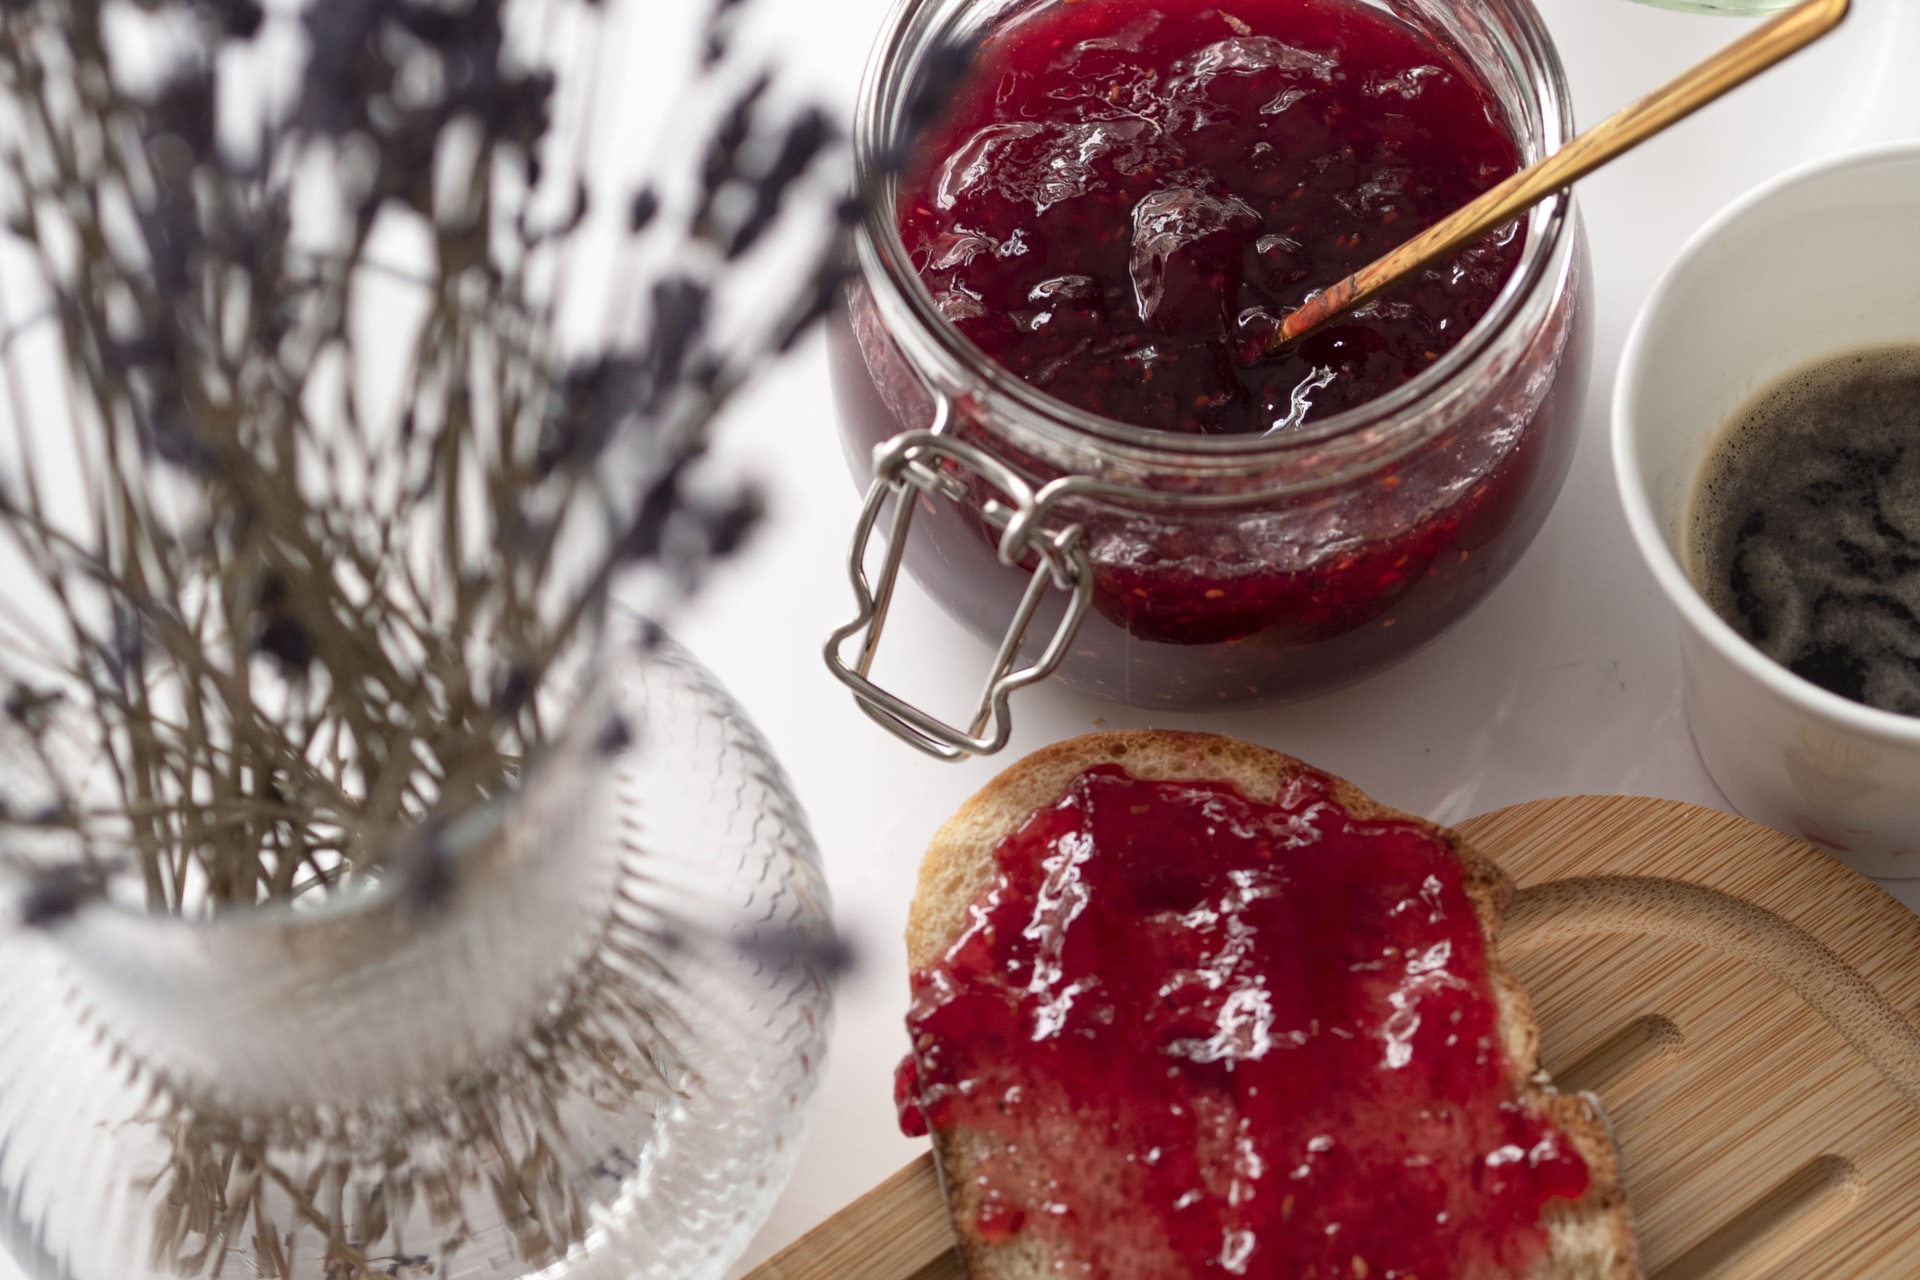
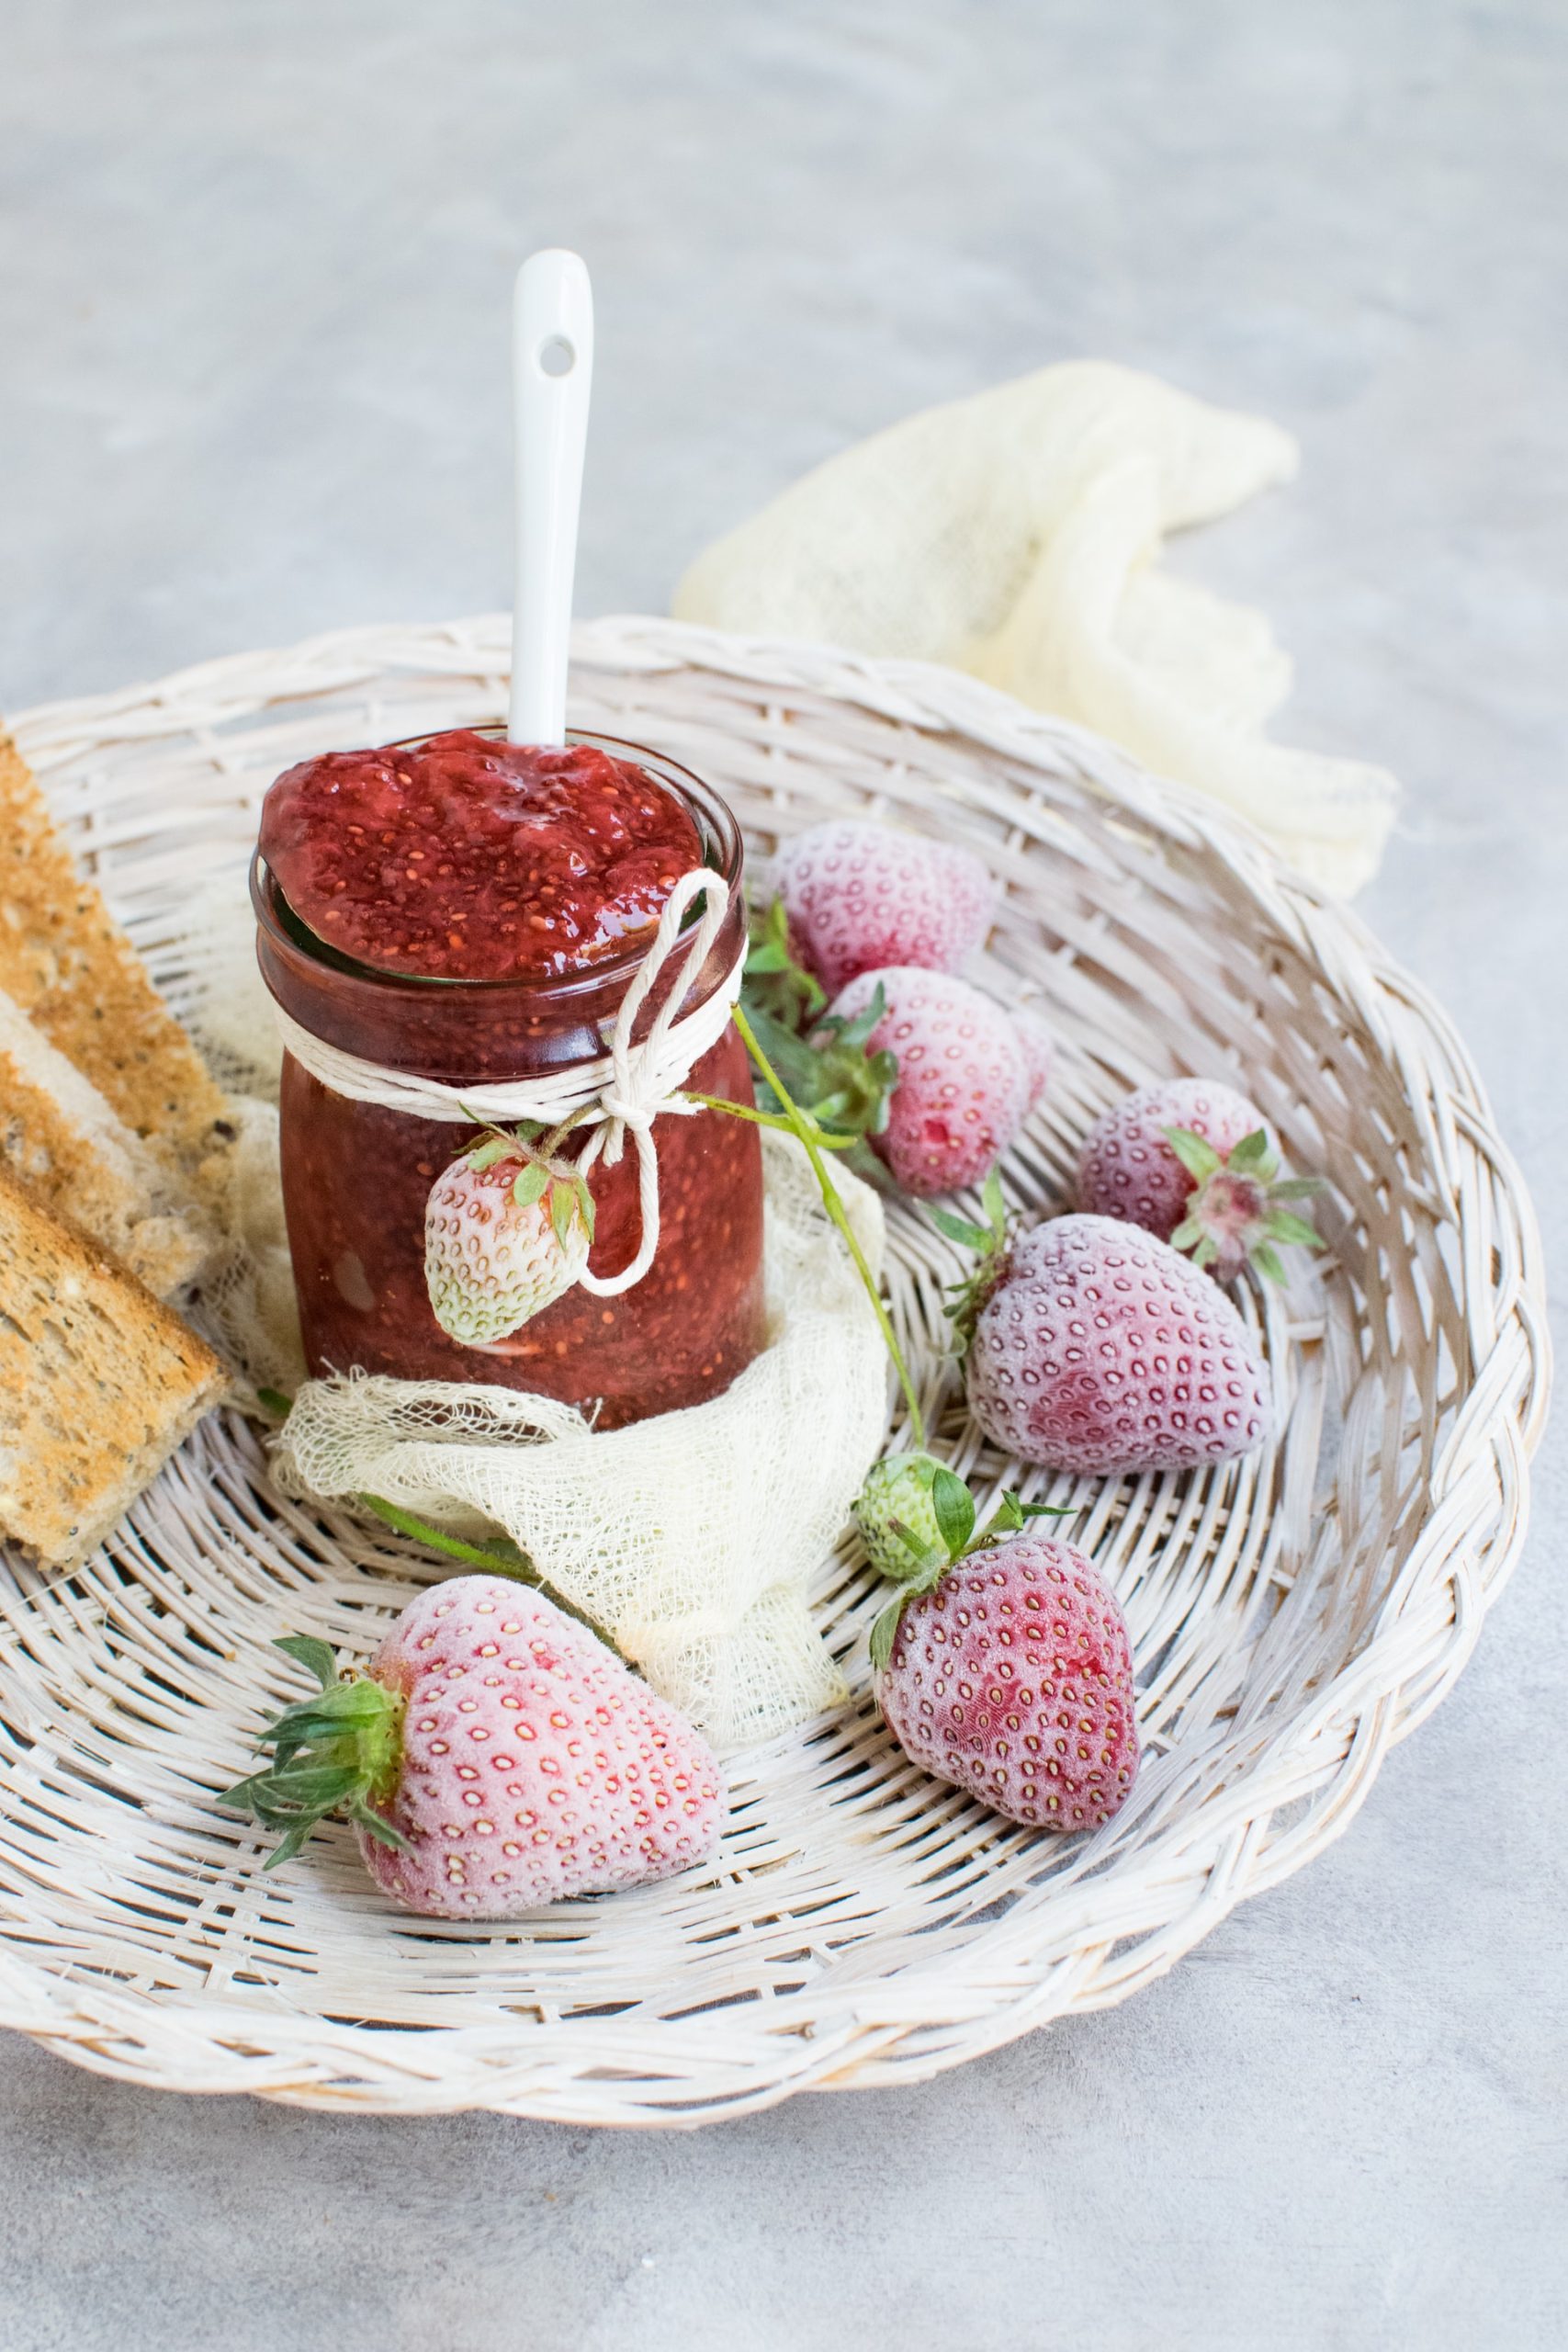
It is essential for breakfast or snacks, and no one can resist it! Everyone can find something to their liking with the many associations they offer. Yes, we are talking about jams!
What if you made it yourself? This would allow you to brighten up your family or friends’ days by allowing them to get up on the right foot! Simple to make, the taste will also be their thanks to our tips. Prepare your jars; we are waiting for you!
Step 1: Sterilize your jars
In order to guarantee the cleanliness of your jars, essential for the good conservation of your jam, it is essential to sterilize them before use. Indeed, the jam is heated to a high temperature during the cooking process, and its microbes will evaporate with the heat, but the dust will remain in your containers!
So let’s avoid bacteria either by using a sterilizer (which can be found in stores) or in a traditional way. For the second method, you will just have to soak your lids and jars in a pot filled with water and bring it to a boil for 5 to 15 minutes. Then, take them out with a fork (without putting your fingers inside the jars, otherwise there is a risk of re-contamination) and place them upside down on a clean cloth so that they drain by themselves.
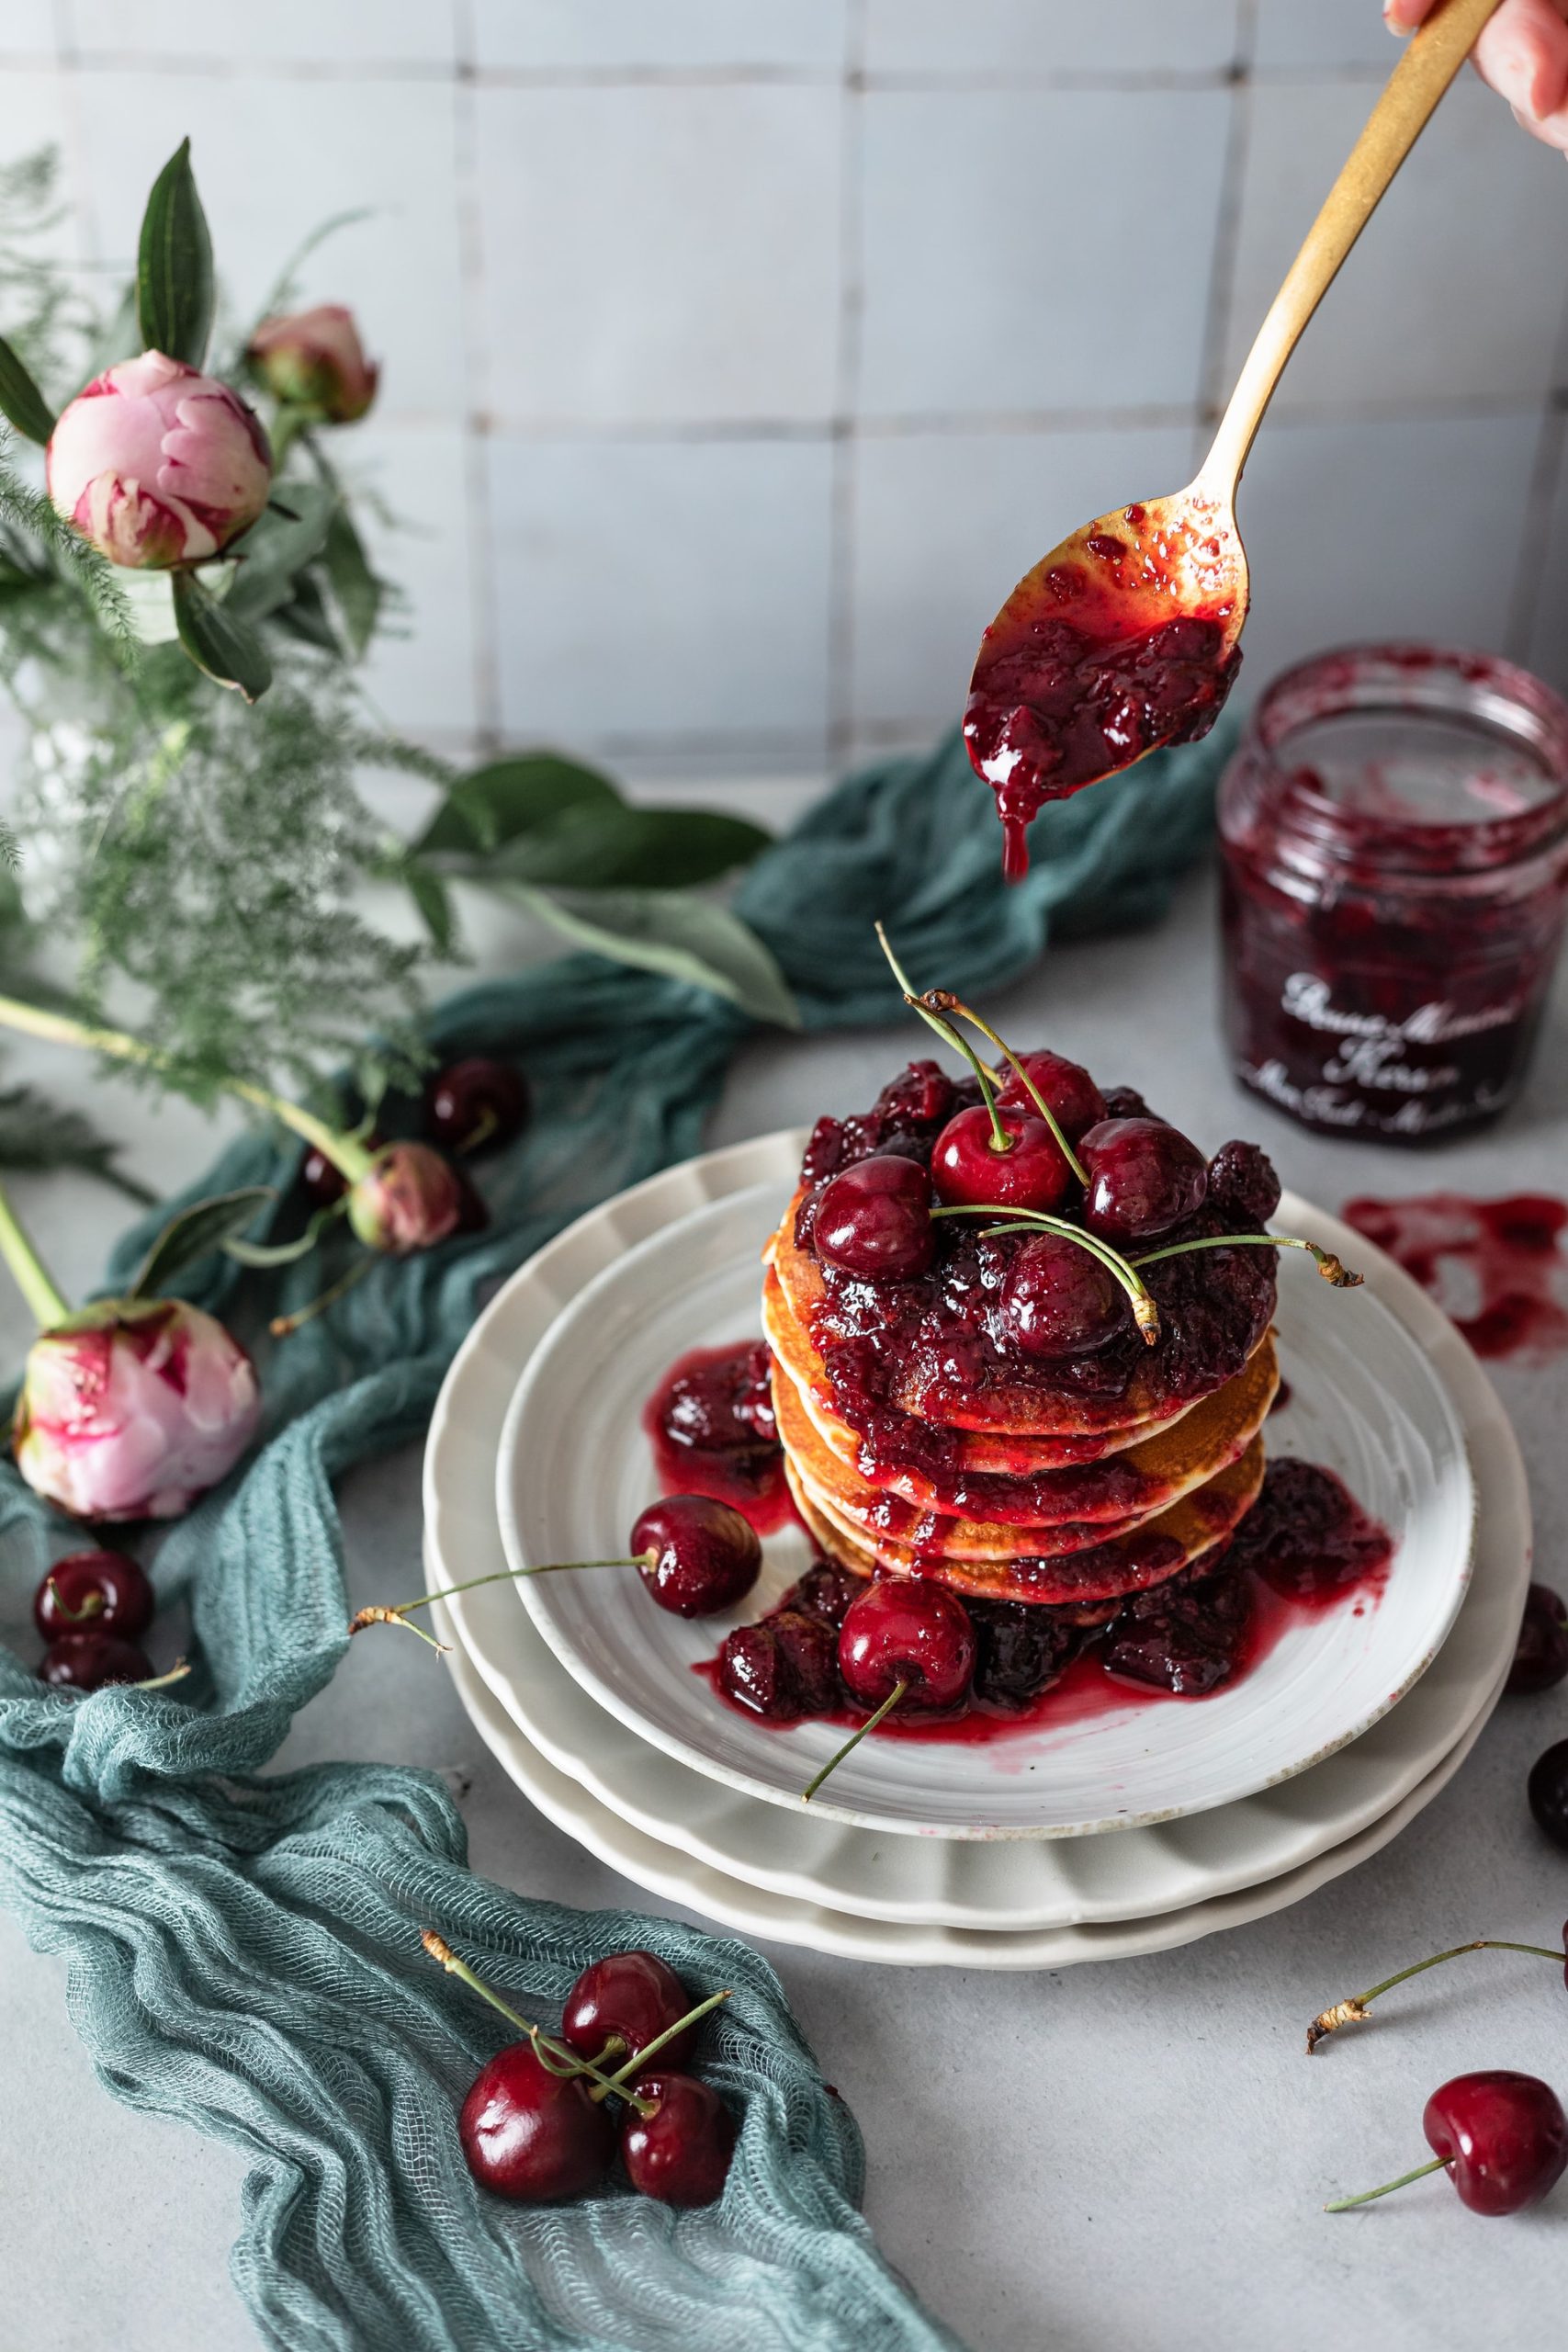
Step 2: Choosing the fruit
The condition of the fruit is a crucial factor in the preparation of the dish. Avoid chewed and overripe fruits; you could lose the taste. It is best to buy the fruit from the fragrant market stalls. At least you know that the fruit will have been picked when it is ripe and that it will not have suffered from the refrigeration of specific transports.
As soon as you buy it, it’s ready! Try to make your jam recipe the same day you buy the fruit or the next day.
Step 3: Accurate fruit weight
After cleaning your fruit with warm water and removing the stalks and wilted parts, it’s time for a bit of math!
So get out your scales and go ahead and weigh these two ingredients in the right proportions. Their weight must be determined with great precision. It will allow us to define the quantity of sugar needed since it must be equal to that of the fruit.
Step 4: The fruit/sugar mixture
Cut up your fruit before mixing it with the sugar. To do this, you can cut them to the size you want or put them in a blender to save time. Once mixed with the sugar, you can use the mixture right away or let it macerate in the refrigerator for about 12 hours. This will make the jam tastier.
The elements you can add to it:
- Fresh apple juice to allow the jam to stand. Cook the apples with their skin and seeds (higher pectin content). Some fruits are low in pectin (gelling agent), like red fruits will be happy to be associated with apples to guarantee a good holding.
- Fresh lemon juice help preserve the fruit, thanks to its acidity. We count approximately 1/2 lemon juice for 500 grams of sugar.
Step 5: Cooking
Place your pan on the stove over high heat. Depending on the recipe, the cooking time may vary. This may be due to the fruit used, the jam you want to obtain, or the type of sugar inserted in the preparation. In general, the cooking time is about 15 minutes.
However, please don’t take your eyes off the mixture, or you’ll miss it! Stir with a wooden spoon and gradually remove the scum created during cooking. For those who are well equipped, you can consider the cooking process finished when it reaches 105°C.
Step 6: Check that the cooking is good.
A little trick to check that your cooking is perfect: a cold plate! To do this, when you think the cooking is finished, take a little of your preparation and pour it onto the plate. If it freezes, it’s done! And yes, this kind of dish previously put in the freezer will allow us to see that the jam is ready.
Step 7: Potting
To double the sterilization of your jars for better preservation (in addition to step 1), pour your jam into its containers while it is still hot. To avoid putting some on the edges:
- Get a funnel.
- Don’t hesitate to fill the jars to the brim.
- After closing them with their lids, turn them over for 10 minutes so that the heat of the jam pasteurizes the entire package.
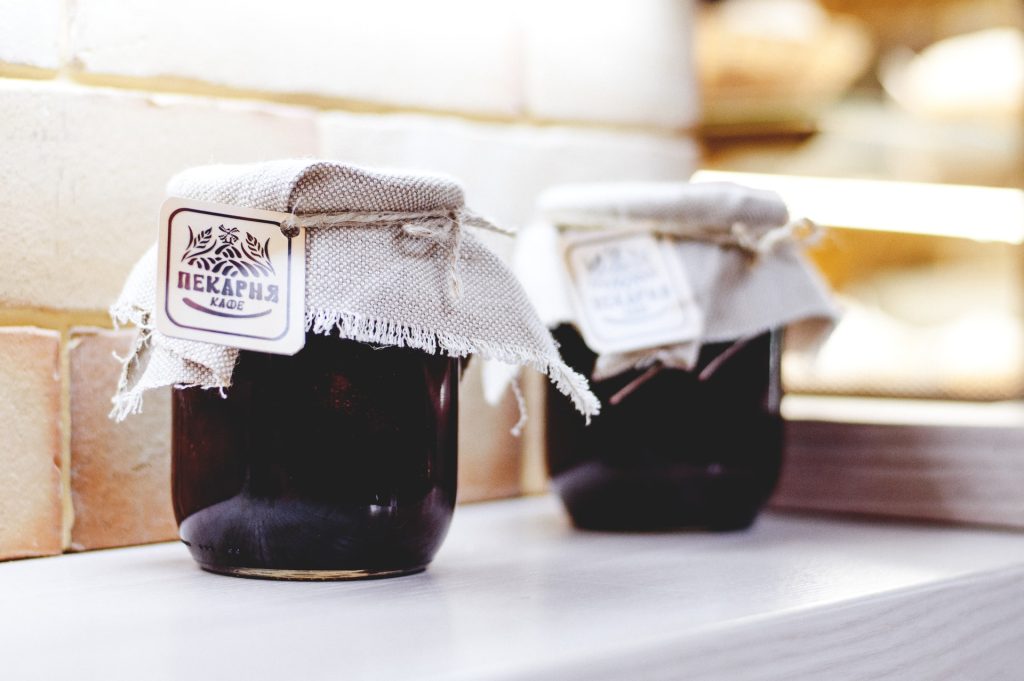
Step 8: Preservation
The sugar and the sterilization of the jar are not enough to preserve your jams. They must be stored in a dry and dark place in a room where the temperature does not exceed 18°C. Do not forget the famous labels on your jars to know the composition and the date of setting in a jar. The decorations are not to be neglected either, so get out your markers and ribbons!
Sound off in the comments section below and tell us if you want to read more about how to make homemade jam.


One thought on “8 Steps For Making The Perfect Homemade Jam”