As many countries have mandatory masks due to COVID-19, we wanted to create a simple fabric mask design that can be made at home.
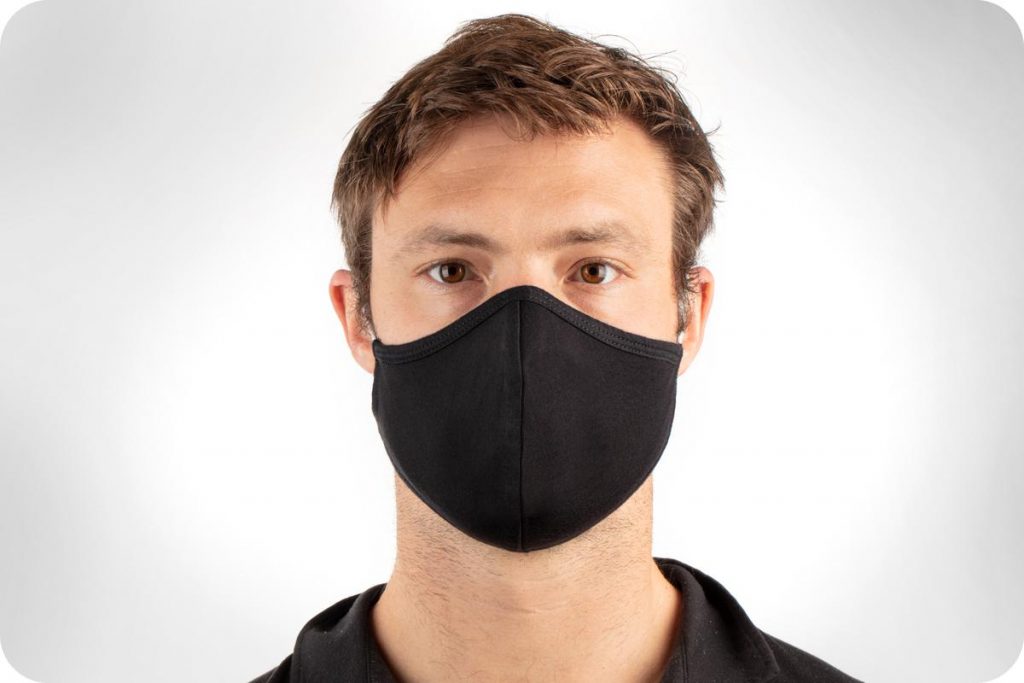
When wearing the mask, make sure your mouth, nose and chin are covered and adjust as best you can to leave no gaps, and avoid touching the front of the mask while wearing it. This design is reusable; simply wash at home with hot water and detergent. It is advisable to wash it after each use and remember to use clean hands while putting on and taking it off.

Picking the Right Fabrics
The fabrics used to make the mask are very important. The mask must comply with the guidelines used in the United States. Make sure you follow the fabric specifications listed in our materials list below:
- Outer layer – 100% water-resistant synthetic like Polyester 26 X 26 cm
- Middle layer – poly/cotton blend 25 X 25 cm
- Inner layer – water-absorbing fabric – linen or cotton 25 X 25 cm
Tools
- Sewing machine
- Scissors
- Dressmakers pins
- Fabric chalk
- Small safety pin
- Bamboo skewer or similar
- Matching thread
How to Make a Cloth Face Mask
- Cut your fabric to size; the fabric of the middle layer and inner layers’ fabric must be 25 cm square and the outer layer 26 cm square.
- Place the middle layer on top of the inner layer of fabric. It doesn’t matter which middle layer is facing, but make sure your inner layer faces the right side out. Pin the outer perimeter of the fabric and sew them together using a straight stitch 5 mm from the edge inwards.
- Take your outer layer of fabric and lay it flat with the right side facing down. Place your inner and middle layers on top with the inner layer facing up. Fold back the edges of the outer layer of fabric, iron flat and secure. You may want to cut a diagonal from the material to get the corners right.
- Along two parallel sides, fold back 1cm and iron flat.
- Using straight stitch, sew the two edges in place and sew over the line created in step 3 for a clean finish.
- Fold back 1.5 cm in the other two sides, pin and stitch as above. In the next step, you will thread the elastic through their sides, so do not sew the ends closed and be sure to leave enough room for the width of the elastic bands or fabric.
- If you use elastic straps: cut the rubber bands into two 20 cm lengths. Attach a safety pin to one end of your elastic straps and thread through the channel created in step 5. Fold it back around itself and secure in place. Sew the loop closed either by hand or by machine. Check the fit and tighten if necessary. For a correct finish, you can pull this join back into the ruched channel.
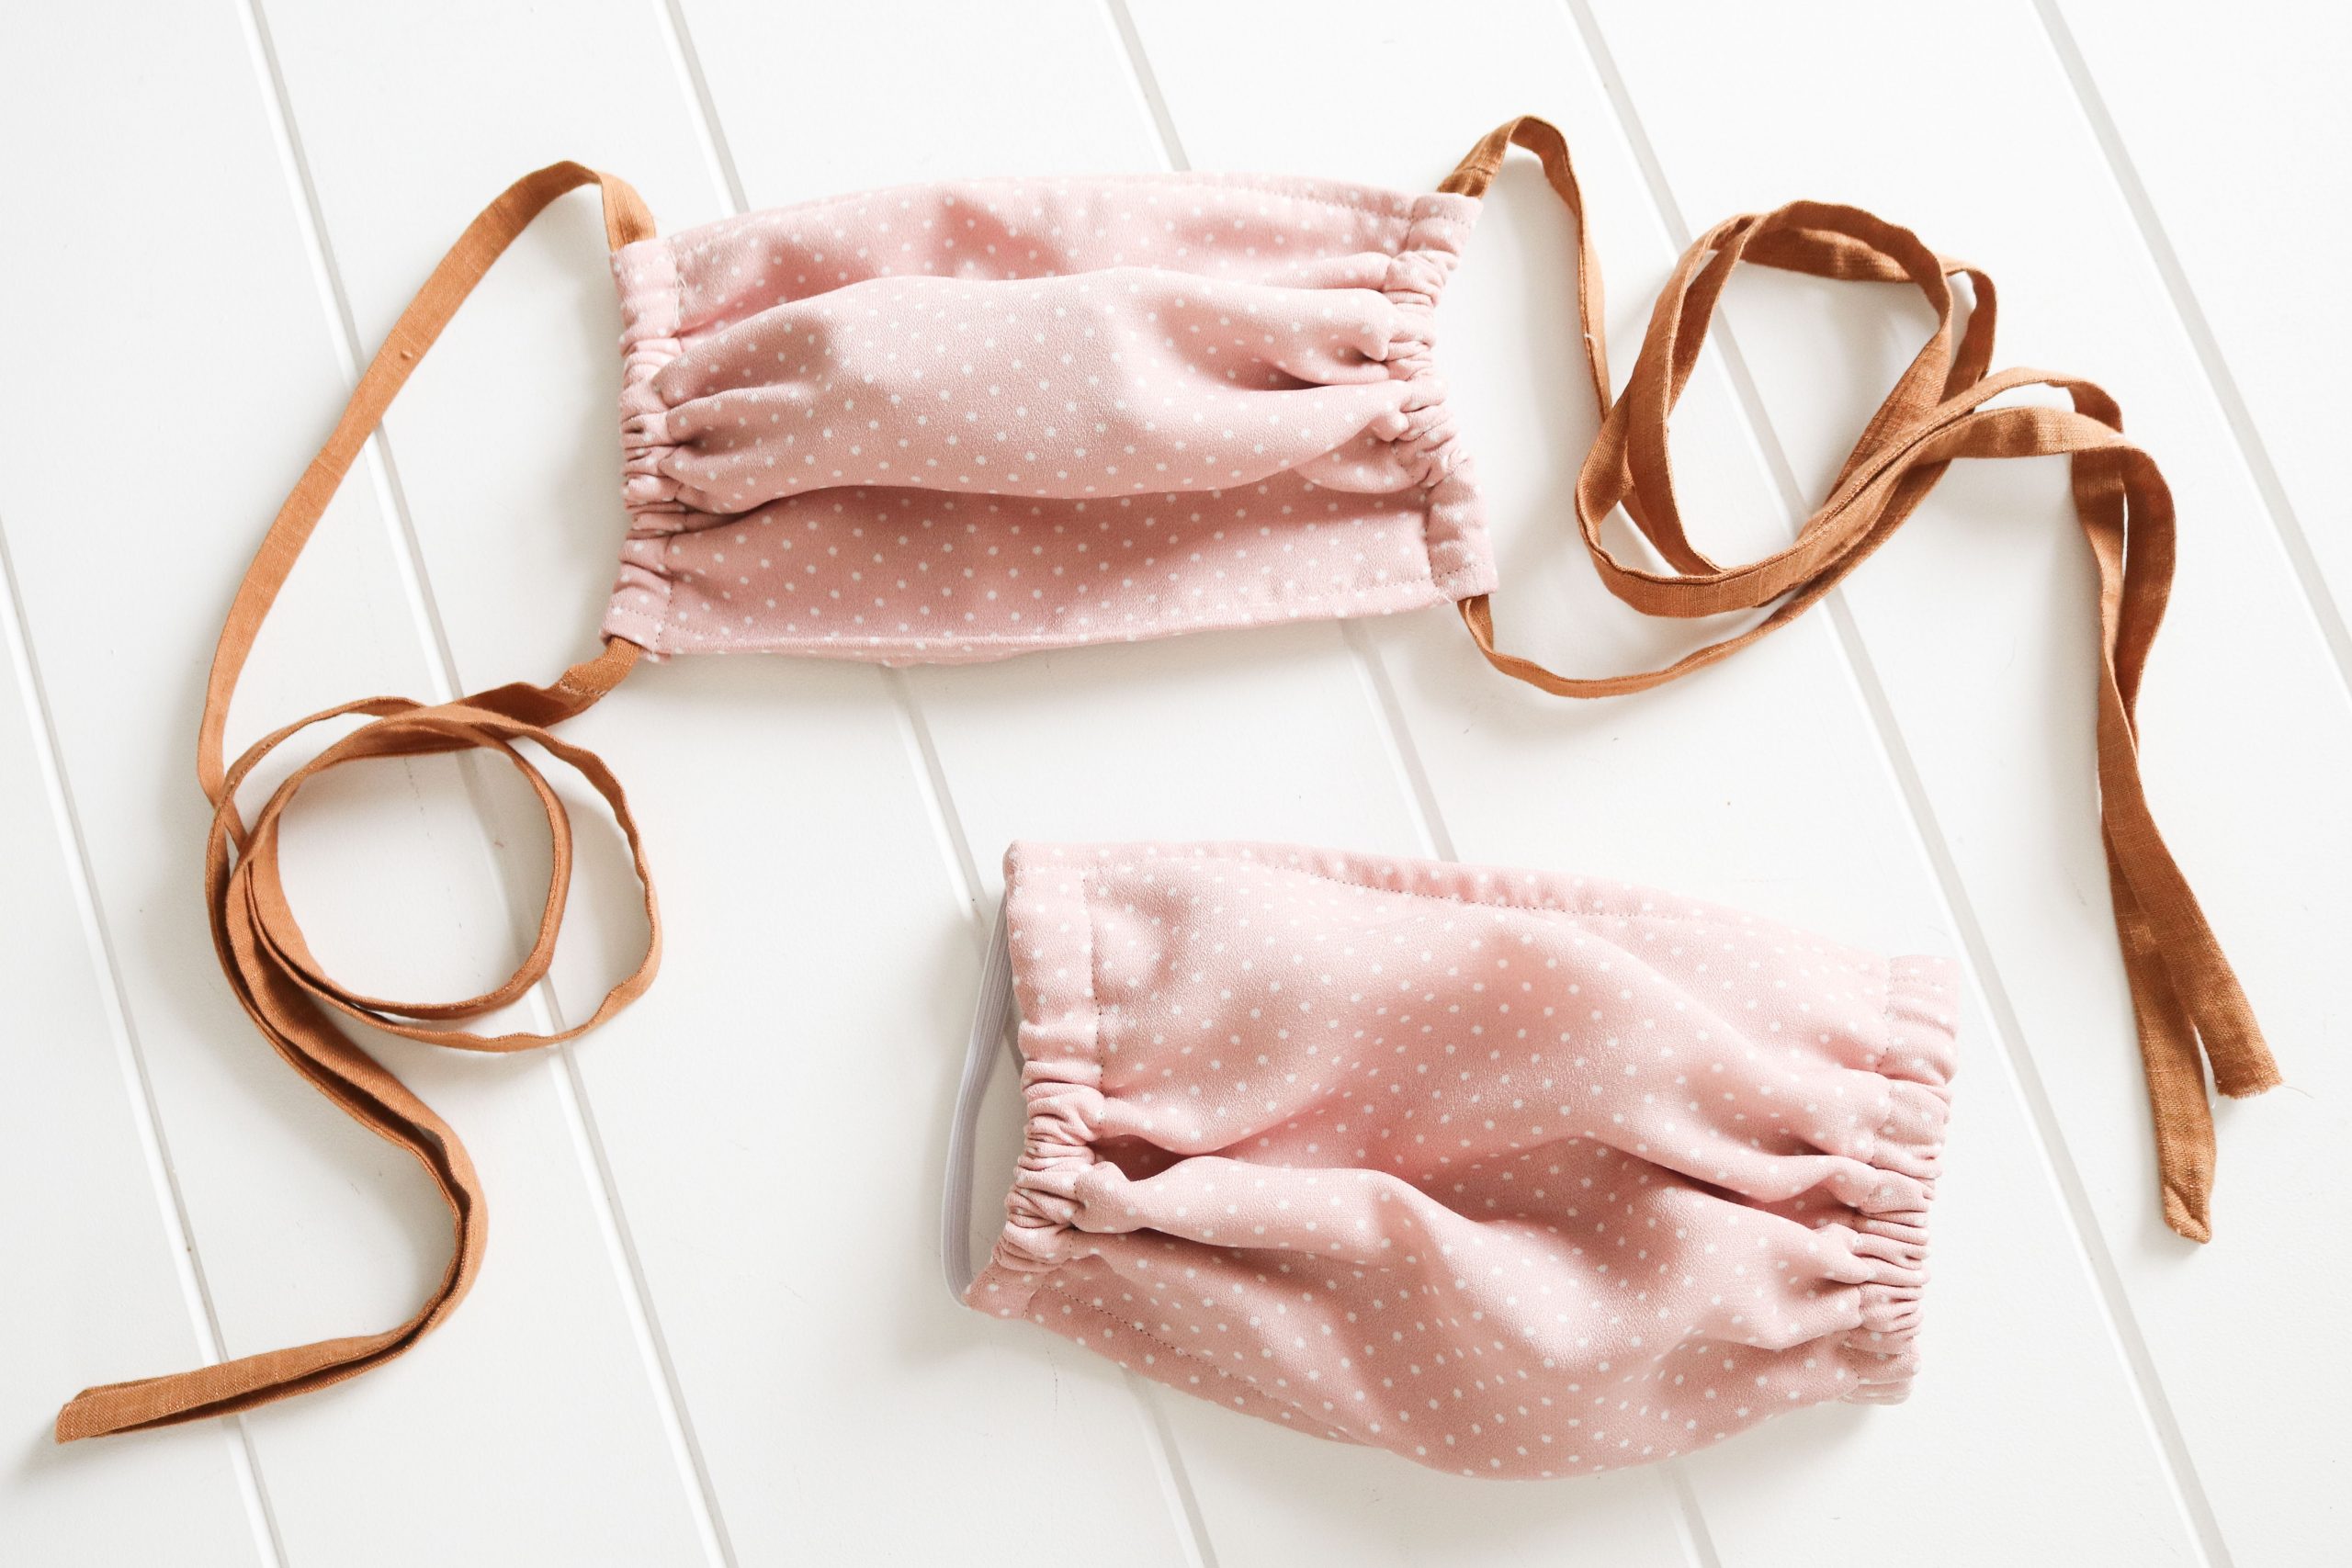
- If you are using fabric straps: cut two 140 X 4 cm lengths of fabric. Fold them in half lengthways, right side inwards. Then sew a straight seam 5 mm from the long edge, leaving one of the short edges loose and closing the other edge.
- Next, we turn them out using the blunt edge of your skewer (or whatever you have). Start with the short edge that you twisted in the previous step, and use the skewer to push that edge into the channel. Continue pushing the length of fabric along the rod until the short edge comes out the other end. When it does, carefully pull it all the way through. Iron the tie flat and sew the short open edge closed, either by hand or machine.
- Attach a safety pin to the end of your tie and thread it through the side channels of the mask, repeating on both sides.
Let us know in the comment section if you have tried or plan to make a face mask before.