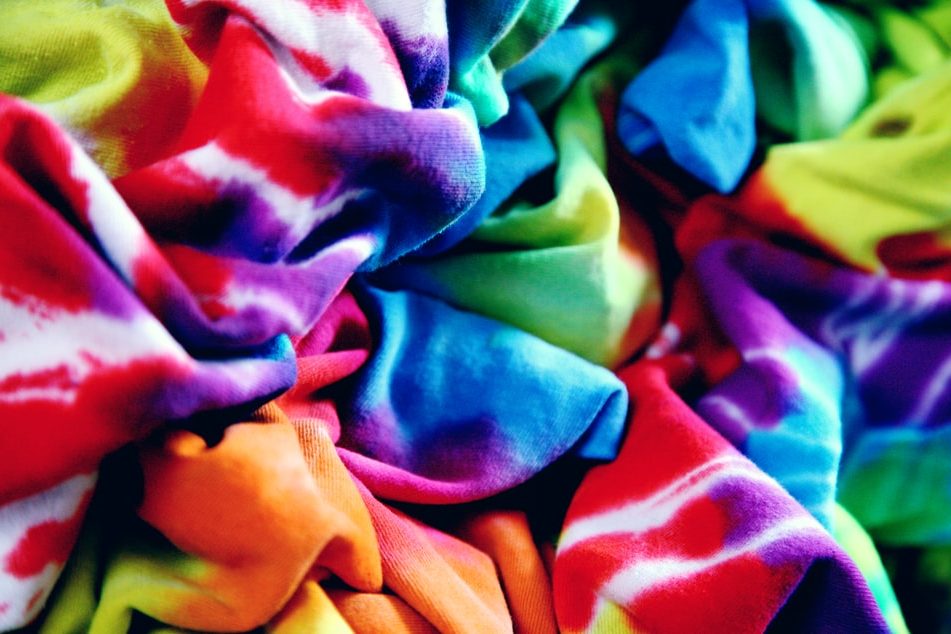
At-home tie-dyeing isn’t a brand-new concept. Tie-dye is a simple and inexpensive DIY activity for adults as for kids. It is so easy that it is almost impossible to go wrong. With the help of our complete guide, you will be able to achieve the perfect tie-dye outfits.
Step 1: Choose Your Fabric.
First, you’ll need to decide what you’re going to tie-dye – sweatshirts, t-shirts, socks, and underwear are all readily available and ideal for at-home wear. Cotton is amazing at absorbing colours and holding them even after several washes, so 100% cotton shirts work best. You may also use a 50/50 blend of cotton and polyester, but the end product will be less vivid. Only natural materials, such as cotton, silk, and rayon, are fully compatible with dyes.
Pre-Wash Your Shirt: Before dyeing your clothes, give the garment a good wash in hot water, especially if it isn’t brand new. This process ensures that any oil, dust, or other substances that could resist the colour are thoroughly removed.
Step 2: Choose Your Dye
Dye kits are readily available at craft stores. Everything you need for the process, such as rubber gloves, rubber bands, soda ash, urea, and detailed, easy-to-follow directions, are included. All you need is warm water, as the colours are already in squeeze bottles. If you do not want to buy the kit, you can still purchase single packets of dyes, and then you will have to buy your squeeze bottle separately.
Step 3: Choose Your Design
Bulls-eye: Determine the location you want to be the center of your bulls-eye. Pull your item upward from that point until the remainder of the cloth hangs down. Tie one rubber band just below the center point and then a second one a bit farther down.
Continue to apply rubber bands to the cloth in short intervals until you reach the bottom. The position of the rubber bands is where white rings will emerge, so you may choose any colours you like for the bulls-eye circles! Each banded part might be a different colour, or it can all be the same colour you choose.
Sailor Strip: Start by pleating your fabric vertically. Attach your pleated fabric with rubber bands uniformly spaced. You may add as many rubber bands as you wish. You may make broad stripes by spacing the rubber bands further apart or narrow strips by placing them closer together. It’s up to you.
You may use as many dye colours as you like with the striped tie-dye design, whether it’s one or six. Have fun with it and try new things; there’s no wrong way to tie-dye! If you wish, you may change the colours or skip portions to leave them white. As you apply the dye to the pleated fabric, rotate it to ensure that the dye is applied to the underside and sides of the piece.

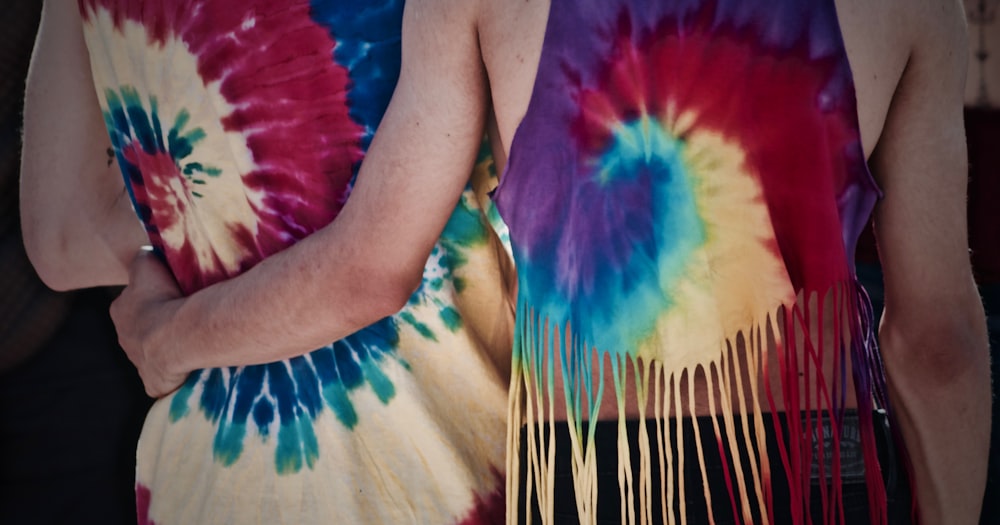
Spiral: Place your wet T-shirt (or fabric) on a covered surface and lay it flat. Locate the middle of the collar and the area immediately under the sleeves for a perfect center spiral. This will be the focal point of your spiral tie-dye! At this stage, pinch the cloth and twist it into a swirl. Continue to tightly twist the fabric until the entire garment has taken on a spiral shape.
To keep your spiralling shirt in place, use three rubber bands and crisscross them to make six wedge shapes. You can use as many or as few dye colours as the wedge forms created with the rubber bands allow.

Step 4: Let It Rest
Allow any extra colour to drop off the fabric once it has dried. We know you’re tempted to have a look at your work, but really, do not unwrap it for now.
Allow 6 to 8 hours or more for the dye to be fully set. Put in a zipper bag or cover with plastic to keep wet while the dye cures for maximum results. Wash once the dye has completely set.
Step 5: Rinse And Wash!
Remove the rubber bands from the shirt and unwrap it. Make sure to use gloves during the whole process. Using cold water, rinse it until the run-off is clear. Then wash it in cold water in the washing machine without putting any other clothes in (to avoid transferring colours). The garment is now dry and ready to wear!
Tell us in the comment which one of the designs mentioned above appeals to you the most.