Want to give your oak furniture a facelift? There’s nothing like repainting it to give it new life and give it its place in your interior. Follow the steps below for a successful makeover of your oak furniture.
1. Thoroughly strip the oak furniture
Before repainting your oak furniture, you must completely bare the wood. Damaged varnish, peeling paint, lacquered furniture, a good stripping is often necessary. This is the first step in the makeover of your oak furniture. Indeed, you cannot apply the new painter directly on this one without preparing it correctly beforehand.
To do this:
- Apply a universal stripper with a wide brush to the entire external surface of the furniture.
- If you find that the coating is starting to soften or peel off, take a spatula to remove it.
- Be careful not to scratch the wood with the spatula.
Then, rinse the furniture with a damp sponge and let it dry before continuing with the next steps of your customization. However, if you’re not a fan of DIY, it’s best to entrust your project to a professional furniture maker.
2. Dismantle the oak furniture
In order to obtain an impeccable final result, it is preferable to disassemble the piece of furniture. So start by removing the drawers and the doors of the oak cabinet. You must then paint each of these parts separately, which will be more aesthetic. Also, don’t forget to remove the handles on these items to avoid staining them with paint.
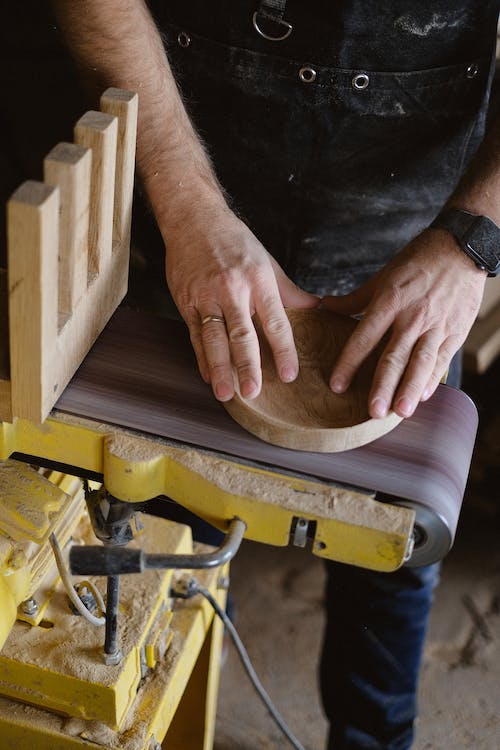
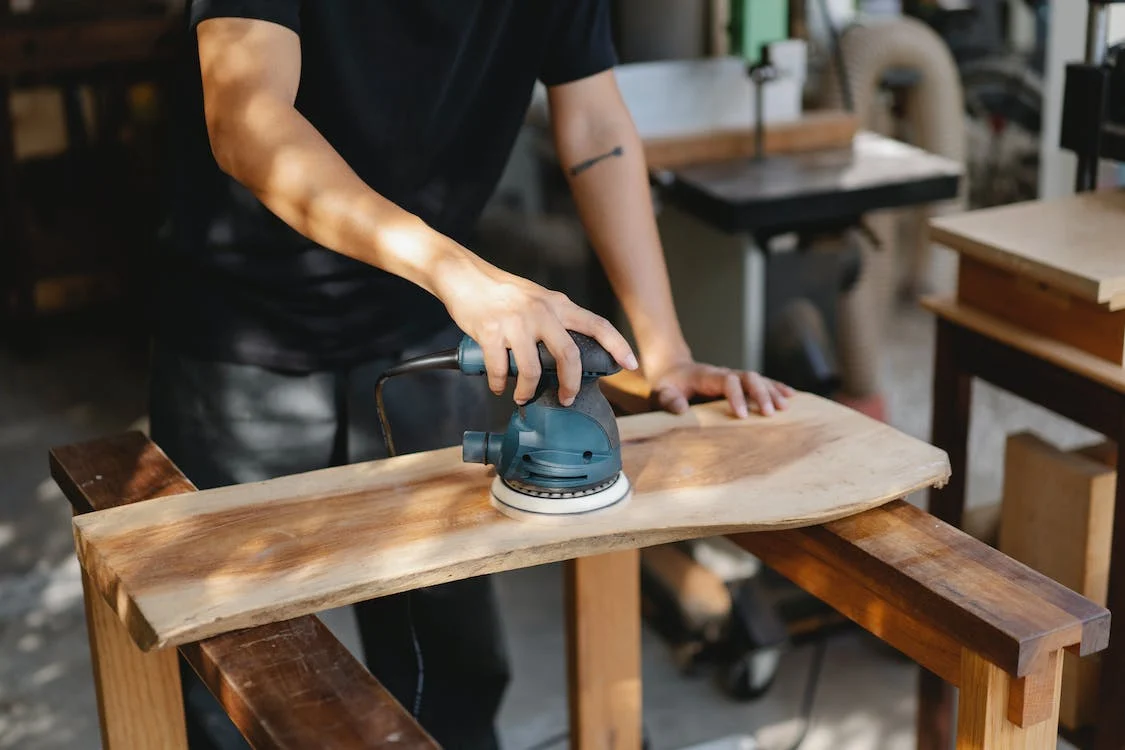
3. Sand the Oak Furniture
Sanding is a must in your makeover job. After stripping, your oak furniture will need to be sanded so that the paint sticks well. Indeed, thanks to sanding, all surfaces will be perfectly smooth for a perfect result. Use sandpaper and carefully sand each external surface of the furniture.
Above all, act gently in order to eliminate residues without damaging the wood. Once the sanding is finished, clean the assembly well to remove all the dust. In particular, be sure to dust all the corners so that your oak furniture is perfectly clean.
4. Paint the oak cabinet
As pointed out above, you will therefore paint each element separately. Having your furniture disassembled will make it easier for you to paint the furniture properly. Choose the color that best suits your interior. For more originality, you can personalize your furniture while varying the colors.
These are not likely to mix because your furniture has been dismantled beforehand. Take a brush to apply the color of your choice on it. Then let the coat dry according to the time indicated on the paint can. In addition, it is advisable to apply two coats of paint to your furniture for a uniform finish.
5. The finishes
This is the last step in the makeover of your oak furniture. Once the paint is completely dry, apply a protective product to the finish to avoid stains. It can be wax or varnish. You can opt for a classic glossy varnish or a more modern matte finish according to your desires and tastes.
This will make your piece unique and in your image. All you have to do is reassemble the furniture once the varnish has been applied and dried according to the instructions. So start by putting the drawers and door handles back in place. For more customization, you can replace them with new styles. You have understood it: the makeover of an oak piece of furniture is an art. You have to be patient to get the furniture of your dreams.
Sound off in the comments section below, and tell us what you want to read next and if you want to read more about oak furniture.