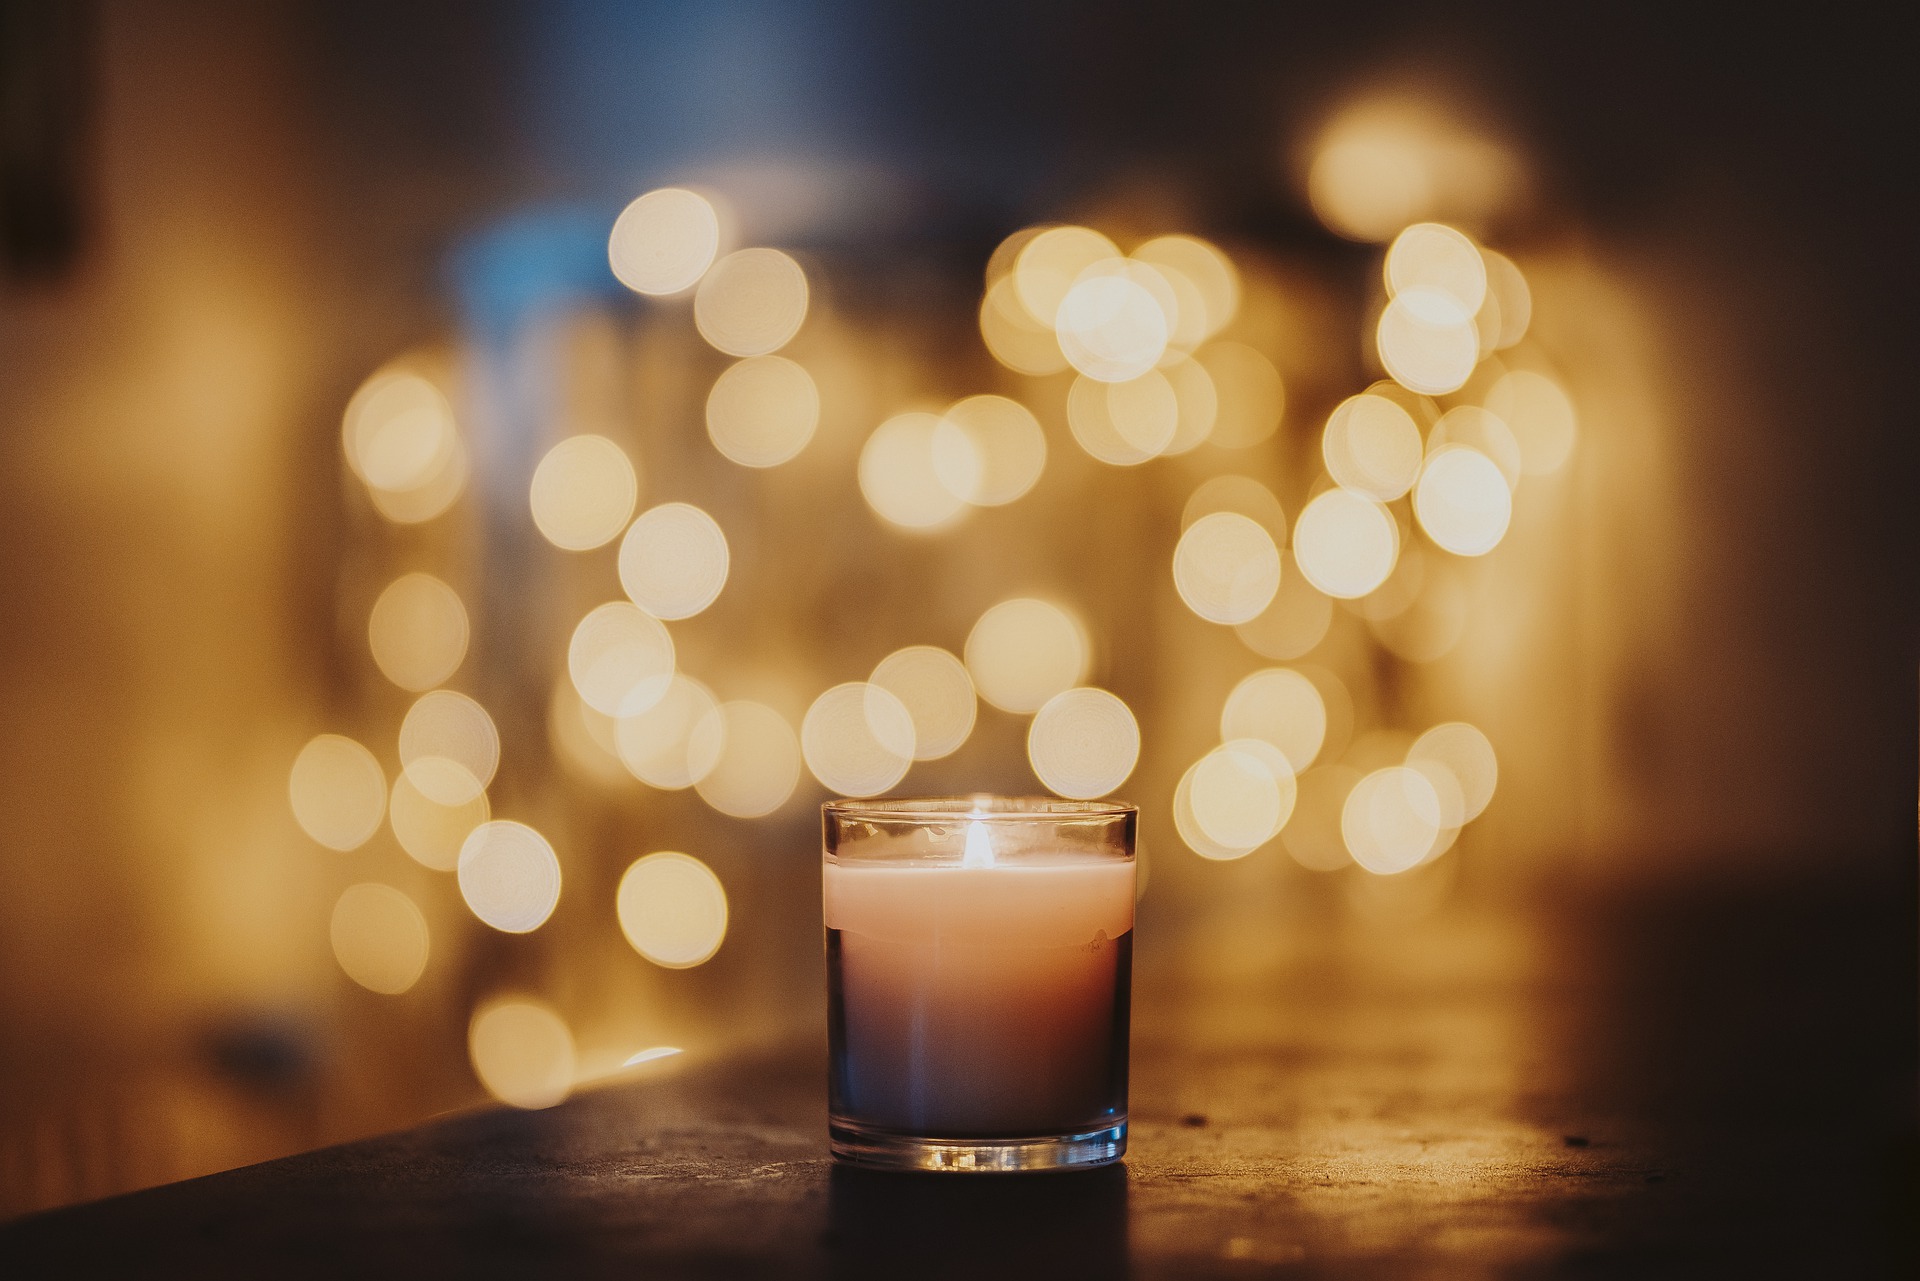
I am obsessed with candles and spend a lot of money on them each month; I light up a candle to meditate, to read, to relax, to take a bath, if the occasion is appropriate to light a candle, you can bet that I’m doing it. But, my bank account is not happy with all the money I spend on books and candles, so I had to be resourceful and learn how to make my candles at home, which might I say are cheaper but smell fabulous. The first couple of candles that you craft won’t be perfect, but it’s a bit like making pancakes or children, the first one is always a trial, and you never know how they will turn out. Come along with us and learn how to make your own candles in the comfort of your home. Who knows, this may become your new hobby or even something that you profit off of.
What will you need for this craft?
It is pretty simple to craft your own homemade candle; you need a few simple items that you can get at your local craft stores like Micheals or even Target. All you need is:
-
- A double boiler (to heat the wax)
-
- Candle wax
-
- Candlewick
-
- Coloring (optional, but this gives more personality to the candle)
-
- Essential oil (also optional, but this is where your candle will get its odor)
-
- Mason jar or container in wish your candle will be
-
- Popsicle sticks, chopsticks, or skewers to hold the wick in place
-
- Scissors
-
- Silicone spatula
#Step 1- Get your container ready
Before getting in the nitty-gritty of it all, you have to decide on the container in which you will put your candle. For me, this is the most challenging part as I am an indecisive person and want my candle jar to look aesthetically pleasing. You can get a mason jar from Target or use your favorite old candle container if you want to recycle and be more environmentally friendly. Whatever you decide to use, you need to clean it and dry it out thoroughly; before you can move on to the next step.
#Step 2- Choose the right wax
Okay, before you move on to the next step, you have to choose the wax that you will use, and yes, there is more than one kind, and they smell different and have different properties. They are:
- Soy wax– This one is our personal favorite and is gaining more popularity among candle makers because it is currently the most eco-friendly wax on the market. As its name suggests, it is made from soybeans, is pretty easy to clean up and is renewable. One pound of soy wax produces about 18 ounces of liquid when it is melted. It also burns slower than most of the other waxes on our list and thus lasts longer.
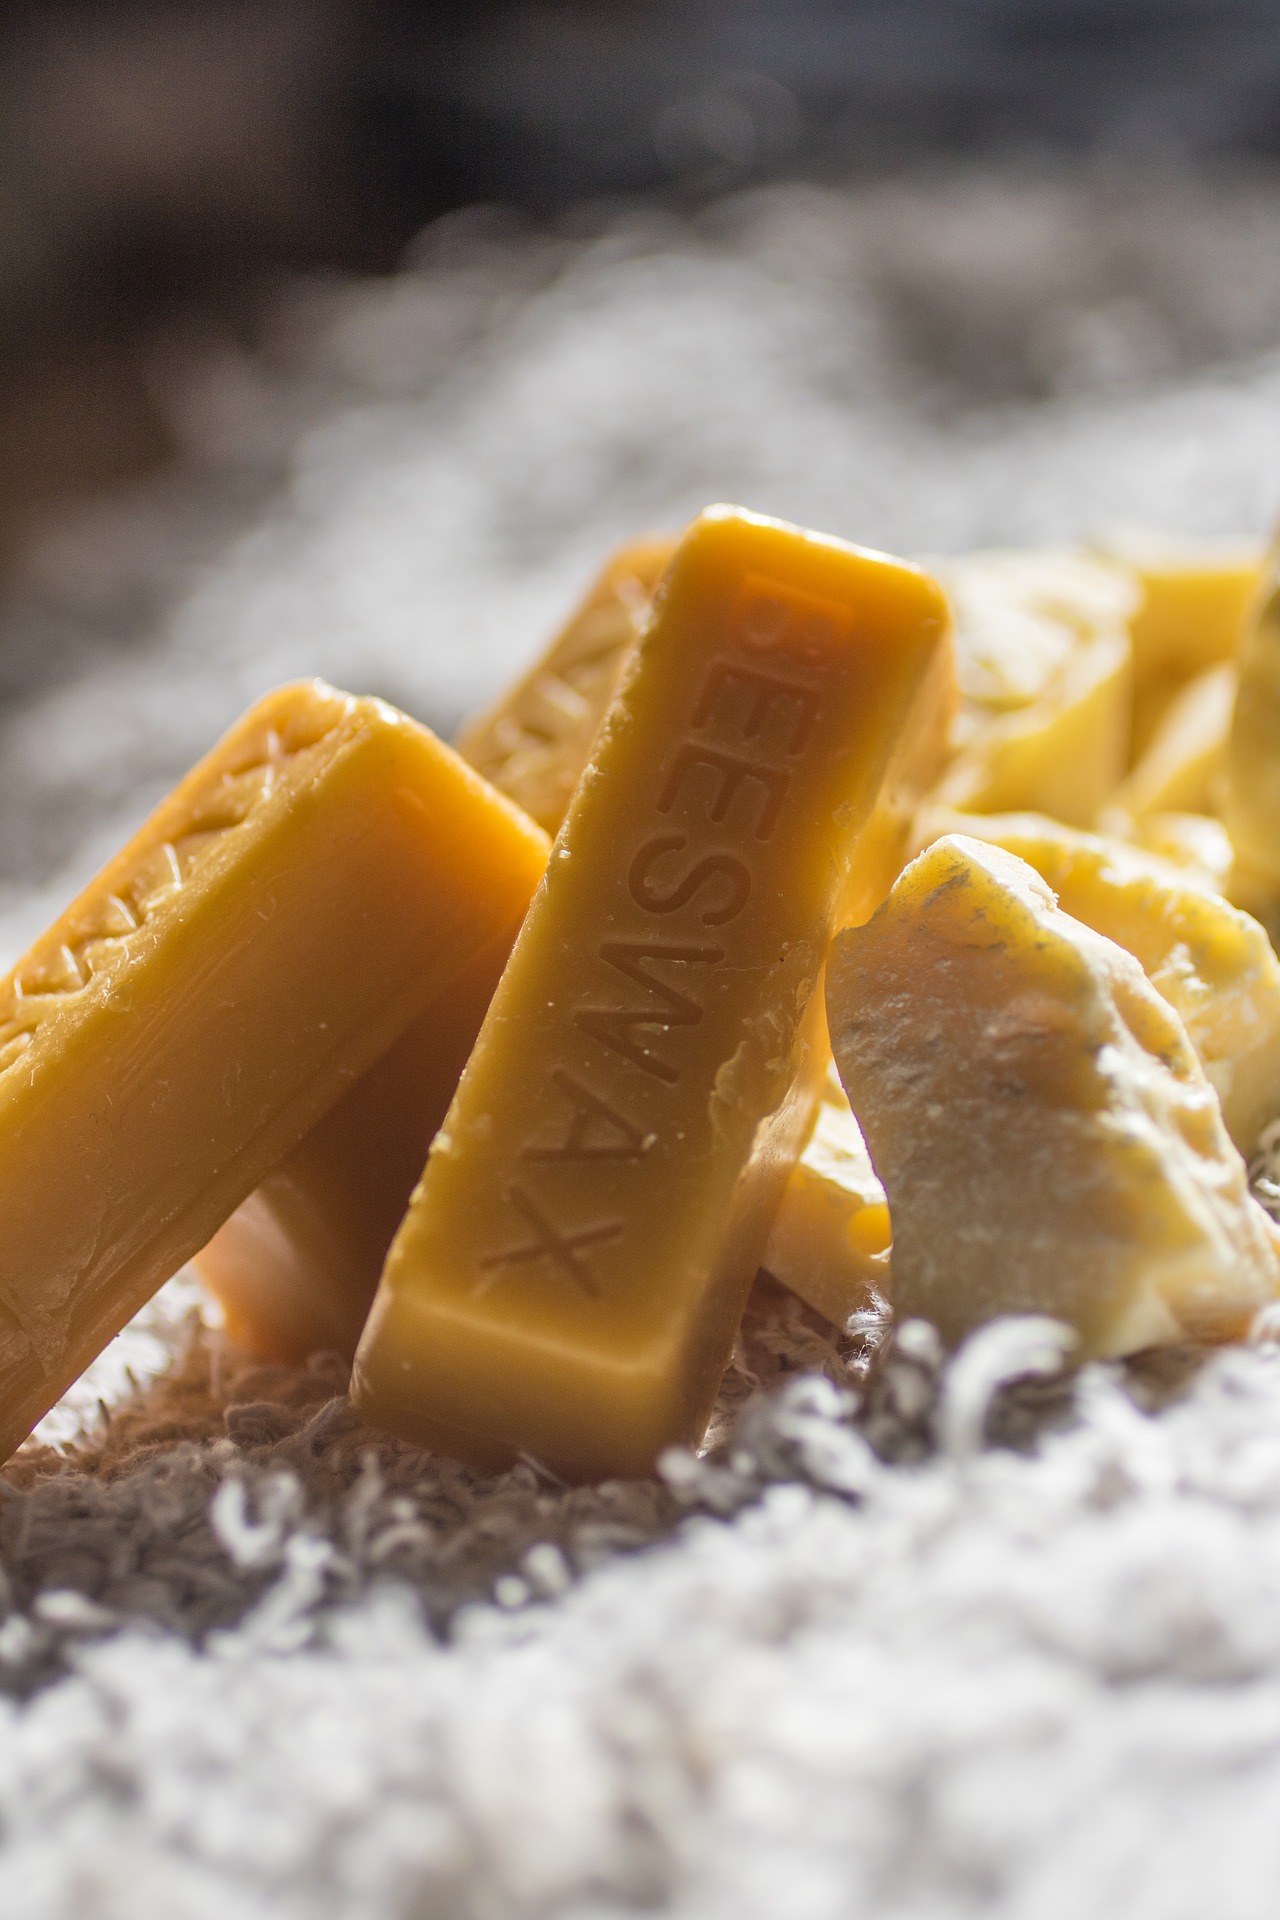
- Beeswax- It might be the wax that gives out the least amount of wax when melted, 16 ounces for one pound of beeswax, but it is the most natural wax out there and is said to have purifying qualities. Unlike paraffin wax, it doesn’t retain color or odors well, but beeswax has its fragrance, so they don’t need additional scents.
- Paraffin Wax– This is the most traditional wax out there and is also the only one that gives out the most amount of liquid when melted, 20 ounces for 1 pound, to be exact. It is the one we advise people to begin their candle journey with because they are the cheapest option out there, are pretty quick to melt, and are easy to scent and color. You should be careful, though, because the chemical it emits when melted can cause skin irritation.
#Step 3- Measure and melt the wax
Put a piece of parchment paper on a flat surface so that the wax doesn’t get everywhere. The wax usually comes in the shape of a brick, and you need to shave it down so that it melts more uniformly. Fill the container in which the candle will reside with the shaven wax and double this amount. This will accurately measure how much wax you need to get a full mason jar’s worth of candle.
Place water in the bottom pot of your double boiler and be careful that the water doesn’t touch the top container; the water should be one or two inches below the latter. Let the water boil, and when it gets there, add your shaven wax to the top container and let it melt, which will take about 10 to 15 minutes. Don’t leave this alone to do something else; you will have to stir it constantly so that nothing burns or sticks.
#Step 3- Add fragrance or coloring to the melted wax
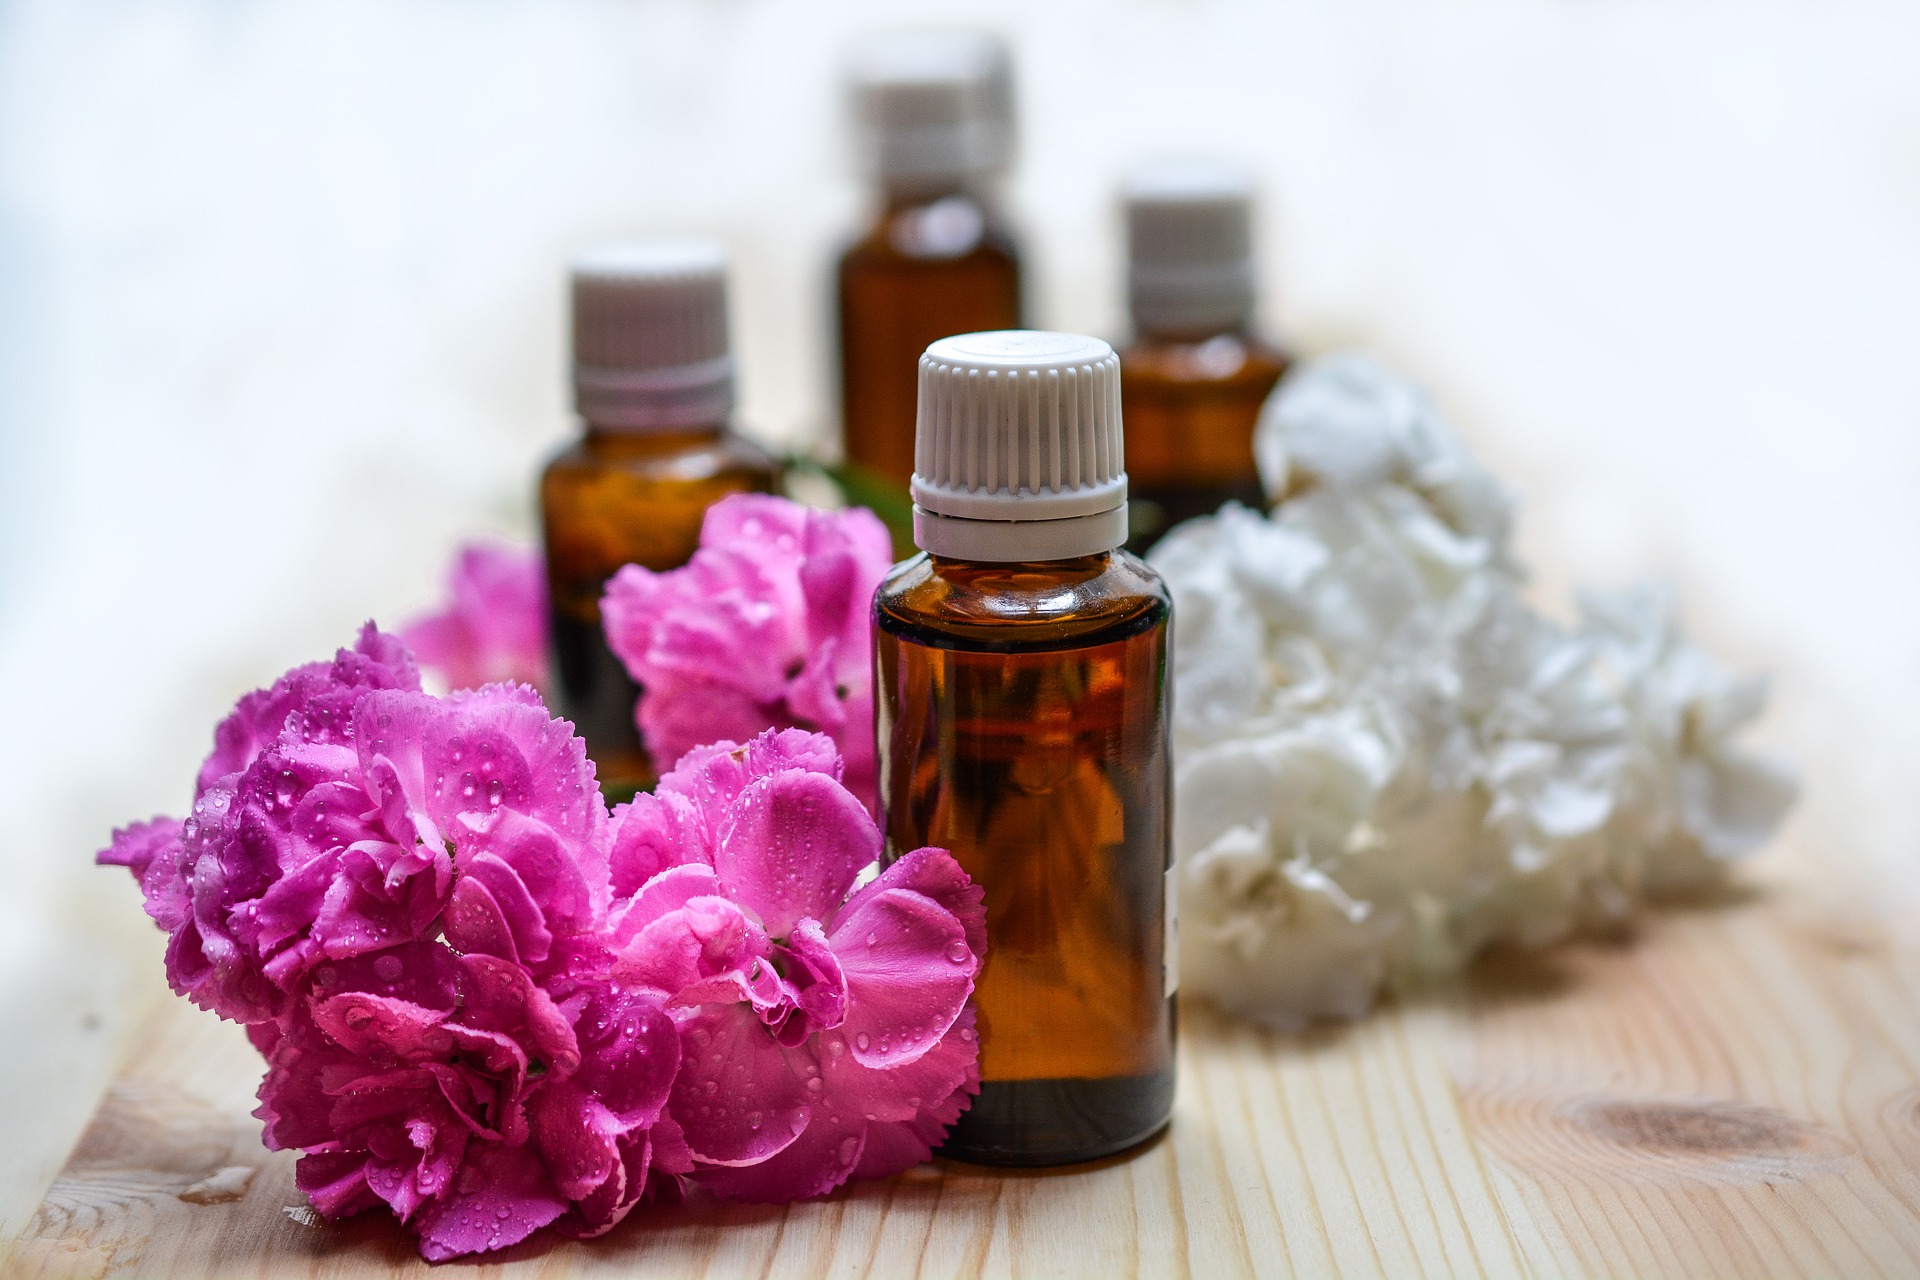
This is where you will add the essential oil and coloring o your choice, and this all depends on you and your taste. Add only a few drops of each as a little goes a long way, and stir it well for about 30 seconds to incorporate it well. We would highly recommend this step if you use paraffin or soy wax, but you should omit it if you are using beeswax.
#Step 4- Attach the wick
To the bottom of your container/mason jar, add a little bit of melted wax and immediate place your wick and let the wax cool down completely. This will secure the bottom piece of the wick in place and give you a straight wick, allowing the candle to melt uniformly. It will take the wax about 5minutes to harden. If you don’t like waiting and are an impatient individual, you can always glue gun the wick to the bottom.
Step 5- Pour the melted wax.
Prior to pouring the wax, let it sit a bit because hot wax will ruin the previous step; if you have a thermometer at hand, the perfect temperature to pour it in the container is 140 degrees, but you can also do it by feels if you don’t have a thermometer. Hold the wax and slowly pour the wax into the jar, and fill it to the top.
Step 6- Final touches
To prevent the wick from moving and staying in place, use our trustee chopsticks and sandwich the wax between them. Allow the wax to cool down for at least 4 hours at room temperature, but this may take more or less time depending on the weather of where you live and the season. After the wax has set, cut the wick to your desired length, which should be an inch or less above the wax, and voila, you have your own homemade candle.
Sound off in the comments section below and tell us if you want to make your own candle after reading this extensive how-to.