For this year’s Easter, the kids and I made some pretty good DIY decorations. They were super easy to make too.
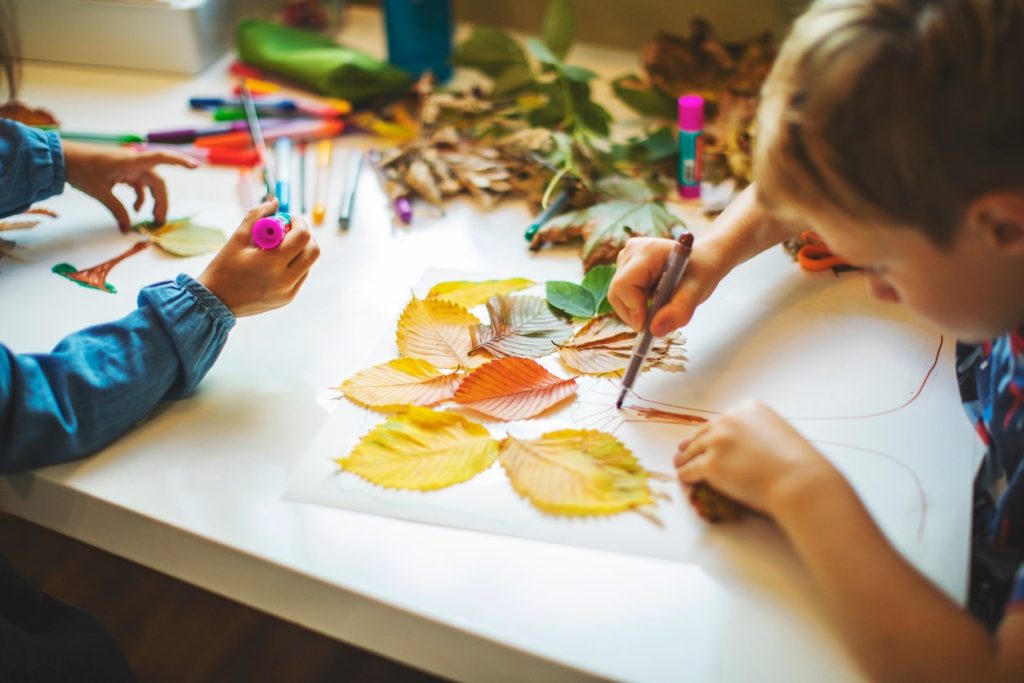
If you are looking for fun and creative ways to keep your kids entertained, help them try the following crafty stuff.
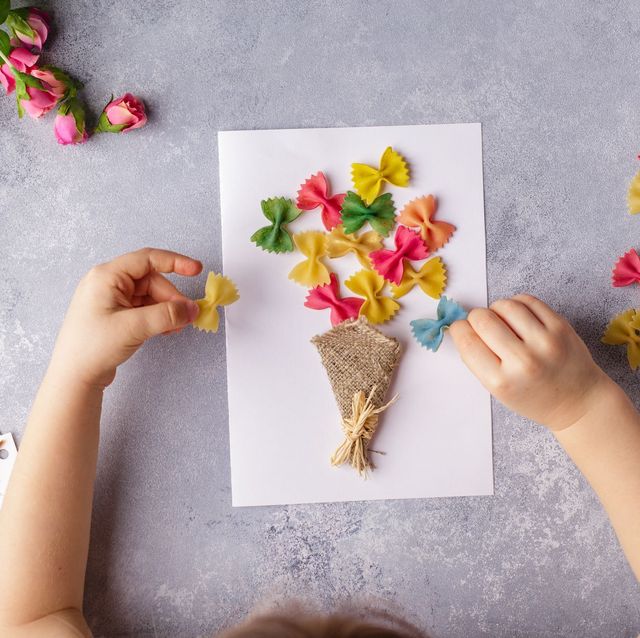
Cherry Blossom Tree Craft
 Materials you’ll need:
- A pair of scissors
- Glue
- Brown construction paper
- Tissue paper (white or pink)
Instructions on how to make cherry blossom tree craft:
Stage 1: You can start by asking to make a fold and use it as a cutting guide by folding the brown construction paper in half lengthwise. With the scissors, cut strips into the paper, right along the long edge, and stop at the folded line. If your kid’s lines are not perfectly straight, don’t worry; instead, that will add to the charm of the tree and will actually look like the craft of a kid.
Stage 2: Now, your kid needs to roll the paper to obtain the tree shape. The glue should be added to the short edge up to the fold. Continue rolling and start pressing the edge to glue shut. You can also pinch and hold the bottom for a bit of the glue to stick properly.
Stage 3:
You should bend and curl the large stripes of paper to make them look more like the branches of a tree.
Stage 4:
You can start adding dots of glue on the “branches.” Next, prune off small pieces of the tissue paper, pinch and scrunch them up (to make them look like cherry flowers) and add them to the glue dots. And let the glue dry.
Stage 5:
Once the glue has dried off, your cherry blossom craft is ready for display.
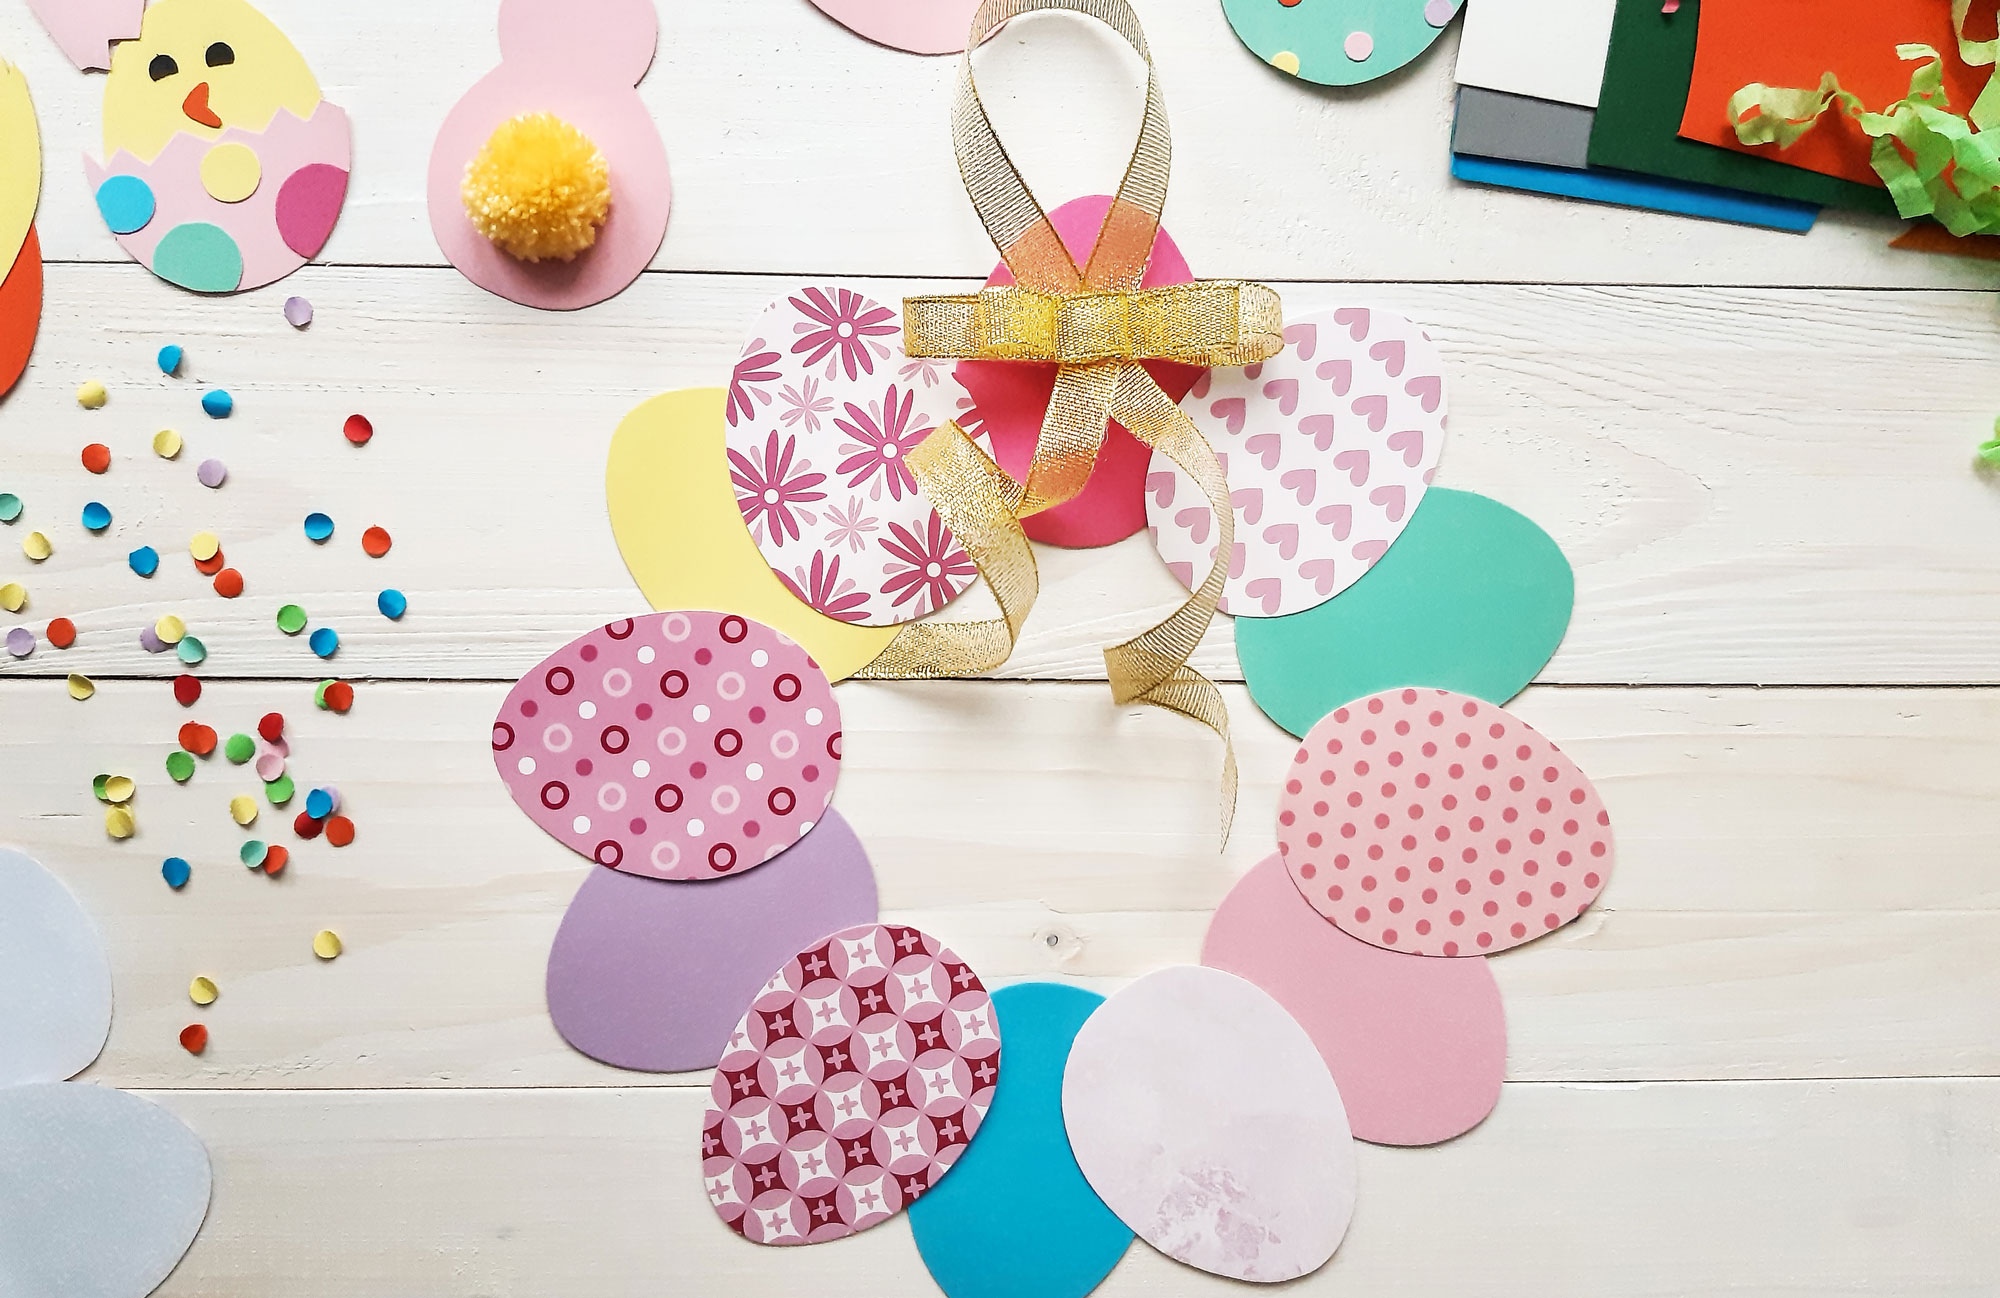
Easter Egg Sun Catchers Craft
 Materials you’ll need:
- A crayon sharpener
- A few colorful crayons
- Wax paper
- Invisible thread
- An iron
- Old towels
- A small hole punch
Instructions on how to make the Easter egg sun catchers craft
Stage 1:
The starting point is the choice of colors. Let your kids decide if they want a brighter or darker color palette. Once the choice is made, peel the back end of the crayon and sharpen it onto a piece of wax paper (that should be placed on top of old towels because the crayon wax can permeate completely through the wax paper). If your kid is also going to sharpen the back end of the crayon, it’s going to take more time, but it will certainly give you more shavings.
Stage 2:
Do not try to rearrange the shavings; instead let them fall evenly on the wax paper. It is up to you, or rather up to your kid, if he wants to separate the colors or blend them.
Stage 3:
If your kid is satisfied with the result, place another sheet of wax paper over the top (of course, repeating the step again with an old towel). Then, iron slowly over the layers. You’ll find that the crayon wax will be melting. If there’s any need to re-heat any particular area, go ahead.
However, if your kid was not happy at the beginning with his shavings piles, then give him another chance to re-create the shavings.
Stage 4:
Set the paper aside and let it cool down. It won’t take much time, but once it’s done, hold it up to the light to see the results of your kid’s hard work.
Stage 5:
You can use a heavy cardstock to create an egg template and then trace the shape onto the wax paper. Based on the positioning, try to fit in as many eggs as you can. You’ll see how many beautiful eggs you’ll have.
Stage 6:
In the top of each egg, punch a small hole ad tie the invisible thread through it. Once you are done, you can hang the egg collection anywhere – be it on the top of a window frame or in your kid’s bedroom.