
4 Important Tips for DIY Beginners
Do you have to do small jobs that do not require the services of a professional? For instance, hanging a shelf, assembling and disassembling furniture from a kit, and more…
You may be hesitant to try some do-it-yourself tricks, but thanks to the easy DIY tips in this post, you will be able to complete small projects at home. So let’s begin without any delay!
1. Unscrewing a rusty screw
When moisture gets between the threads of a screw and the threads of its nut, it doesn’t take long for rust to appear, welding the contact between the two pieces.
The screw is so rusty that the screwdriver won’t turn. You are now stopped in your DIY session. How to unblock this screw without having a specific product at hand?
There are three possibilities:
– Pour a few drops of kerosene on the screw. If, however, it is still impossible to remove, make a mixture of machine oil/nail polish remover, leave it to act for 15 minutes, and remove the screw with a screwdriver.
– Use white vinegar and pour it on the head of the screw, leave it for 15 minutes and remove the screw with your screwdriver.
– Insert the screwdriver into the rusty screw, adjust the wrench to hold the screwdriver, turn the wrench while pressing the screwdriver.
Good to know: do not reassemble a rusty screw or one whose impression is starting to be damaged.
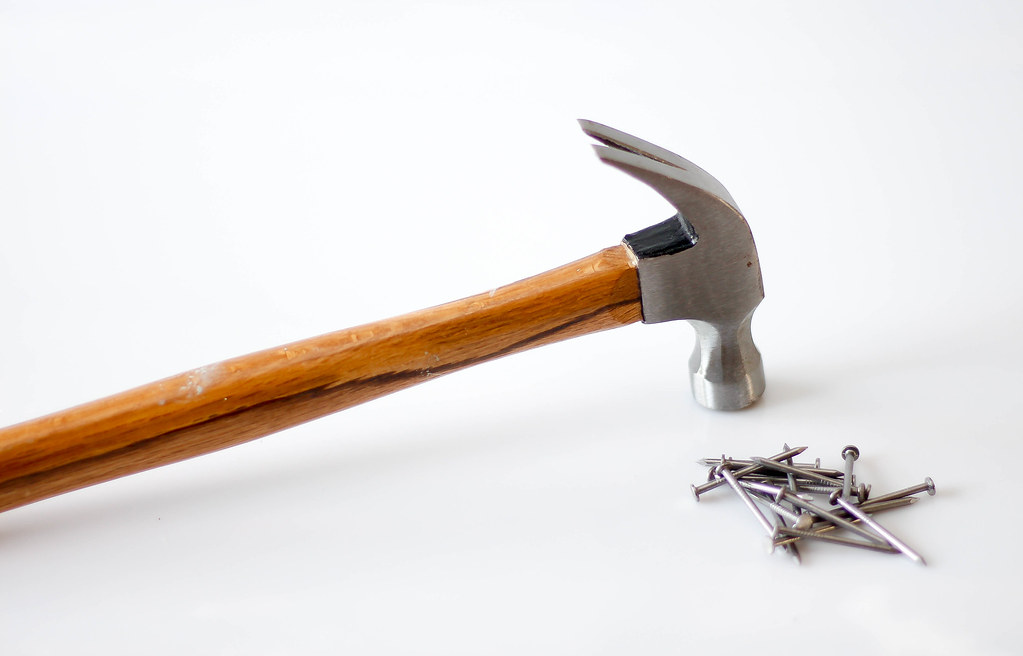
2. Drive a thin nail easily
Driving a nail seems simple and within reach of any DIY enthusiast. However, driving fine nails requires a minimum of technique. Here are a few tips that will allow you to hammer them in one after the other without ever hitting your fingers:
– Position the nail in the desired location, keeping it straight. Then give the nail small taps, always holding it with the other hand. When your fingers become too thick to hold the nail still, remove them, then finish by tapping with the hammer.
– Pinch the nail with a clothespin and hit it with a hammer without risking injury.
– Take a sheet of cardboard, stick your nail in it; the cardboard will hold the nail straight; you will just have to tear it when you have driven the nail into the wood.
Good to know: don’t forget to grip your hammer firmly by the bottom of the handle; your gesture will be more precise.
3. Driving a screw in a hard-to-reach place
Sometimes you’ll need to screw in a place where you can’t hold the screw with your fingers, for example, in a place that’s too narrow to fit your hand. How do you manage to do this without getting upset? You have several solutions:
– Put a sticky substance, such as fixing paste, double-sided adhesive, between the screwdriver and the screw, it is the screwdriver that will put the screw in the right place, and you can then screw without problems.
– Slide the screw between the teeth of a small comb that will act as a “third hand” and suitable for screws of different sizes.
– Push in a piece of plastic or rubber tube at the end of the screwdriver to hold the screw head.
– Attach a paper clip to the end of the screwdriver with a rubber band or adhesive tape and wedge the screw between its legs.
– Magnetize the screw by placing it on a magnet for a few minutes.
4. Use a toolbox
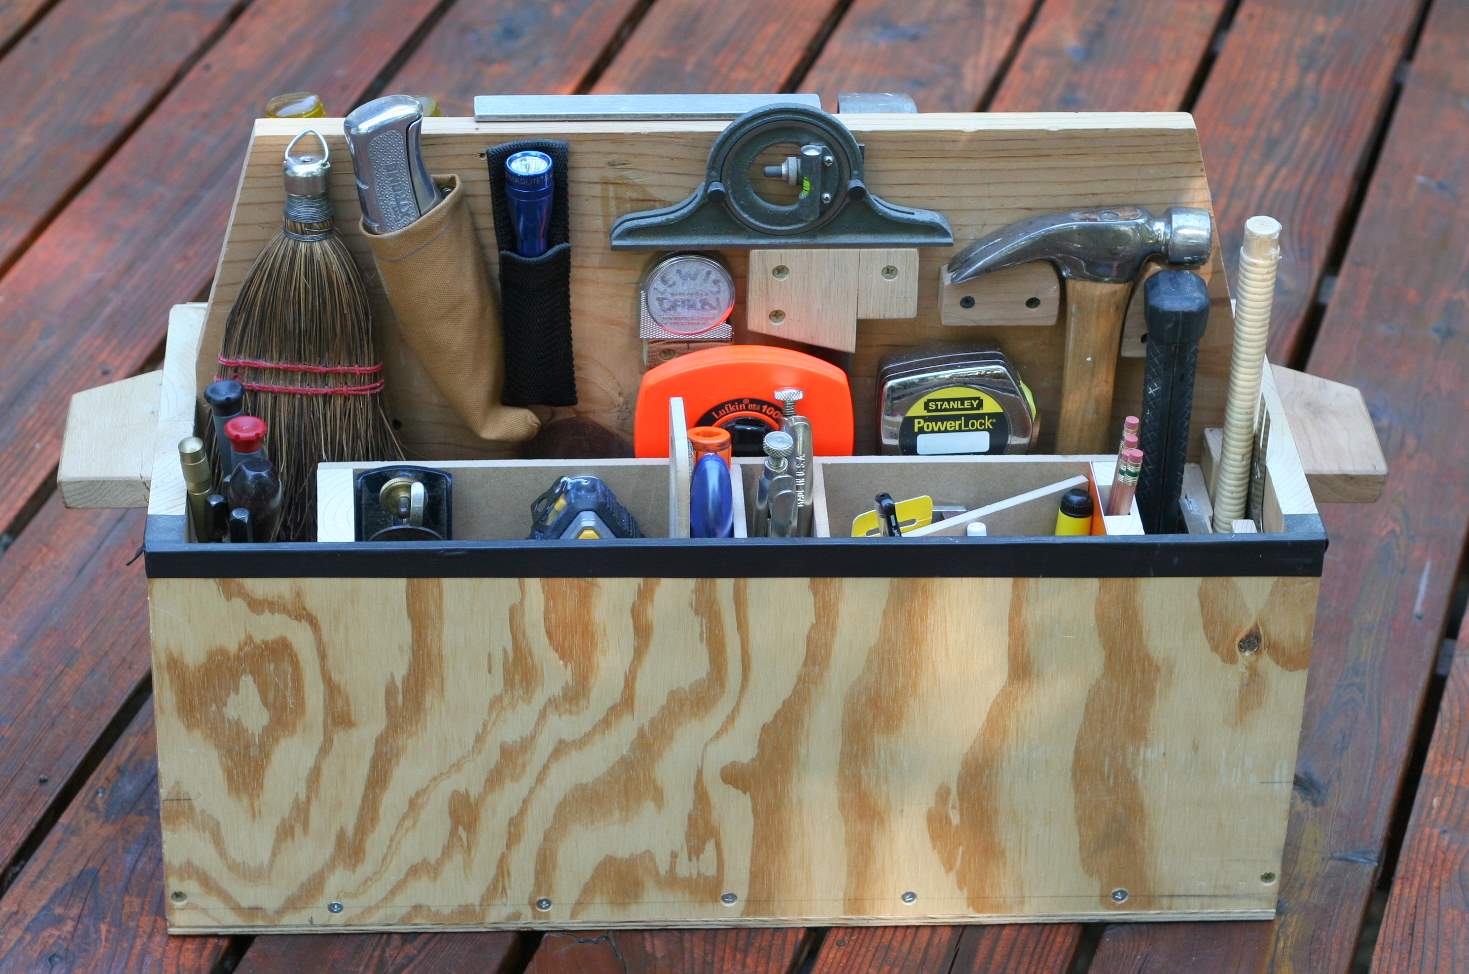
If you’re tinkering on the weekends or in the evenings, it’s always maddening to have to stop in the middle of a task to buy the right size screw, nail, or dowel.
Therefore, plan a toolbox that will be very useful:
– a collection of screws, nails, hooks, and dowels in the most commonly used sizes;
– a set of drill bits of different diameters for your drill, for the most common materials, concrete, brick, metal, wood.
You will also need to bring:
– a wooden pencil;
– a large ruler or tape measure;
– a spirit level.
This will prevent you from stopping a DIY project due to a lack of suitable materials.
Note: to find suitable materials quickly, it is best to store them carefully in small boxes or transparent plastic bags.
And, that’s it 🙂 We are now done with those quick and easy tips. How did you find this post? If you have a good foundation for repairs and minor maintenance at home, please share your tips in the section below!


3 thoughts on “4 Important Tips for DIY Beginners”