
7 Important Steps to Install Wallpaper
Contents
– Tips for hanging wallpaper
– Step 1: Prepare to hang the first strip of wallpaper
– Step 2: Cut the first strip of wallpaper
– Step 3: Glue the first strip of wallpaper
– Step 4: Install the first strip of wallpaper
– Step 5: Continue with the wallpaper installation
– Step 6: Wallpaper the openings
– Step 7: Do the finishing touches
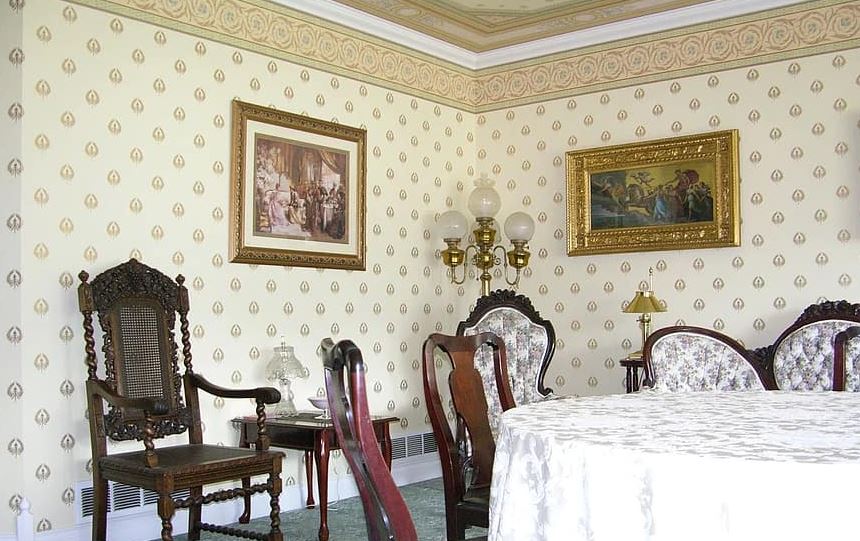
With its variations of colors, textures, and patterns, wallpaper is back in fashion. It is relatively easy to decorate a room, as long as you use the right tools, follow a few installation guidelines, and be meticulous.
Before installing wallpaper, it is necessary to prepare the support to facilitate the gluing and the smooth holding.
Tips for installing wallpaper
– Choose a glue adapted to the type of paper (vinyl paper, standard…).
– Check the characteristics of the paper before starting: double gluing, joints…
– For papers with joints, remember to match each strip. When cutting, take into account the height of the seam usually indicated on the roll.
– Choose a plastic flask for vinyl and expanded papers.
– Remember to remove everything that is attached to the walls: switches, sockets, lighting…
1. Prepare the installation of the first strip of wallpaper
Mix wallpaper paste according to the dosage and instructions indicated on the product. Unfold the gluing table if necessary. If you don’t have one, you can use a door placed on two trestles, which will be easier to clean than a table.
Choose a corner, the edge of a door, or a window to lay the first strip. Check the verticality of this starting point with a spirit level.
To ensure the final rendering and verticality of the wallpaper, transfer the width of the strip to the wall with the tape measure. Draw a straight line that will serve as a guide along the entire height of the wall with the ruler and the spirit level.
Be careful: observe this step because this first strip serves as a base and reference for the rest of the work. If it is laid crooked, everything else will certainly be crooked.
2. Cut the first strip of wallpaper
– Determine the height of the strip.
– Remember to add about 10 cm for the cuts.
– On the gluing table, cut the first strip using a pair of scissors or a cutter.
3. Glue the first strip of wallpaper
– Turn the strip over on its back and glue it widely with the gluing brush, from the center to the edges.
– Fold it on itself, in accordion or wallet shape, without marking the folds, and let the glue soak in as long as necessary.
– If the wallpaper requires double gluing, remember to glue the wall as well.
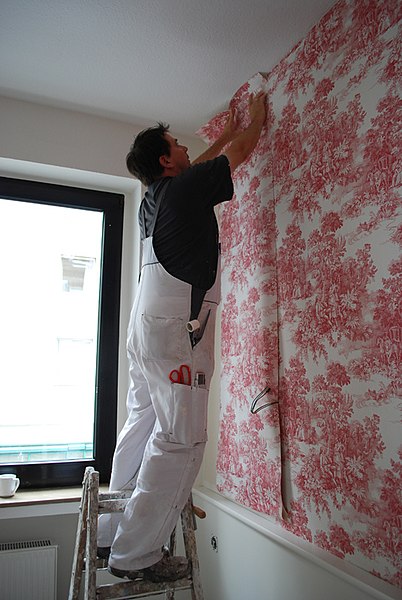
4. Installing the first strip of wallpaper
To install the strip, start at the top:
– Position it according to the markings, remembering to make it protrude about 5 cm towards the ceiling for cutting.
– Marouflez with the brush to wallpaper, while leaving the interior towards outside to drive out the air.
– Check by stepping back that the strip is well-positioned. If necessary, gently peel off and replace.
– Unfold the entire height, respecting the line.
– Stamp the entire surface.
5. Continue the installation of the wallpaper
Cut the following strips from the roll. Glue them as you go along.
When the glue time is over, apply the second strip starting from the top and following the edge of the first.
Note: do not take into account the sockets and switches that have been removed beforehand.
After taping, remove the excess glue with a wet sponge and pass the roller on the edges of the strips to glue them perfectly.
Repeat the operation for all the following strips.
6. Installing wallpaper at the level of the openings
It is easier to adapt the width of the strip so that it arrives close to the window than to take a whole strip and cut it following the angles of the window.
At doors and windows:
– Take the measurement of the width of the strip and possibly other cuts (height between the door and the ceiling…). Add about 10 cm for the cuts.
– Transfer these measurements to the strip, and with the mason’s rule, trace the cut.
– With the scissors or the cutter, cut according to the marks.
Proceed with the gluing, the installation, and the taping according to the previous indications.
7. Make the finishing touches
For cuts in the ceiling, at the bottom of the wall, and around the windows, use the wide spatula and the cutter.
Position the spatula perpendicular to the paper and follow the edge of the blade with the cutter.
Note: at the outlets and switches, cut a cross with the cutter. Remove the wires and reassemble the sockets and switches after the wallpaper is completely dry.
Materials for wallpapering
| Wallpaper paste | Approx. $3 per 250 g package |
| Wallpaper brush | About $3 |
| Aluminum ruler 2 m | About $15 |
| Gluing brush | About $7 |
| Sponge | $1 approx. |
| Cutter | About $3 |
| Wide spatula | About $5 |
| Tape measure | Starting at $4 |
| Spirit level | Starting at $4 |
| Pair of scissors | Starting at $3 |
| Upholstery wheel | Starting at $2 |


2 thoughts on “7 Important Steps to Install Wallpaper”