
4 Easy Tips Every DIY Enthusiast Should Know!
Content:
1. Drill into tile
2. Protecting paint cans from drips
3. Drill a hole at the proper depth
4. Save paint brushes and rollers.
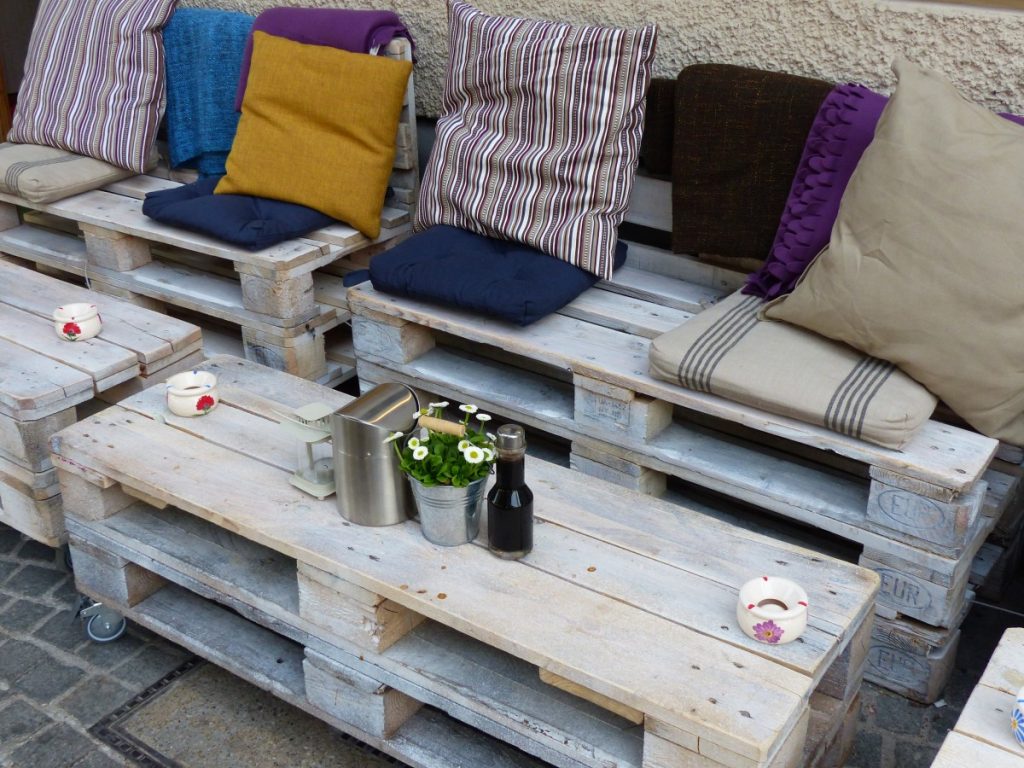
Like most people, you have to do small jobs for which a professional is not essential: hanging a shelf, painting a room in the house, assembling and disassembling furniture in a kit … However, you are a novice and hesitating about trying some DIY tricks?
Our 4 tips for easy DIY will be a great help! Thanks to them, you will carry out small building sites at home without any difficulty.
Your kitchen needs shelves, racks, brackets, and other accessories, and you need to drill into the tiles. But how do you drill into tile or ceramic without breaking or splitting the substrate?
1. Drill into tile
Here is the right way to go about it to get a perfect result without stress:
– use a concrete drill with tungsten carbide at the end;
– remove the percussion from your drill;
– stick a cross tape where you are going to drill (this will prevent your tile from breaking);
– start by drilling at low speed;
– Put the hammer back on your drill when the hole starts to form;
– speed up the drilling until you are done drilling the necessary depth.
Good to know: if after some time, the hole you drilled in the tile is no longer needed, you can fill it with special tinted cement, whose color will blend in with that of the tile.
2. Protecting paint cans from drips
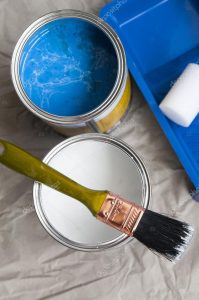
Paint without getting your fingers in a knot and keep your paint can clean by avoiding drips on the outside? It’s possible by following these ideas:
– Get a large rubber band that you place vertically around the paint can, so you wipe your brush on the edge of the rubber band.
– Place a wire across the can, so you can drip the brush on it without dripping.
Good to know: to reopen paint cans and prevent the lid from resisting, always clean the contact surfaces with a cloth before closing the can after use.
3. Drill a hole at the proper depth
You need to make a hole in the wall to screw something in, but you’re not sure it’s the correct depth. There are several ways to drill a hole to the right depth:
– Adjustable stop: some drills have a depth stop, a small metal ring that you attach to the drill bit with a screw.
– The adhesive tape: wrap a piece of thick adhesive tape around the drill bit at the proper depth to get a perfect result.
– Adjustable guide: This is a metal rod mounted along the side of some drills and locked by a knob. Mount the drill, set the guide to the desired depth, and drill until the guide contacts the wall.
Note: If you have several holes of the same depth to drill, ensure the adhesive has not been trimmed during the previous drilling.
4. Save paint brushes and rollers
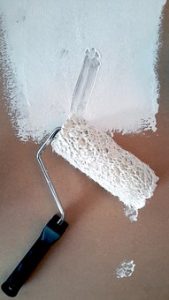
A paintbrush that is not cleaned quickly will be unusable because the brush bristles will become hard as wood.
Between two coats of paint, it is often necessary to wait several hours, even a whole day. If you want to avoid the tedious task of cleaning brushes and rollers completely between coats, there are several solutions:
– Put them in a container filled with water so that they are perfectly covered by the liquid, even if you use glycerine paint;
– wrap them in aluminum foil;
– Place them in a plastic bag and close it carefully to prevent air from entering;
– clean them by soaking them in white spirit.
– Lay the brush flat on newspaper, then press the brush hairs gently with the back of a palette knife.
Your brushes and rollers will not dry out, and you can use them immediately when you return to your worksite.
Good to know: recover the brush by soaking it for a few hours in boiled vinegar. If any residue still sticks to the brush, remove it with a knife blade, then re-soak it in white spirit. When the brush has marinated sufficiently, wash it with soapy water.
How did you find this post? Remember to share and comment below, and stay tuned for our next post on more easy tips you did not really think of.


4 thoughts on “4 Easy Tips Every DIY Enthusiast Should Know!”