
5 Steps to Driving a Nail Like a Pro
Summary
– Step 1: Adopt the correct postures
– Step 2: Case 1: Hold the large nails in your hand
– Step 2: Case 2: Hold small nails without hitting your fingers
– Step 3: Drive nails to reinforce fasteners
– Step 4: Don’t splinter the wood when driving your nails
– Step 5: Conceal the nail head
– Drive special nails
Driving a nail (or spike) correctly is not a trivial task. They tend to bend in all directions, and the novice user almost invariably ends up with a bandage on his or her fingertips. However, with a bit of method and a few tricks, you can easily solve the matter!
Here’s how to get your nails right.
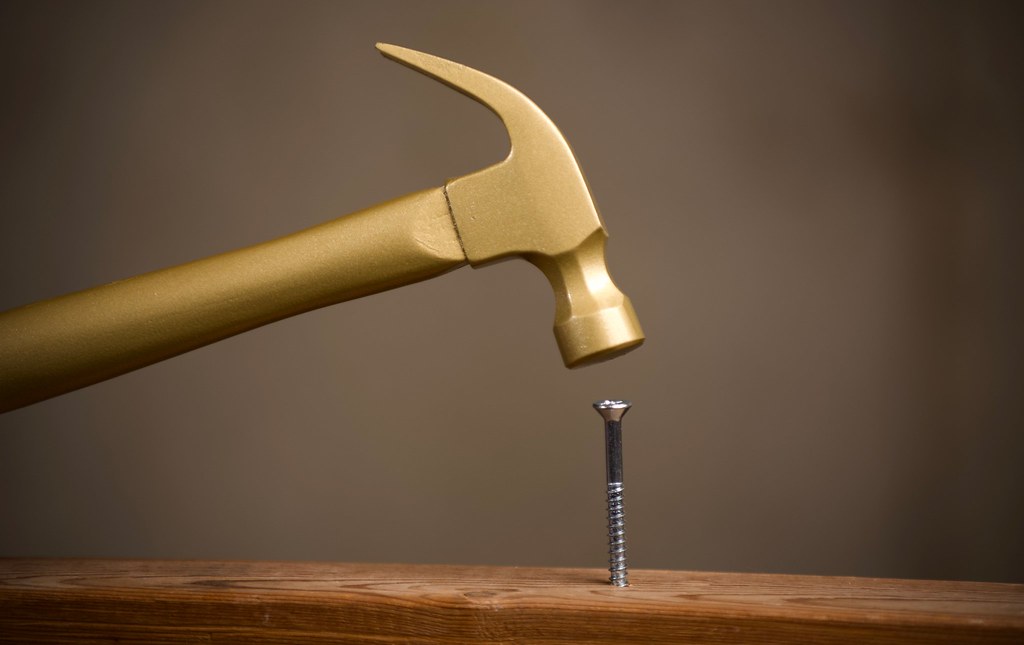
1. Adopt the correct postures
Hold the hammer properly.
Handling the hammer is at least as important as holding the nail. Of course, the hammer is held by the handle. But the hand is not randomly positioned on the handle.
– To begin, hold the hammer close to the head so that you have the best possible accuracy. Ensure that the tip (the flat part) is perpendicular to the axis of the nail shaft and strike in short bursts.
– Once the nail holds itself in the holder, release it and move your hand back on the hammer handle to increase leverage and force. Then strike harder, always keeping the tip of the tool perpendicular to the axis of the nail.
– For small nails that barely fit between your fingers, use the tapered end of the hammer (carpenter’s or electrician’s hammer). Strike gently, then turn the hammer over and strike harder, as explained above.
The right position
The ideal position, when possible, is to position yourself so that the eye is level with the head of the nail. This way, the natural striking angle will limit the risk of twisting. With your feet slightly apart and firmly planted on the floor or step ladder, stand back enough so that the hammer handle is parallel to the surface (board or wall) at the end of the stroke.
2. Case 1: Hand-holding large nails
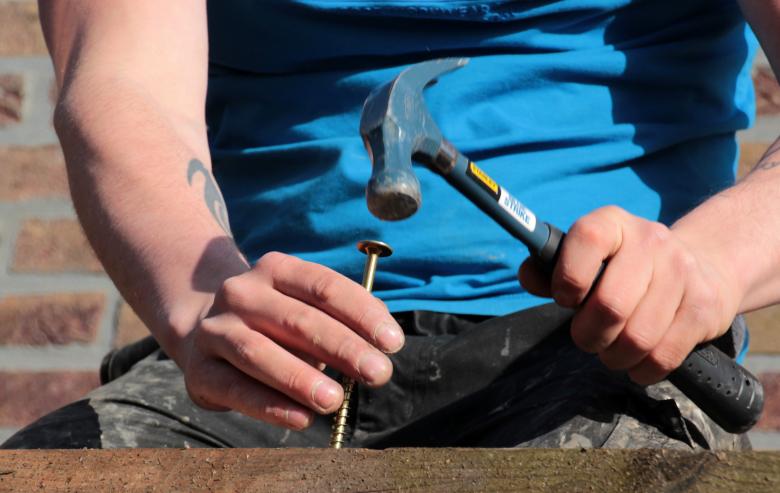
Large carpenter’s nails are easy to hold because of their length. The most precise gesture is to hold them an almost full hand, thumb, and little finger from underneath. With practice, the gesture will become perfectly natural.
It is advisable to wear protective gloves, as the power of the stroke required to drive the hammer can be dangerous if you slip.
Good to know: the longer the point, the more likely it is to bend under the hammering. If it starts to twist in one direction, orient your hammer so that you hit the head in the opposite direction of the deformation.
2. Case 2: Hold small nails without hitting your fingers
Shorter nails require more precision. They are held between the thumb and forefinger, with the other three fingers spread wide apart to not interfere with the striking.
To avoid hitting your fingers when driving tiny nails, especially with upholsterer’s seeds or headless pins that are difficult to hold, use small flat-nosed pliers or drive the nail into a strip of corrugated cardboard in advance. Then present the nail to the chosen location and push it in safely. Once the pin is sufficiently driven in, tear off the cardboard and finish driving it in.
Caution: it is common to see users at work with the nails between their lips (or even in their mouths for seeds and small nails). It is imperative to use a cup within reach, a tool belt, or even a magnetic bracelet, as rustproofing products and metal particles are indeed harmful compounds!
3. Plant spikes to reinforce fasteners
A spike planted straight, perpendicular to the support, ensures an average fastener that will not resist pulling out. Giving it a bit of an angle will make it stronger.
Drive the nail at an angle of at least 20 degrees (up to 45°) upwards in the case of a suspension, in a wall, or a wooden partition.
In the case of a multi-piece assembly:
– Always consider fastening the thinner piece to the thicker one to increase embedment depth and improve anchorage in the more massive one.
– Always choose a point with a length slightly less than the thickness of the two pieces to be joined (- 1 cm), possibly considering the additional driving depth if you conceal the head.
– Whenever possible, cross the points in an “X” shape or alternate the direction of driving to obtain better resistance in all directions.
4. Don’t split the wood when driving your nails
Especially above 3 or 4 mm, nails tend to spread the wood grain and cause it to splinter. Even more so near the ends. There are several ways to drive your nails without splitting the wood:
– If you must align several nails on the same piece of wood, position them in a staggered pattern. This staggering will prevent the nails from splitting the wood by spreading the wire.
– Alternatively, use a small wood bit to drill a pilot hole through the entire thickness of the piece.
– When drilling is impossible, dull the nail. To do this, turn the nail over on a hard surface (anvil, vice, stone, sledgehammer, etc.) and strike the tip with a sharp hammer. This will blunt the nail and shear the fibers instead of pulling them apart.
5. Conceal the nail head
A visible nail head can be very unsightly, especially in woodworking. It can also become an obstacle, for example, when laying a floor on joists, as you must perfectly drive each nail in to allow the installation of the next board.
– With round-headed nails, minimal diameter, the simplest method is to make them disappear in the wood with a nail punch. One to two millimeters is more than enough. Soft and fibrous woods will almost certainly close up and hide the joint. If not, a little wood filler will do the trick.
– To hide a significant point or flathead, the method is to lift a small chip of wood with a small (8 to 10 mm wide), very sharp chisel. Push the point into the groove and finish with a punch as before. Finally, replace the chip with a clamp after dripping a drop of wood glue. Wipe off any drips before drying with a damp cloth.
Drive special nails
Some nail designs require particular installation or precautions.
– Spikes (or carpenter rider nails) are generally used to fasten wire or wire mesh to fence posts or other vertical pieces. To avoid bouncing the support, press a sledgehammer back with your other hand after starting to drive as with a normal spike. The heavy tool will absorb the shock and prevent the post from moving.
– Hardened spikes (for concrete spikes) are highly brittle due to their heat treatment. Be sure to protect your eyes with safety glasses.
– Decorative nails, especially round-headed upholstery nails, are extremely fragile. It is best to use a hammer with a hard plastic head (auto bodywork hammer). Be especially careful not to bend the shank or the head. Strike gently from end to end. The same goes for special nails used to fasten corrugated sheets or bitumen shingles.
Tip: Metal detectors are available for a few dozen dollars. They will allow you to detect metal structures, rebar, piping, and live electrical cables in the walls before driving a nail into them.


When I initially left a comment I seem to have clicked the -Notify me
when new comments are added- checkbox and now every time a comment is added I recieve 4 emails with
the exact same comment. Is there a means you can remove me from that service?
Kudos!