Have you ever tried the DIY T-shirt fashion? Using your oversized old t-shirts in a money-saving and fun way to spice up your wardrobe is a surefire way to add a personalized touch to your style! Some creative t-shirt cutting ideas are as follows:
DIY cut-off tank
If you have an old baggy t-shirt you no longer wear, you could simply cut off its sleeves to transform it into a muscle tank top. You can then wear it and comfortably head to the gym.

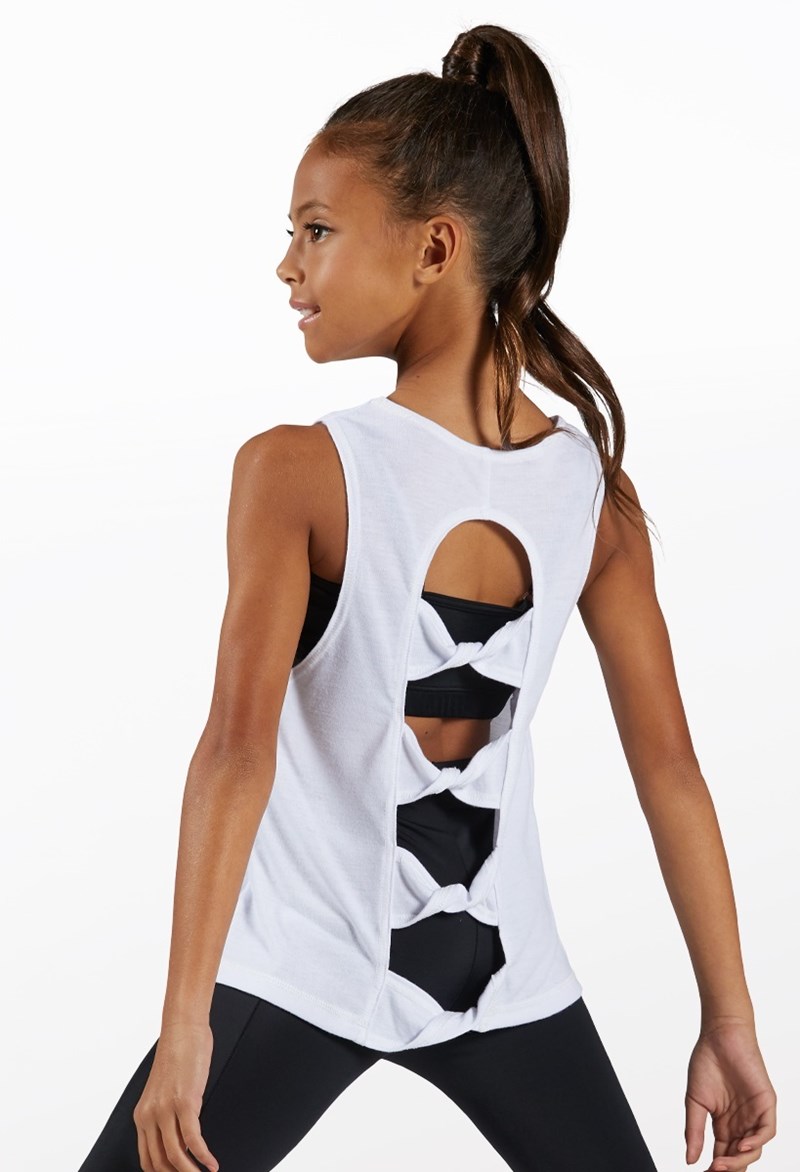
Bow-back T-Shirt
This craft will require a little sewing, but it will be well worth it when you flaunt your new outfit out and about!
Tree silhouette tee
This is the best project for nature lovers like myself! Simply draw a tree on your t-shirt with chalk and cut out the spaces around the tree to make a beautiful silhouette. You can also get your creative juices flowing by drawing other things you love!
DIY butterfly twist tee
You can take your basic t-shirt and make it fabulous with a twist! This look is perfect for me for a date night or a girls’ night in town.

Wrap crop top DIY
This DIY craft is absolutely stunning! So, let your creativity fly, as you can use any type of t-shirt for this style!
DIY t-shirt dress
Do you have an oversized shirt lying around in your home? If you do, grab it and transform it into this adorable haltered t-shirt dress that draws many admiring glances.
DIY Festival fringed tank
This is a new but simple idea for you to transform your average-looking t-shirt into a fashionable one! Even celebrities wear fringed tanks like these at festivals!

Halter Top DIY
This style will make even a novice crafter like you look like a high-end fashion designer! I am going for it!
Workout shirt
You need to incorporate a bow on the top of the garment to allow it to be versatile so that it can be worn both at gyms and parties! However, the trick lies in the choice of fabric!
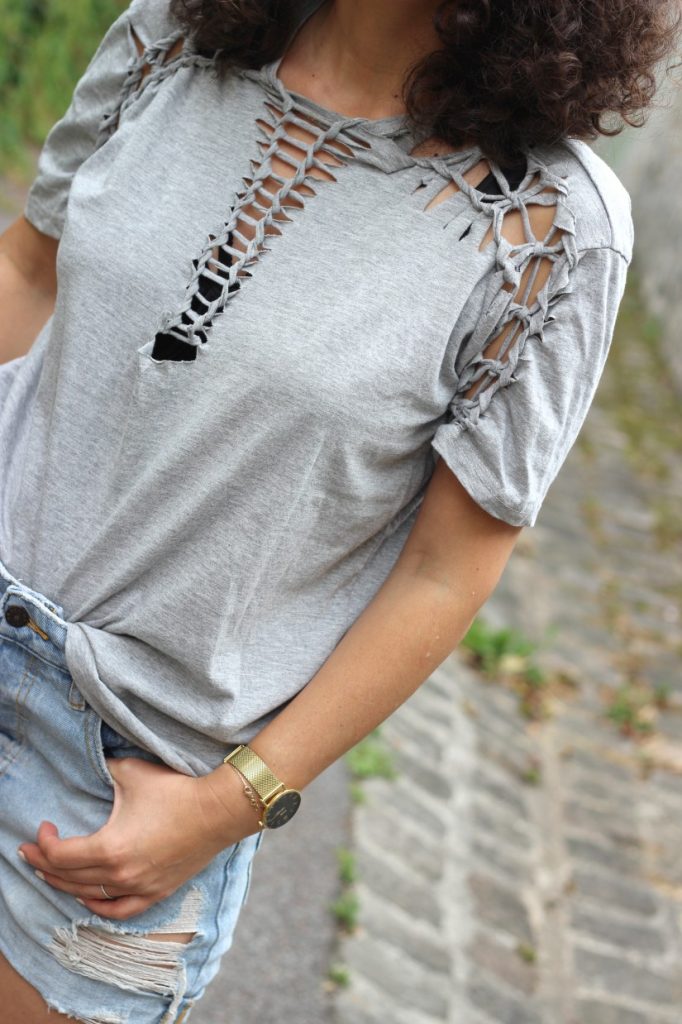
Shredded tee
Just grab an oversized shirt, cut the hems at the bottom of each sleeve, and begin to meticulously pick at the horizontal threads with your fingers. This is how you will get a fabulous result!

Summer tank DIY
This craft is my favourite because it does not involve sewing, so I just need to cut and tie. To be more specific, cut off the sleeves, neckline and back of your shirt straight across your hips. Then, cut straight up the middle to make two points to finish.
DIY off-the-shoulder top
All you need to do is to cut off the top of the garment before sewing an elastic inside for an excellent fit!
How to cut your t-shirt step by step
Are you ready to make one of the above fabulous outfits? Have a look at the steps below to avoid mistakes!
Materials needed:
- Scissors
- An Old Shirt
- A Pen
- A ruler
1. Find a flat surface
First, you must have a flat surface, such as a table, ready to work on.

Then you need to gather all the items listed above and bring them to your table. Having more than one old shirt on hand is also a good idea because getting it perfect on your first try may be challenging. After all, practice always makes perfect!
3. Draw your design
Before you even touch the scissors, you want to draw the method you plan to cut on your shirt. This way, you will have a guide as you cut.

4. Cut the collar first
This way, you can base the rest of the style on how the shirt fits you after removing the collar. However, if you leave the collar intact, you can skip this step.
5. Cut the bottom hem
The hem is an easy part of the t-shirt to cut; doing so does not mess up with the size.
6. Cut the Sides, Sleeves, and Back
And now is the time to finally make the cuts that will drastically change your shirt! So, cut the sides and the back, following your chosen design. You can also conserve the fabric scraps that you have removed to use them later if needed. And remember that there is no harm in going slow to ensure your t-shirt design comes out perfectly!

When you create these simple DIY outfits, you are part of a sustainable fashion that is so helpful for our planet! You will also not only feel comfortable and relaxed, but you will also save money!


