All the time, people keep on talking about motherhood or about how special mothers are, well, I think that fathers should be treasured as well. So, if you think that your father deserves the same pamper mothers get on Mother’s Day, here are some easy DIY crafts for Father’s Day.
DIY Photo Blocks
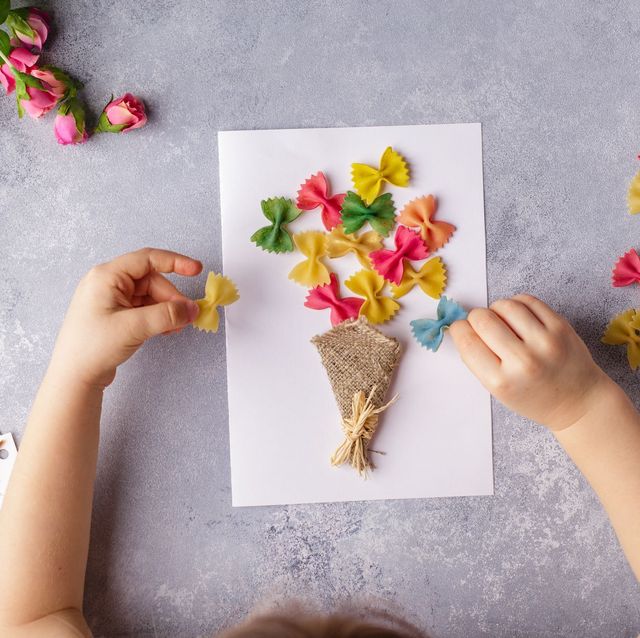
 Photos are one of the best items that can best capture memories, especially memories of relationships with loved ones. I guess the perfect gift to a father on Father’s Day would be something that can remind your father of the beautiful moments you’ve spent together.
DIY photo blocks are one of the easiest stuff that can be made and I’m sure your father will enjoy placing them on his desk at work or at home.
Materials you’ll need:
- Acrylic paint
- A few markers
- A sponge brush
- Unfinished photo block
- Modge Podge
- White cardstock
- Letter stickers (that’s purely optional)
- Pictures (make sure they are cut into 2 1/2-inch x 2 1/2-inch)
Instructions to make the DIY photo blocks:
Step 1:
You can start by painting the sides and tops of all your unfinished photo blocks. Once the painting task is done, set the blocks aside and let the paint dry completely. Meanwhile, you can use a paper cutter to cut out the pictures you selected.
Step 2:
This step is optional. If you want, you may add the letters “Dad”, “Daddy” or “Papa” right to the front of at least three of your photo blocks. You can also add these words to one block.
Step 3:
Now is the time to open your Modge Podge and apply a good layer to one of the sides of the photo block. A photo can be placed right in the center of the block. Then, continue using Modge Podge on each side of the photo block and put a picture right on the center of each block. Once you are done with all blocks, set them aside and let the Modge Podge cool completely.
Step 4:
Once the Modge Podge has dried, add another layer along the whole perimeter of the picture block, covering the letter stickers and images. Allow the Modge Podge to completely dry.
Step 5:
Out of your white cardstock, cut out note cards that should be about 4-inch x 3-inch. You can now write your special messages or some Father’s Day quotes on the notecards.
Step 6:
When you are done writing your messages, put all the notecards on the top of the photo block.
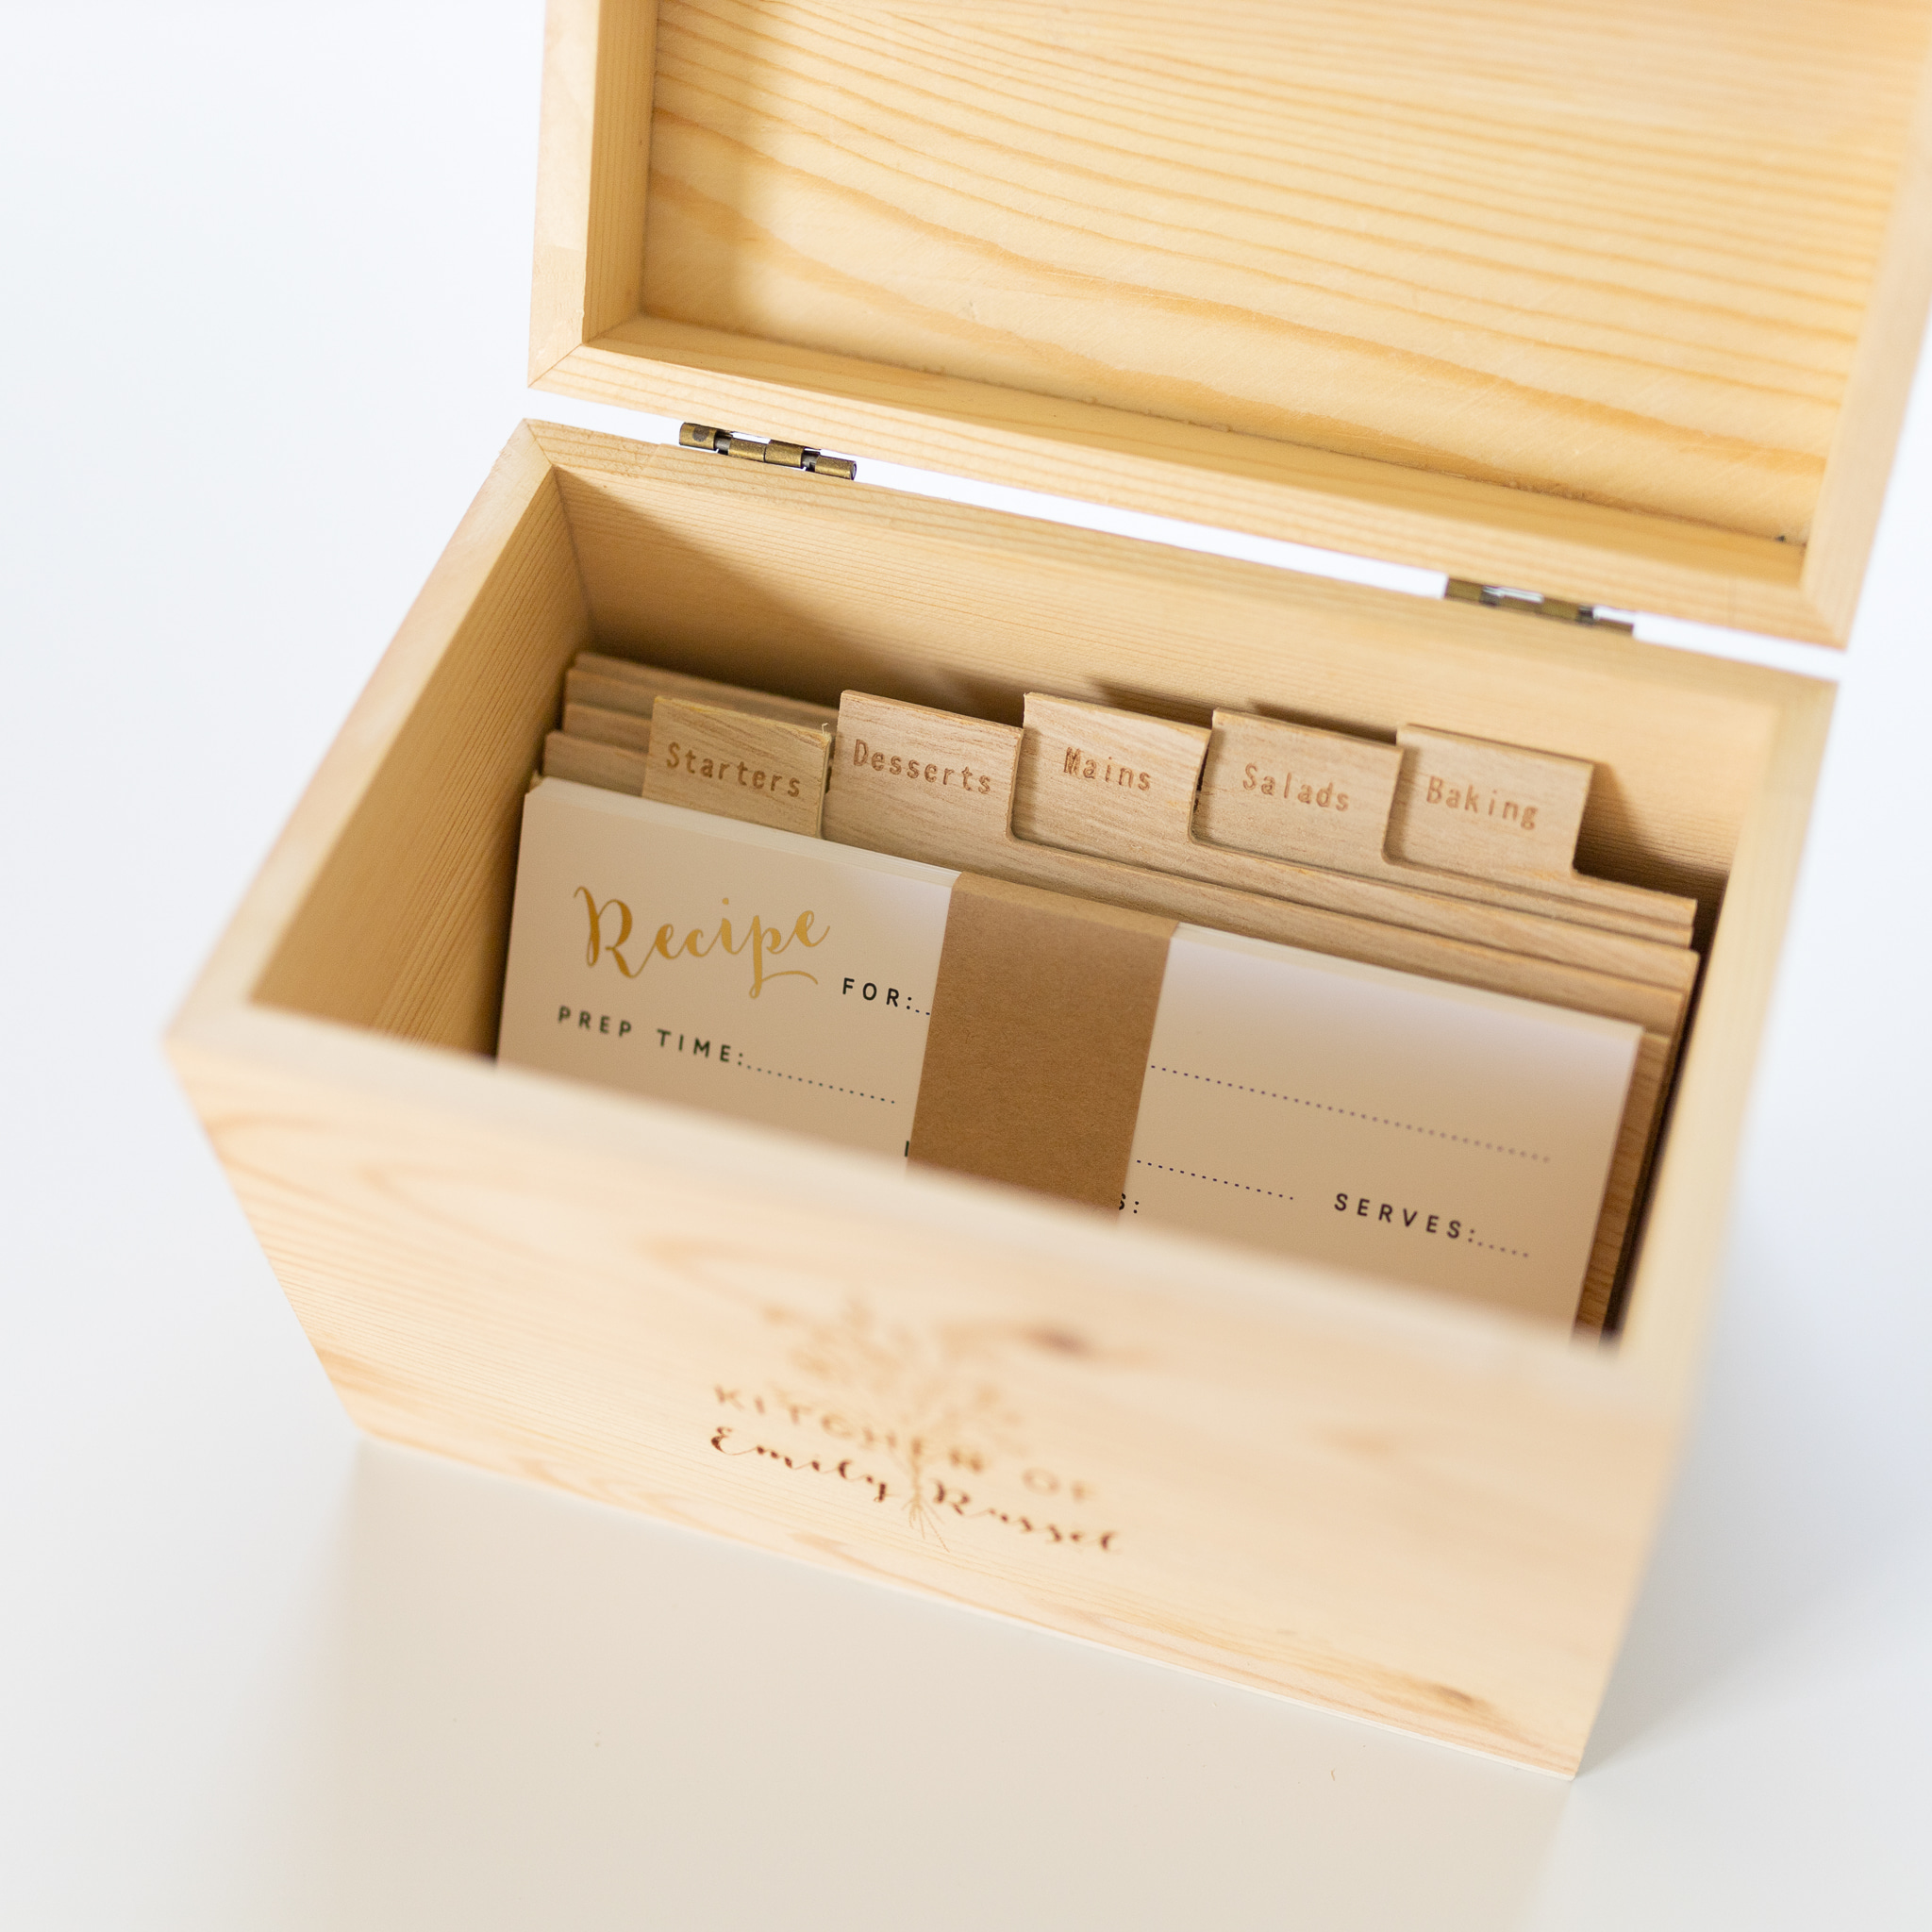
Daddy’s Memory Box
 Materials you’ll need:
- Spray Adhesive
- Scrapbook paper
- Painter’s tape
- Small pouncer brush
- Black acrylic paint
- Rag
- Wood stain (any color of your choice)
- Unfinished wood photo box
- Letter Stencils (you can find them here)
Instructions to make the DIY photo blocks:
Step 1:
You can start by painting the raw wood picture box. I did not dye the interior of the box, but you certainly could!
Step 2:
Once the stain has dried, you can stencil the words “No. 1 Dad”, “The Best Daddy”, “I Love you Daddy” onto the photo box’s outside. To keep the stencils in place, you can use painter’s tape. You may also cut letters on vinyl and place them on the box if you have a Cricut machine. I recently purchased the Cricut Joy machine (the smallest Cricut) and I adore it! Learn more in the following post DIY Dollar Tree Gifts with the Cricut Joy!
Step 3:
You can work from the outside of the box inward to ensure that yours is perfect! You can print the word “memories” onto a piece of computer paper and trimmed it to fit in the label holder on the front of the box when the paint dried. Afterwards, cut some manly-looking scrapbook paper to fit the interior of the box and sprayed it with glue.