
The Crafts Person | 3 Easy Steps for Making a Scrub With Baking Soda
Summary
– Step 1: Make an ultra-simple baking soda scrub
– Step 2: Mix the scrub in the palm of your hand
– Step 3: Nourishing Baking Soda Scrub
The Crafts Person | 3 Easy Steps for Making a Scrub With Baking Soda
Facial scrubs should usually be very gentle so as not to damage the sensitive skin in this area. However, it is sometimes necessary to use a slightly more abrasive scrub for combination to oily skin. For this, a baking soda scrub is a very effective home solution.
Warning: do not confuse baking soda with caustic soda, which is very corrosive.
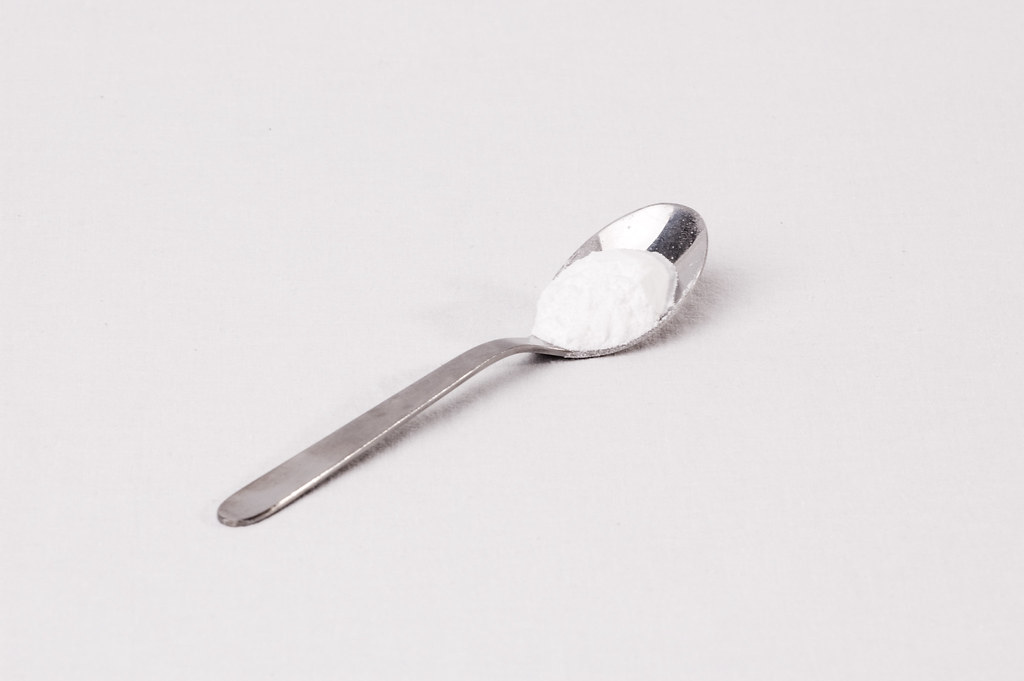
1. Make an ultra-simple scrub with baking soda.
The suggested baking soda scrub is suitable for both combination and oily skin. However, it is not recommended for the most fragile skins or those likely to present allergic reactions.
Its composition is straightforward since it requires only two ingredients: baking soda, naturally exfoliating, and water.
Preparation
– Put 2 tablespoons of baking soda in a bowl.
– Add 1 teaspoon of water.
– Mix until you get a kind of paste (adjust the proportions according to the result).
Use
– Lightly moisten the area you are about to apply the scrub to (which must be washed beforehand).
– Apply the paste obtained directly to the area to be scrubbed with the fingertips in small, very gentle circles (bicarbonate is quite abrasive).
– Let it rest for about ten minutes.
– Rinse thoroughly with lukewarm water.
– Dry your face with a clean towel.
– Finish with a moisturizer.
Note: You should not use this scrub more than once a week.
2. Mix the scrub in the palm of your hand
Using the same ingredients, you can opt for a second method that may suit you. This is because the technique of preparing the mixture in a bowl can be more challenging to handle the first few times and can run over areas that are best avoided (the eyes in particular).
This time, you will not mix the bicarbonate and water in a container but apply directly to the hand.
Here is how to proceed:
– Wet the palm of your hand (right hand if you are right-handed or left hand for left-handed people).
– Put a few pinches of baking soda in the wet hand.
– Apply to the chosen area in circular motions without applying too much pressure.
When the mixture is on the skin, and you have no more in your hand, re-wet your hand, put some more bicarbonate, and continue its application.
– Let it sit for about 10 minutes and then rinse.
– Again, finish by applying a moisturizer.
This technique makes it easier to dose the water.
Good to know: with this application method, you can use this scrub on the body during the shower.
3. Nourishing scrub with baking soda
Nothing could be easier than turning your baking soda scrub into a nourishing scrub. All you have to do is replace the water in the preparation with vegetable oil.
The ideal is to use particularly nourishing oils such as
– sweet almond oil;
– argan oil;
– avocado oil;
– jojoba oil;
– sesame oil;
– etc.
Materials needed to make a baking soda scrub.
| Sodium bicarbonate |
| Bowl |
| Moisturizing cream |
| Towel |
Remember to share your experience in the comments below!
Read more:
3 DIY Tips for Making a Natural Shower Gel
7 Good Reasons to Start Doing Crafts
4 Easy Tips Every DIY Enthusiast Should Know!
4 Important Tips for DIY Beginners