An invitation is the first impression you will ever give of your wedding; it will set the tone and even expectations. So, you will want to give your best, as no one wants a trashy invitation for a wedding, birthday, or any other event. Hand-written, the fancy envelope, all of that cost will eventually add up, and I guess you haven’t planned to pay your invitation thousands of dollars.
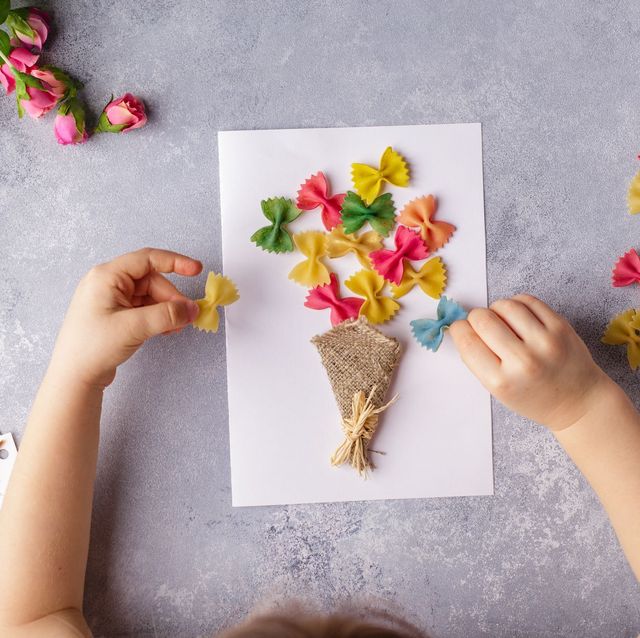
Do not worry; you can save a lot on invitations by doing them yourself, and before you start to ask yourself these questions, no, it won’t look as if a kindergarten child did it. It will be classy, beautiful, and yet not-so-expensive.
The Advantages Of An DIY Invitation
Many skilled stationers and graphic designers are working hard to provide you with digital files that you can alter and print at home. You may receive a semi-custom invitation that will fit your wedding for a fraction of the cost of a bespoke invitation suite and printing services.
Printing your invites from a downloaded template is a terrific way to choose a design that suits your style, alter it to reflect your personal wedding information, and then swiftly print and ship them out. In this guide, we have gathered the best tips and tricks to help you DIY your invitations…
Cost Of DIY Invitation
Even if you print at home, the cost of ink and paper will add up quickly, especially if you go for high-quality paper or inks with a lot of saturation. Consider the size of your invites, the type of paper you’ll use, whether your invitations will be flat or folded, and any other embellishments, such as a belly band or wrap. Not to mention postage and envelopes. All of these factors will help you assess whether the cost reductions exceed the benefits of ordering from a professional.
Style Of DIY Invitation
Consider the style you want for your invitation before you go too far and spend hours browsing online. Are you looking for something elegant and simple? Are you looking for something bold and colorful? What about a watercolor effect? Before going through the designer profiles, take some time to look at the styles.
Pro tip: Designs with white space and lighter color backgrounds will print better at home, saving you money on ink.
Schedule Your DIY Invitation
It is not always the case that printing is faster. When printing at home, be sure to give yourself plenty of time, grace, and patience, since things can get complicated quickly. Remember that wedding invites should be sent out eight weeks before the wedding date.
Pro tip: Make sure you have enough resources, if not some extras, just in case you make a mistake and have to start over.
Customization Of Your DIY Invitation
Once you have chosen your template, you will want to customize it. You can choose whether you will do it yourself or pay a designer to do it. Some fonts and colours may not be available in the software that you decide to customize, but if you are content with the result, go ahead.
Pro-tip: Make sure that once you are happy with the result, several people check it for errors that could have gone unnoticed. So that you do not waste money on printing.
The Fit Of Your DIY Invitation
DIY or not, you will want to have a professional-looking invitation. First of all, you should center your design on a large piece of paper, allowing room for you to trim nicely. You will want to have a bleed effect, which is a design that goes up to the edge for a professional look.
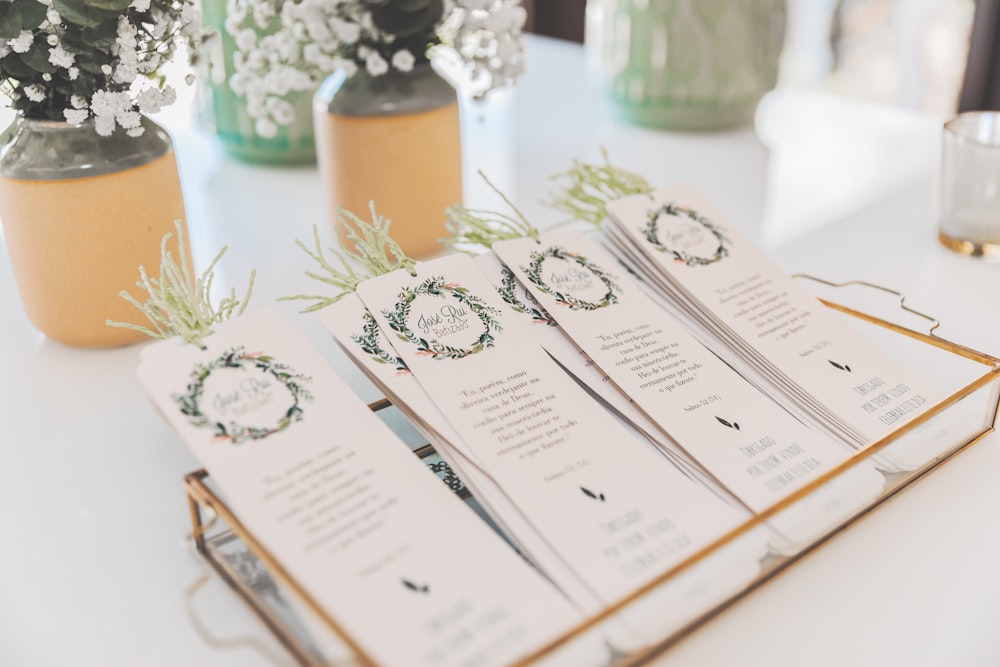
Paper Of DIY Invitation
The paper is an important part of the process; I would even say that it is the main part of the process. Normally, the thick paper will feel more luxurious but consider that not all printers can print on thick papers, so you will want to make sure that yours does, or else you can contact a printing company.
Go to a stationery store and get someone to advise you. You may even want to go for textured paper as well. You can sample different models, try them first before buying more. As printing can have different results on different papers, it is better to run a test.

At-Home Printing Invitation
If you’re printing at home, double-check that all of your equipment is in working order. Your computer screen may not accurately portray how the design will appear when printed.
Home printers are normally a shade or two darker, whereas web or local printers are usually a shade or two lighter.
Spend time printing tests and modifying your printer settings to achieve the colors you want, and if you have your print shop do the heavy lifting, invest in a sample or two so you can get the color balance to come through precisely. It’s time to press the print button once you’ve completed your preparations.
Choice Of Envelopes For Invitation
Of course, once all of that printing is done, you’ll need envelopes to place those lovely invitations in. Find envelopes that are the right size and color.
Get envelopes that aren’t the same size as your invitation to give it some breathing room, and don’t forget about RSVP card envelopes.
Distribution Of Invitation
You may want to personally drop them, or if you have families that live far from you, it is better to head to the post office. You may want to put it in another envelope to avoid any kind of tearing and damage to your initial envelope.
DIYing is not a simple task, even though it seems like it. But, you can make it fun; let us know in the comments if you are willing to make your own, or you will turn to someone else…