3 Steps to Drill Wood
Contents
– Step 1: Prepare your work area
– Step 2: Prepare to drill
– Step 3: Drill the wood
Drilling wood is relatively simple, but it does require some skill. A poorly drilled hole can make it difficult to screw two pieces together. That’s why it’s important that the drilling be done in a straight line. When drilling wood, it is crucial to choose a suitable drill bit. Choose a special wood drill that is well sharpened and will make holes without splintering. Here’s our handy sheet to help you drill wood like a pro.
1. Prepare your work area

If you have several holes to drill, prepare a convenient work area. Protect the furniture and floor by covering them with used sheets, polyethylene film or tarps. Protect your face with a face mask and your eyes with goggles to avoid dust splashes.
2. Prepare for drilling

Insert a wood drill bit into the chuck.
Depending on what the hole you are making in the wood will be used for, note that if you want to:
– dowel the wood; the diameter of the drill bit should be precisely equal to or slightly smaller than the diameter of the wood dowel that you will place in the drilled hole.
– screw in the wood, the diameter of the drill bit must be smaller than the screws.
– passing a bolt or rod through the wood, the diameter of the drill bit must be slightly larger than the bolt.
To determine the depth of the hole to be drilled:
– Take the screw you will be screwing into the drilled hole.
– Place the screw next to the drill bit.
– With masking tape, mark the location of the screw head on the drill bit.
– Insert the drill bit into the chuck. To do this
o Unscrew the chuck with the automatic system or a wrench, if the drill has one.
o To insert the drill bit into the chuck, refer to the instructions provided when you purchased the drill.
– Make sure that the drill bit is held correctly in the chuck: there should be no play.
3. Drill the wood

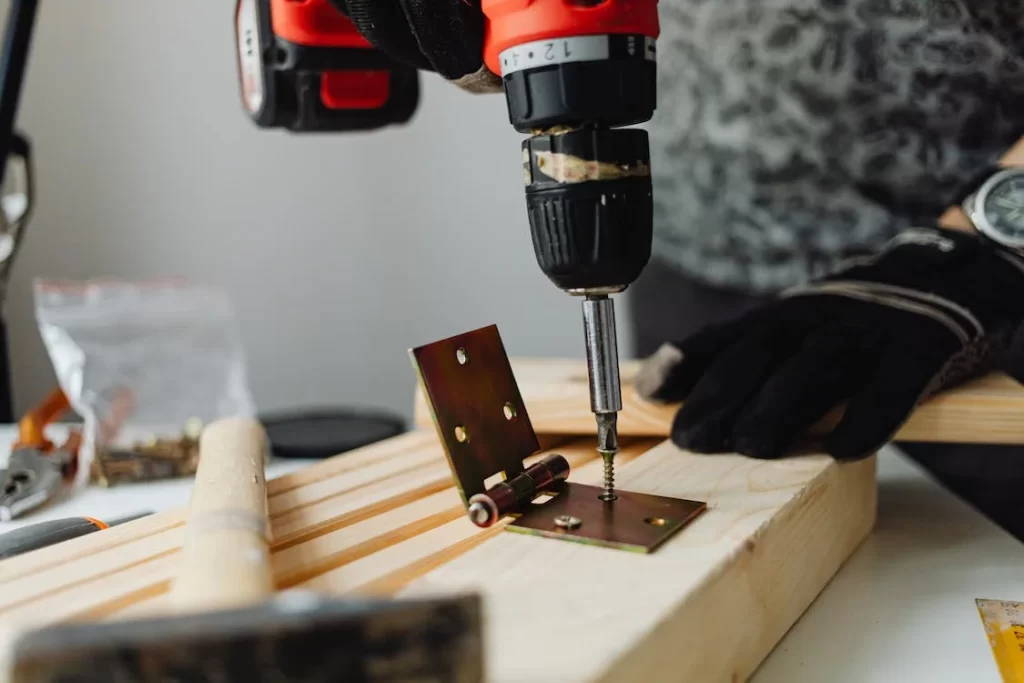
– Set the drill to minimum speed and drill through the wood to mark the hole.
– Position your drill bit in the center of the mark.
– Start the drill.
– Increase the speed of the drill and drill to the mark previously made on the drill bit.
– Stop the drill.
– Blow the dust out of the drilled hole to dislodge the dust.
– Remove the dust from the floor related to the drilling with a vacuum cleaner.
– Remove polyethylene film, tarps or sheets from the floor and furniture.
Equipment needed for drilling wood
Vacuum cleaner
Tarp
Drill
Safety glasses
Protective mask
Drill
Electrical extension cord
Masking tape
READ MORE:
– DIY: How to Make a Wooden Crate;
– How to Clean Your Painting Equipment (Part 1);
– How to Paint With a Brush (Part 1);
– Painting With an Airless Sprayer;
– The Essential Craftsperson Tools (Part 1);
– The Tools Every Craftsperson Should Have (Part 2);
– 3 Steps to Assemble a Knitted Fabric.
Hope you like this post and the ones in the above links. Visit our blog to read more about the craftsperson, and don’t forget to leave your comments.


