
How to Bring In the Threads of a Knitted Fabric
Contents
– Case 1: tucking in the threads on foam stitch or jersey
– Case 2: tucking in the threads on a ribbed stitch
Tucking in the threads of a knitted fabric is a finishing touch after folding down the stitches when the work is finished. The yarns that protrude correspond:
– the yarn of the stitch set-up row;
– the yarns used to change the balls;
– the yarn used to turn the stitches down.
This is an essential step because tucking in the yarns of a knitted fabric hides unsightly threads and consolidates the work so that the stitches do not become unraveled at the place where the yarns are located.
There are several methods to tuck in the threads of a knitted fabric. It depends mainly on the type of stitch used to knit your work or the yarn used. Here is how to tuck in the threads of a knitted fabric.
Case 1: tucking in yarns on foam stitch or stockinette
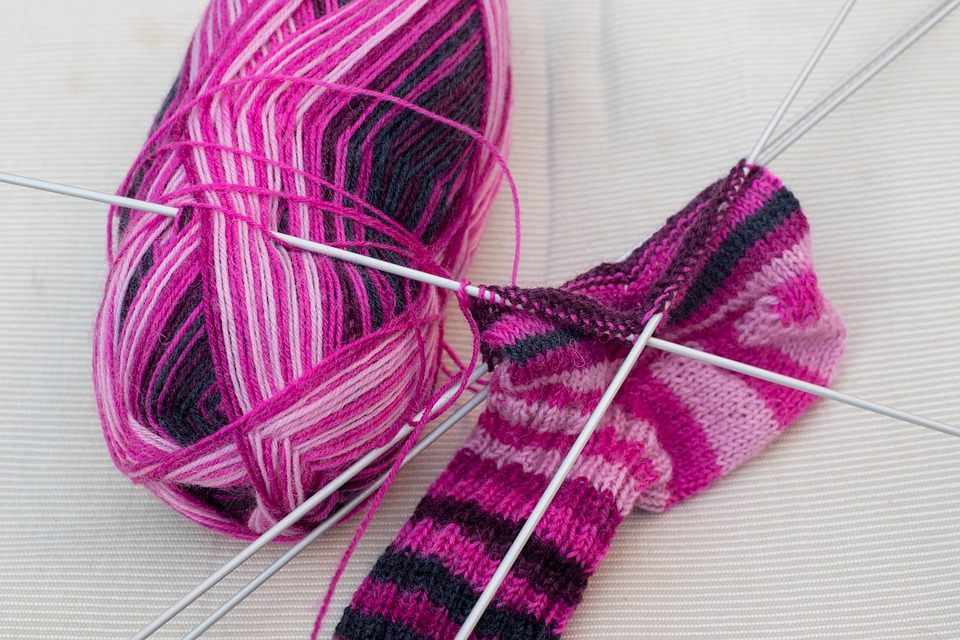
Before bringing in the threads of knitted fabric, it is important to use the right material. To bring in the threads, use a wool needle.
– This is a needle with a large eye to facilitate the passage of thicker or thinner wools.
– These needles are also used to sew knitted work. You can buy them in sets of $3 for about $3.
– The wool needles can be made of plastic or aluminum.
The thread hidden in the knitting must be at least 20 cm long. The yarns are tucked in horizontally, about ten stitches, and on the wrong side of the knitting so that the work is invisible on the right side of the knitting.
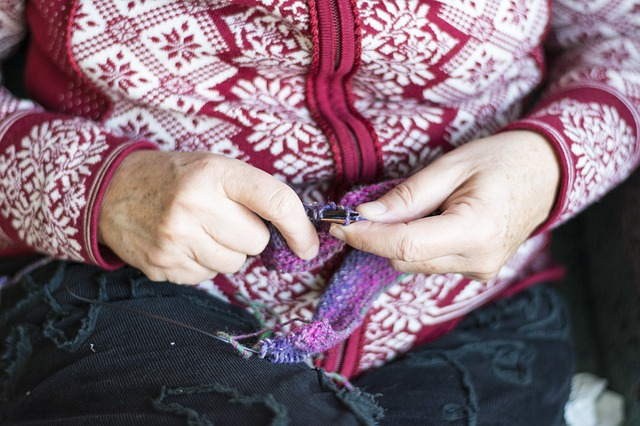
Place your work on the wrong side of the knitting, make sure not to tighten your work so as not to distort your work. Then:
1. Pass the wool yarn to be pulled in through the eye of the wool needle.
2. Stitch the wool needle into a stitch at the high loop that forms the stitch.
3. Stitch in a stitch again but in the top row at the bottom loop of the stitch.
4. Stitch your needle into the next stitch on the same row. At this point, the tucked-in yarn takes the shape of the knit stitch.
5. Finally, pass the yarn through the same starting stitch.
6. Repeat steps 2 to 5 for about ten stitches, loosely.
7. Cut the remaining yarn a few millimeters flush with the work.
Note: you may want to stretch your knitting slightly to give it its original shape, as pulling in the yarns may distort the knitting a bit.
Note: the work is tighter on the stockinette stitch, be sure to tuck the threads in gently so as not to stretch the stitches.
Case 2: Bringing in the threads on a ribbed stitch
Slide the protruding thread into the vertical stitches to pull in the threads of a ribbed stitch. The threads are tucked in the direction of the knitting, which allows the threads to be well hidden. It is also possible to tuck the yarns into the selvage stitch on the edge of the knit with the same technique.
1. Thread the yarn through the eye of the wool needle.
2. Stitch the needle under the left side of a purl stitch close to the yarn to be tucked in, from the bottom to the top.
3. Stitch the needle back into the top stitch from the bottom up.
4. Tuck the yarn in about ten stitches by passing the needle through several stitches simultaneously, then pull the yarn in loosely.
5. Stitch the needle under the right side strand and turn your work the other way.
6. Pass the needle through the top strand of the stitch again, from the bottom to the top. Check if this strand is opposite the strand where you have already passed the thread.
7. Loosely pull the yarn in about ten stitches.
8. Cut off any excess yarn if necessary.
Tip: if the stitches are deformed after pulling in the threads, feel free to stretch the work slightly with your fingers, and it will return to its original shape.


One thought on “How to Bring In the Threads of a Knitted Fabric”