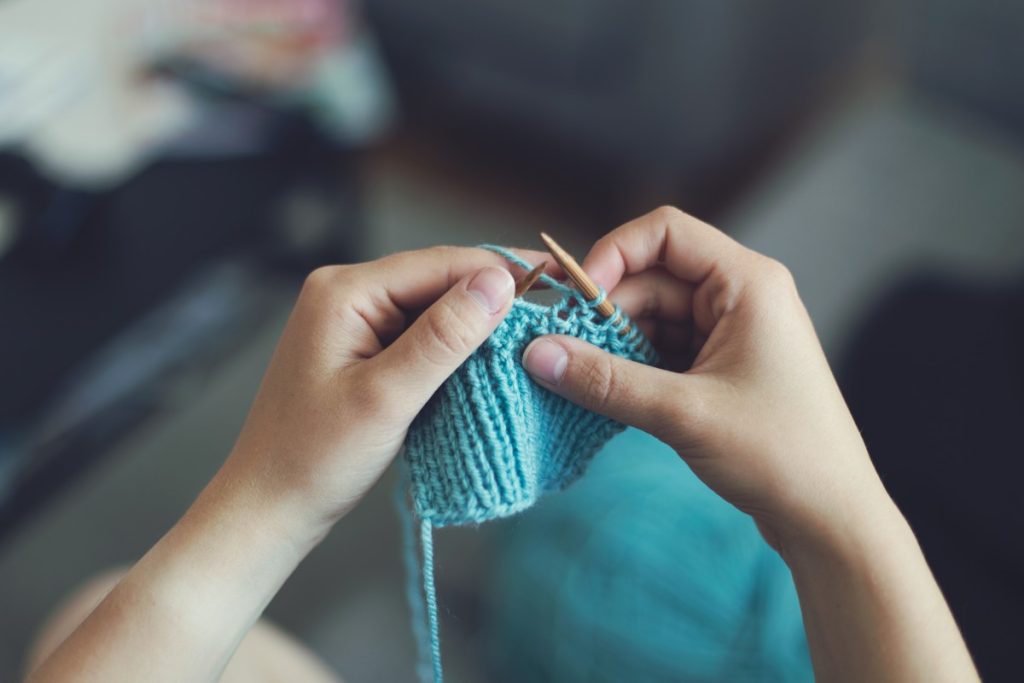
How to Knit in the Round
Contents
Step 1: Knit in the round with double-pointed needles
Step 2: Knit the following stitches and start a second row
Additional tips for knitting in the round
Knitting in the round or circular allows you to knit seamless round pieces such as snoods, hats, or mittens. You can knit in the round with circular needles or with double-pointed needles:
Double point needles are mainly used for knitting small items like socks. Depending on the size of the work, 4 or 5 needles are used, but the basic principle remains the same.
The circular needles allow you to knit works in circles of different sizes like sweaters and are practical because you can slip them into a bag and take them everywhere.
Here’s how to knit in the round with 4 double-pointed needles.
1. Knit in the round with double point needles
Place the desired number of stitches on one of the double-point needles, making sure to use an even number to divide them evenly among three needles, forming a triangle.
Place the needle with the first stitch mounted on it facing you at the bottom and the one with the yarn connected to the ball on the right, as shown in the photo. The third needle is on the left above the others and contains the center stitches. You want all the stitches to be in the same direction and not twisted.
Prick the fourth needle into the first stitch and hold the yarn firmly connected to the ball. At the same time, keep the other needles in your left hand. Knit the first stitch right side up, pulling the yarn tightly to avoid creating a gap.
Knit the second stitch tightly and incorporate the following stitches normally until the needle comes free.
Turn your work slightly to the left so that the yarn connected to the ball is on the right and the knitting needle stitches are facing you.
2. Knit the following stitches and start a second row
Knit the next stitches on each needle by repeating steps 2 to 4 of step 1 until all stitches are knitted. Note that the yarn connected to the ball should always be at the bottom right of the round work.
The first row is finished when all stitches from all three needles are knitted.
Mark the beginning of the row by slipping a stitch marker or contrasting yarn just before the first stitch to continue knitting in the round.
Note: Remember to knit the first two stitches on each needle, pulling the yarn tightly to avoid demarcation.
Additional tips for knitting in the round
Pay attention to the arrangement of the stitches on the needles
Ensure that the stitches you are knitting are not twisted on each needle; they must all be in the same direction before winding them. You risk getting a knitted fabric turned inside out if they are intertwined. Place the base of the stitches down like the stitches on straight needles.
Marking the beginning of a row in the round knitting
To mark the beginning of a row, you can use a stitch marker or a different color yarn than the one you are knitting with. You will only need to slide the marker over the needle at each row change to find your way around. Place it when all the set-up stitches are knitted before the first stitch of the next row.
Knowing how to knit the different stitches
To knit in stockinette, you must always knit in right side stitches because you are working only on the right side of the work.
To knit in moss stitch, you will need to wind one row right side up and then one row in reverse, repeating these two rows throughout the work.
To knit in 1/1 ribbing, you will have to knit one stitch from the front and one from the back, always on the side of the work.
Avoiding the divisions in the round knitting
When knitting the first two stitches on each needle, tighten the yarn to avoid demarcation. Note that not all wools show divisions. This method is equally applicable to knitting in the round with circular needles, which will be the subject of our following publication. Meanwhile, don’t forget to tell us about your experience in the comments section below.
Read more:
- Best Tips on How to Knit Purl;
- How to Bring In the Threads of a Knitted Fabric;
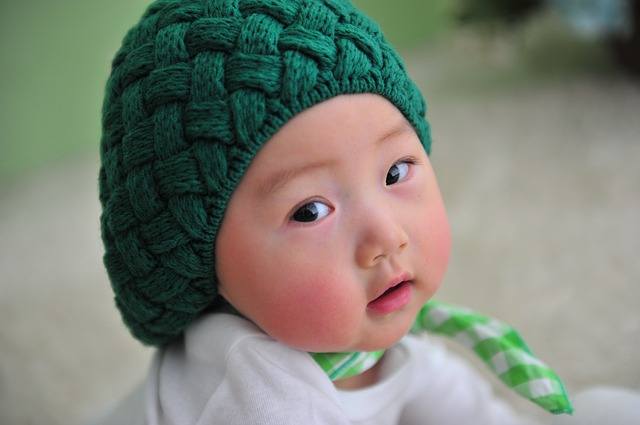
- Tips to Knit Outstanding Bonnet for Baby.