How to Knit on the Right Side
Summary
– Step 1: Knit one stitch right side up
– Step 2: Knit the next stitches
– Avoid the most common mistakes
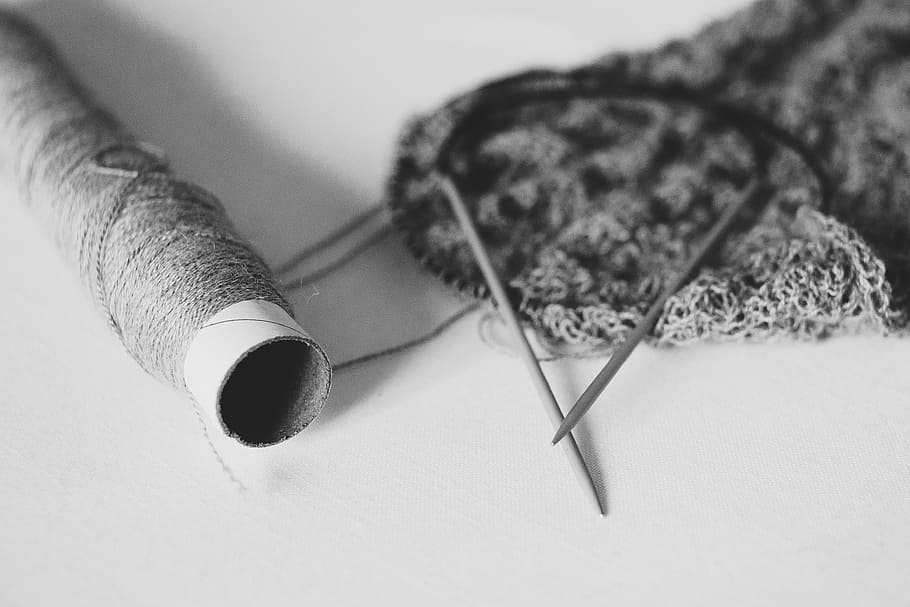
Knitting right side up is the most basic technique to advance your knitting. There are different ways to knit a stitch, right side up or upside down. It is called moss stitch when all rows are knitted in purl stitch. The knitting is called stockinette, alternating with every other row in purl stitch. Here is a clear explanation of how to knit the right side up.
1. Knit a purl stitch
After setting up the stitches, take the needle with the set-up stitches in your left hand. Place your ball on the right and take your second needle in your right hand.
1. Stitch your right needle into the first stitch of your row, passing under the left needle, well between the two strands of the stitch.
2. Take the yarn that goes to the ball and goes around the right needle, going from bottom to top and ending on the right side of the needle.
3. Hold the yarn with the fingers of your right hand to create a slight tension.
4. Pass the tip of the right needle through the stitch, keeping the thread taut on it.
5. Remove the left needle by sliding it out of the stitch.
2. Knit the following stitches

– Knit the remaining stitches in the same way.
– When you reach the end of your row, all your stitches are on the right needle.
– Change hands and start knitting again in a purl stitch to get a mossy stitch.
Note: to achieve a regular result, try to keep an even tension on your yarn.
Avoid the most common mistakes

Mistakes happen regularly during the first attempts. It is essential to understand and correct them. To find your way around, don’t hesitate to count your stitches periodically and compare them with the number of stitches you started with.
The size of the yarn
Be careful to use a thick enough yarn at the beginning. This will allow you to understand the pattern of the stitches better. Choose a thread suitable for 5-6 needles, a minimum comfort size for beginners. You can find this information on the ball’s label, more commonly known as the ring.
The position of the ball of yarn
Pay attention to the position of your yarn on the ball. If your string is in front of your work, you risk creating excess stitches, called overcasting, where the cord passes over the needle without being knitted. You have to go around your right needle after stitching in your left needle, so the yarn has to be on your right. The best position is always to keep the ball on your right. The yarn gets behind your knitting when you knit a purl stitch.
The thread has split
When you insert your needle into your stitch, ensure that you have picked up the whole stitch. The yarn may split slightly and you may be poking your needle into the yarn. This can cause extra stitches. In this case, remove the needle from the yarn and re-pick the inside of the stitch.
Catching a stitch
– If you lose a stitch and realize it right away, slip it onto the left needle and knit it usually.
– If you realize it at the end of your row:
◦ Secure it with a safety pin and knit until you get to the same spot.
◦ Slip it onto your left needle and knit it normally.
– If you notice several rows later :
◦ Lay your knitting flat and remove your needles from the knitting.
◦ Unravel the few rows by gently pulling on your yarn.
◦ Once you get to the row where the stitch is located, unravel to the edge of the knit.
◦ Make sure the yarn going to the ball is on the right side of your work, and slip a needle from left to right through all the stitches.
◦ If the yarn is on the left, turn your knitting so that it is on the right.
Make sure the knitting is even
Keep an even tension on your yarn when making your stitches to achieve a consistent result. If, despite all this attention, the result seems irregular, even out the tension by pulling on your knitting in the width and length.
Sometimes a single stitch appears looser than the others. In this case, take a needle and pull on the yarn at each stitch of the same row to even out the whole. The goal is to reduce the visual effect by distributing the excess in the row.
Read more: