How to Use a Router
Contents
– Focus on safety rules
– Step 1: Start the router
– Step 2: Rip and steer a router
– Step 3: Stop the router
A router is a power tool that offers many possibilities for woodworking.
It combines the advantages of precision and speed for making joints, such as grooves, moldings, mortises, and tenons…
Once you have learned the basics, using a router will seem no more complicated than using any other power tool, and it will quickly become indispensable in your workshop.
But before you get down to the nitty-gritty, it is essential to know the basics of how to use and handle your router for safe and efficient work.
Here are our tips on how to use a router.
Focus on safety rules
The router is a safer tool than other tools because the hands are away from the router.
Nevertheless, it is essential to wear personal protection such as:
– a dust mask;
– a pair of safety glasses.
It is also important to wait until the machine has come to a complete stop before disconnecting it for any work, such as changing the cutter or making adjustments.
Caution: keep children and pets away from the working area.
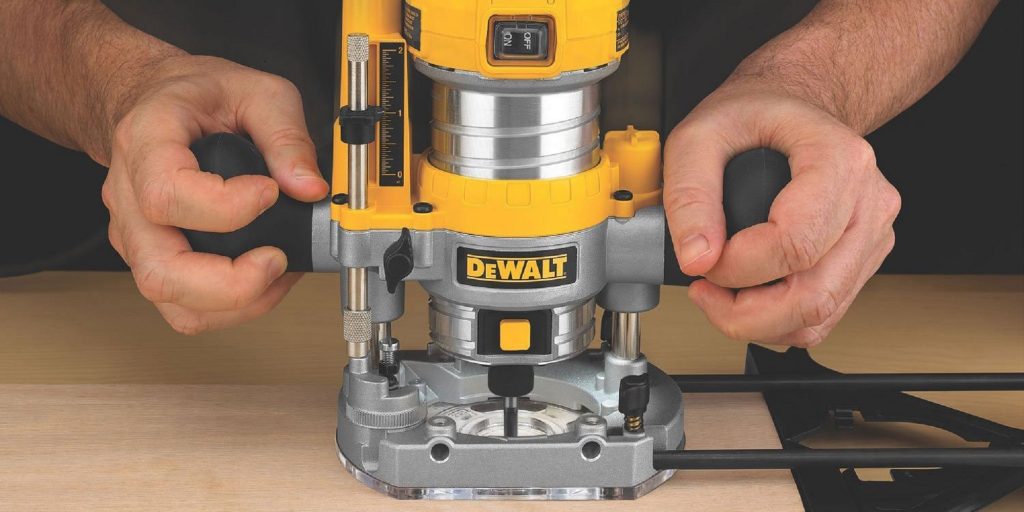
1. Switch on the router
– Check that the router is up, and then position the router as you work:
◦ full panel: when you are making a groove along the entire length or width of the workpiece;
◦ or in non-through work: when you make a notch for a hinge, it is limited and does not come out at the end of the wood panel.
– Put the router in position:
◦ Position the ripper sole on the edge of the panel at the point where the routing starts for complete panel work.
◦ Position the router at the desired location for non-throughput work.
– Switch on the machine and wait for it to run entirely before lowering the router.
– Secure the position, and start routing.
2. Roughing and steering a router
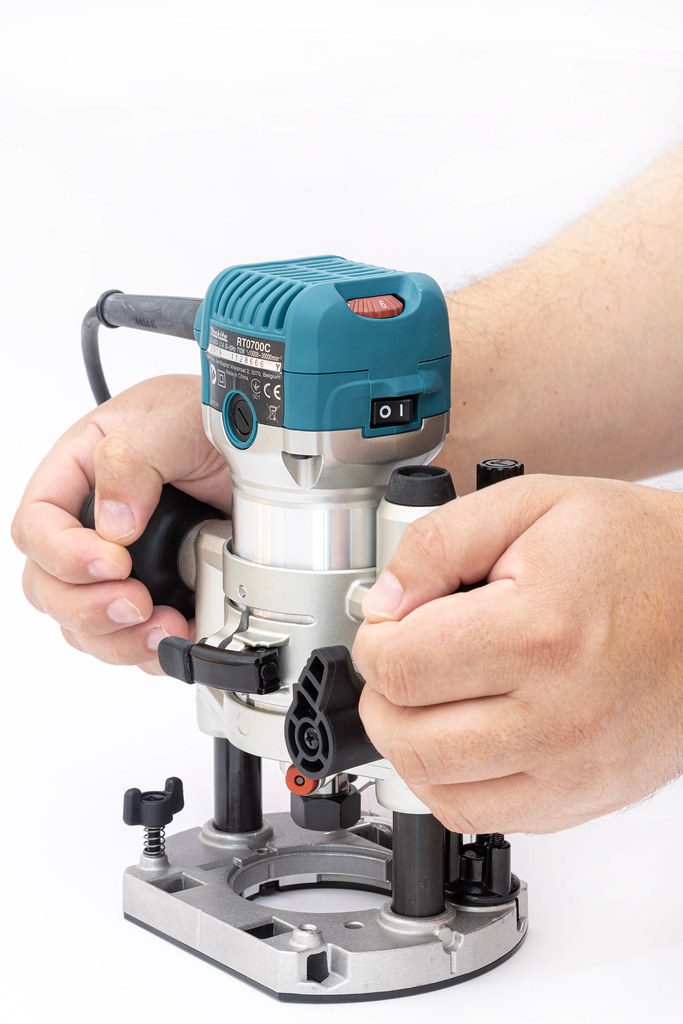
Smoothly, push the router in gradually, keeping your wrists loose and the machine firmly in place.
It is challenging to keep the tool in line, and it is advisable to use guides unless you are using rolling cutters. These guides allow you to stay in line, and this is because the machine tends to deviate from its course during milling.
Different guides and templates depending on the machining task, some of which are supplied with the machine, but you can also use your design guides.
In the latter case, the placement of the router and the fence is critical.
3. Stop the router
At the end of the pass, switch off the motor and let the sole rise for the whole panel work.
If you are not working on a panel, let the base plate rise at the end of the pass and then switch off the motor.
Caution: in all cases, wait until the motor has stopped completely before moving the router or making any adjustments.
Equipment needed to use a router.
| Router | $100 to buy or $35 per day to rent |
| Protective mask | $1 approx. |
| Safety glasses | $6 approx. |
This post is incomplete without your esteemed feedback, so remember to share your experience in the comment section below.
Read more:
3 DIY Tips for Making a Natural Shower Gel
7 Good Reasons to Start Doing Crafts
4 Easy Tips Every DIY Enthusiast Should Know!
4 Important Tips for DIY Beginners