
3 Steps for Sanding Paint
Summary
– Step 1: Prepare to sand the paint
– Step 2: Sanding Your Surface
– Step 3: Apply the finishing touches
Sanding paint increases the adhesion of the substrate before repainting. Sanding the surface is usually sufficient.
However, depending on the thickness of the layer of paint applied and if you wish to expose your surface, it is preferable to start by stripping the paint chemically or thermally.
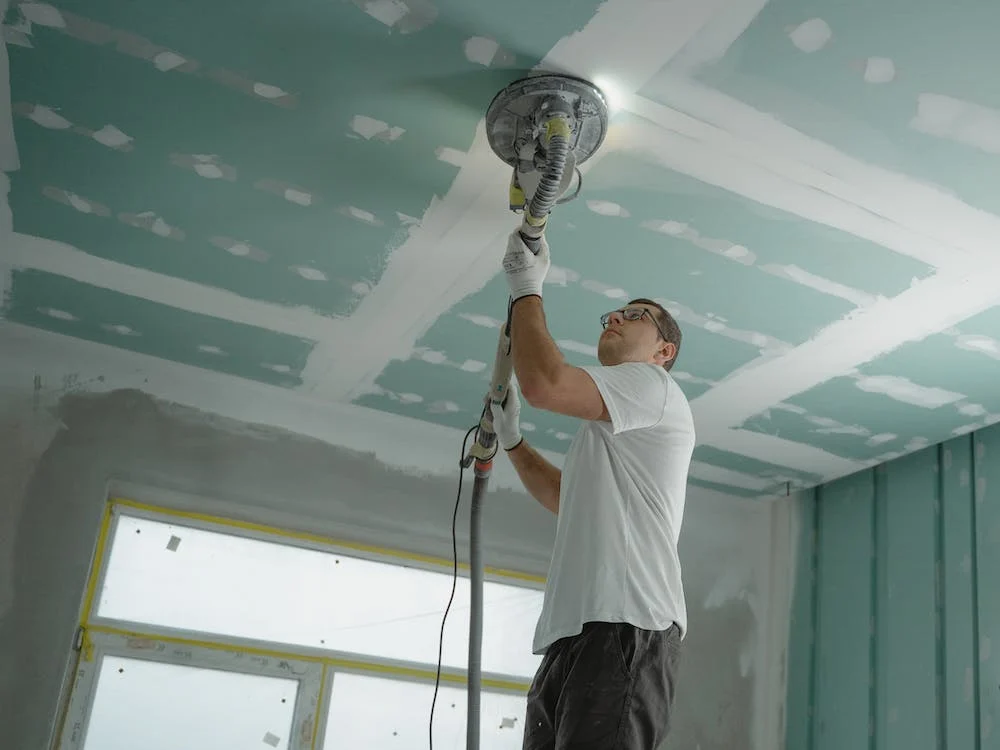
Sanding paint on any surface can be relatively time-consuming. Prefer electric tools which will save you a lot of time.
Warning: sanding a wall covered with lead or asbestos paint is dangerous for your health! These paints have respectively been banned globally. If you suspect the presence of these paints in your home, call a professional who will carry out a diagnosis. These diagnoses are mandatory when buying or renting real estate.
1. Prepare the sanding of the paint
Depending on the surface to be painted, it is necessary to remove the part to be sanded (a door, for example). This removal is done on trestles so that you can work quickly.
If possible, do the sanding outside your home. If you can’t, protect your furniture with old sheets or tarps.
To protect the floors, proceed as follows:
– Lay out a tarp or polyethylene film on the floor.
– Depending on the room’s surface, the films or tarpaulins can be superimposed to avoid dust infiltration.
– Secure this film with masking tape.
– To avoid breathing paint dust, protect yourself with a mask.
– Also, protect your eyes with goggles.
2. Sand your surface
Whatever the surface you want to sand, you will need two sanders:
– the belt or circular/giraffe sander to roughen the work;
– the triangular (or angular) sander for the difficult parts.
Tip: To be able to sand without the risk of unplugging the sander, it is advisable to connect the tool’s plug to a 5 or 10 m extension cord.
For all solid surfaces, use the belt or circular sander.
– Use coarse sandpaper.
– Run the belt sander over the surface flush with the paint so as not to damage the substrate: the goal is to scratch the old paint.
– Make sure you have scratched the paint as much as possible.
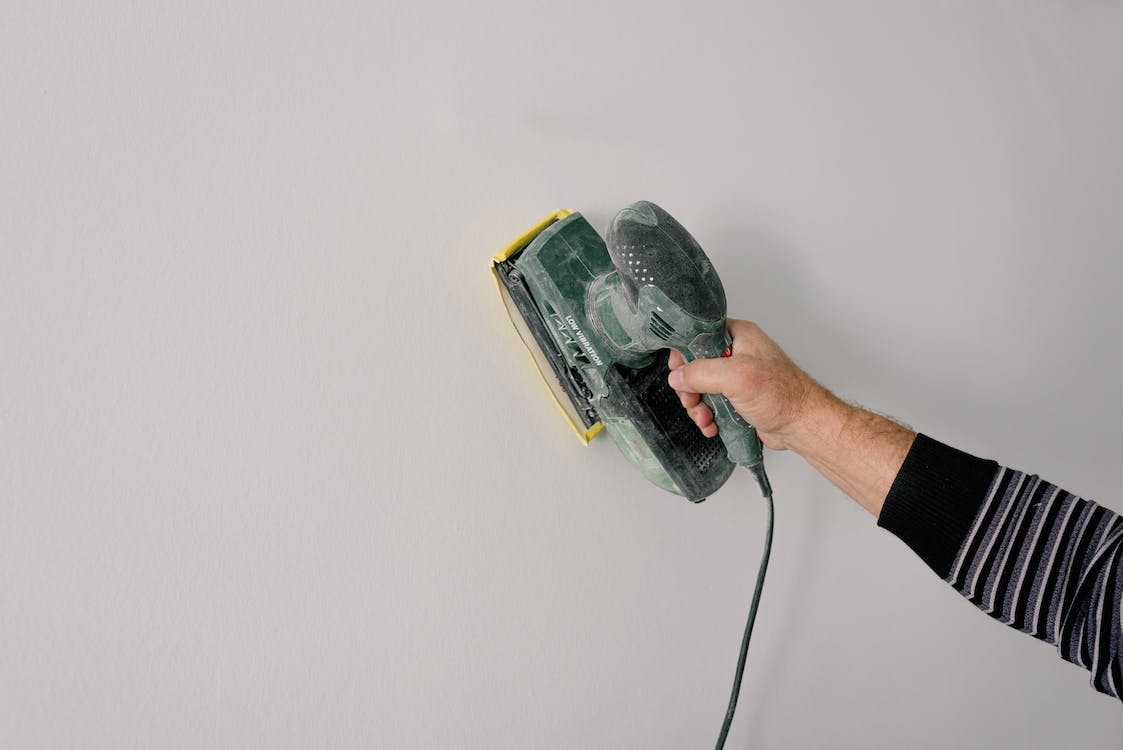
Once the sanding is complete, use the angle sander for sanding any corners or hard-to-reach areas.
3. Putting on the finishing touches
Before applying the coating of your choice, dust your surface with a cloth or vacuum cleaner. If necessary, wash your surface, rinse and let dry.
Equipment for sanding paint
| Vacuum cleaner, depending on the performance. |
| Tarp Starting at $8 |
| Recovery cloth |
| Gloves, goggles, and mask About $1 |
| Sanding paper for sander About $5 per 3 sheets |
| Belt sander About $25/day rental |
| Angle sander Approximately $21/day rental |
| Extension cord About $5 per 5 m |
| Masking tape $1 per roll |
Read more:
– DIY: How to Make a Wooden Crate;
– How to Clean Your Painting Equipment (Part 1);
– How to Paint With a Brush (Part 1);
– Painting With an Airless Sprayer;
– The Essential Craftsperson Tools (Part 1);
– The Tools Every Craftsperson Should Have (Part 2);
– 3 Steps to Assemble a Knitted Fabric.
Hope you like this post and the ones in the above links. Visit our blog to read more about the craftsperson, and don’t forget to leave your comments below.


One thought on “3 Steps for Sanding Paint”